Progress
How to Measure Your Waist and Take Body Measurements
How to measure your waist, where the waist is measured, and how to take body measurements with a tape measure at 7 sites. With pictures and a printable log.
On this page 11 sections
- What you need
- Where to put the tape: 7 body measurements
- Where is the waist measured?
- How to measure your waist and body with a tape measure
- Consistency rules
- Body measurements for women
- A printable body measurements chart
- How often should you measure?
- What changes in your measurements mean
- Why measurements and progress photos beat the scale
- FAQ
How to measure your waist: stand relaxed with your feet together, find the bottom of your lowest rib and the top of your hip bone, and wrap a tape measure around your middle halfway between the two. Keep the tape level all the way round and snug without pressing into the skin. Breathe out normally, don't suck in, and read the number at the end of the breath. That midpoint is the World Health Organization's site; the CDC and the US NIH measure a little lower, just above the hip bone. Either is fine for tracking, as long as you use the same one every time.
The same rules apply to every other body measurement: bare skin, a level tape, a relaxed body, the same spot and the same time of day.
Key takeaways
- Measure the waist halfway between your lowest rib and the top of your hip bone, at the end of a normal breath out.
- Pick one site per body part and write down exactly where it is. Consistency matters more than which site you choose.
- Take each reading twice. If they're within ½ in (1 cm), use the average.
- Measure every 2–4 weeks, first thing in the morning, before eating.
- Changes smaller than about ½ in are within normal measuring error. Look for trends across several check-ins.
What you need
A soft, non-stretch tape measure is all you need. A fabric or fiberglass sewing tape works; a metal carpenter's tape doesn't, because it can't wrap smoothly around a body. If your tape is old and floppy, check it against a ruler: cloth tapes can stretch over time. A mirror helps you check that the tape is level at the back, and a friend helps more, especially for the chest and arm.
Where to put the tape: 7 body measurements
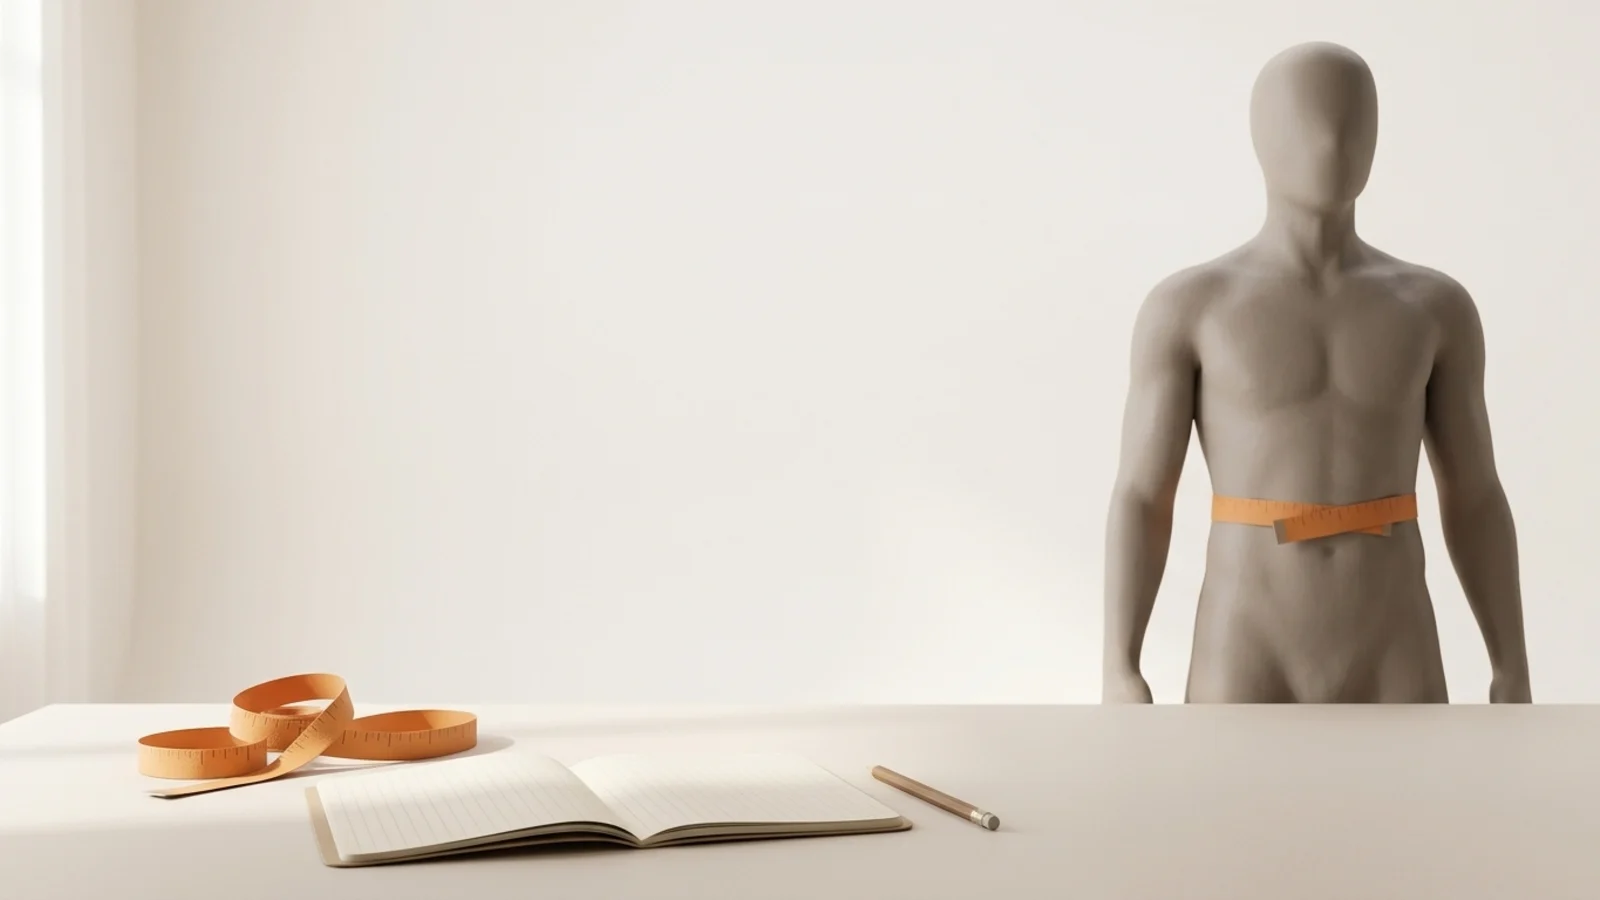
Step through each site. The orange tape in each illustration shows the placement. For limbs, measure the same side every time; research protocols such as the CDC's NHANES survey use the right side (NHANES manual).
Neck
Wrap the tape around your neck just below the larynx (Adam's apple), angled slightly downward toward the front. Look straight ahead with your shoulders relaxed, not hunched. This is the site the US Navy body fat formula uses.
Chest or bust
Raise your arms, pass the tape around the fullest part of your chest (across the nipples, under the armpits and across the shoulder blades), then lower your arms. Read it at the end of a normal breath out. For the bust, see measurements for women below.
Waist
Halfway between the bottom of your lowest rib and the top of your hip bone, usually an inch or two above the navel. Stand relaxed, take a couple of normal breaths and read the tape at the end of a breath out. Don't suck in.
Hips
Stand with your feet together and wrap the tape around the widest part of your buttocks. Turn side-on to a mirror and slide the tape up and down until you find the largest reading, keeping it parallel to the floor.
Thigh
Stand with your weight on both feet and measure around the middle of the thigh, halfway between the crease at the top of your leg and the top of your kneecap, with the tape perpendicular to the thigh. To find it again next time, note the distance up from the top of your kneecap.
Upper arm
Let your arm hang relaxed. Find the midpoint between the bony tip of your shoulder and the point of your elbow, and wrap the tape around it. If you also want a flexed measurement, record it separately and always flex the same way.
Calf
Stand with your weight on both feet and slide the tape up and down your calf to find the widest point. Keep it perpendicular to your lower leg.
Each limb site is a little harder to repeat than the trunk, so the note about where you measured (for example, "thigh: 8 in above kneecap") matters as much as the number.
Where is the waist measured?
There isn't one universal waist. Health organizations, researchers and tailors use different landmarks, and they give different numbers on the same body.
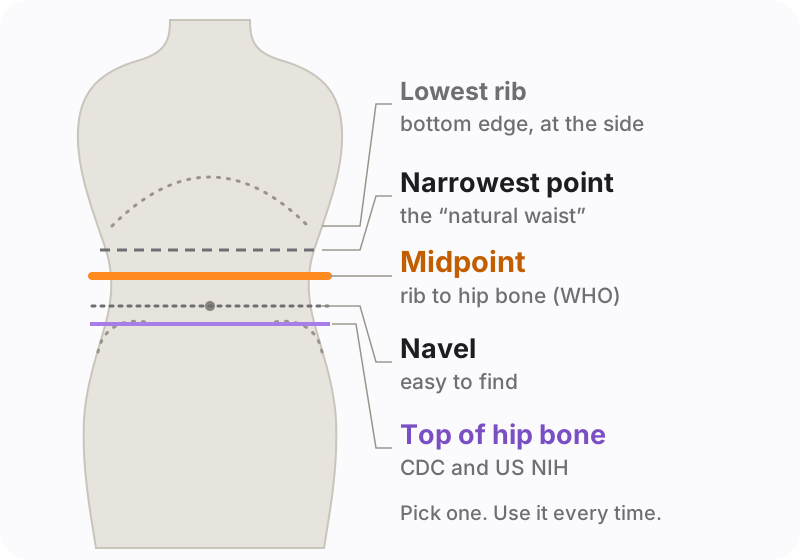
- Midpoint (WHO). Halfway between the lowest rib and the top of the hip bone (iliac crest). This is the World Health Organization's recommended site (WHO, 2011) and the one the UK's NICE uses for its waist-to-height guidance.
- Top of the hip bone (CDC, NIH). The CDC tells people to measure "just above your hip bones" after breathing out (CDC), and the US national health survey measures there too.
- Navel. Easy to find without feeling for bones, which is why some studies and the Navy body fat formula for men use it. Its position relative to your waist varies from person to person.
- Narrowest point. The "natural waist" in sewing and clothing charts. On people with little waist definition, it can be hard to find twice.
The sites really do disagree. In a CDC study of about 2,300 US adults, measurements at the top of the hip bone averaged 0.81 cm (⅓ in) larger than at the WHO midpoint for men, and 3.21 cm (about 1¼ in) larger for women (Ostchega et al., NCHS, 2019). That's why switching sites between check-ins can fake a loss or a gain. A systematic review of 120 studies, summarized in the same WHO report, found the choice of site made no meaningful difference to how well waist size predicted heart disease, diabetes or mortality (WHO, 2011). So: use the midpoint if you want to compare with health cut-offs, and whichever site you choose, stick with it.
Is your waist at your belly button?
Usually not quite. For most adults the WHO midpoint sits an inch or two above the navel, though it varies with body shape. If you prefer measuring at the navel because it's easy to find, that's fine for tracking. Just label it in your log so you don't compare navel readings with midpoint readings.
How to measure your waist and body with a tape measure
Most bad measurements come from technique, not the tape. Step through the three that matter most.
Snug, not tight
The tape should lie flat against the skin all the way round without pressing in. If it leaves a dent or the skin bulges above and below it (left), it's too tight. If you can slip more than a finger under it, it's too loose.
Level all the way round
A tape that dips at the back, or rides up at the front, measures a longer, diagonal loop. Check it in a mirror, side-on, before you read the number. Limb tapes should be perpendicular to the limb instead.
Read where the zero end meets the tape
Hold the zero end against the tape where they overlap and read the number there, looking straight at it rather than down from above. Stay relaxed and breathing normally; tensing your stomach or holding your breath changes the waist reading.
Two more habits make readings repeatable. Measure each site twice: the WHO protocol averages two readings if they're within 1 cm (⅜ in) and measures again if they aren't. And stand naturally, with your feet close together, arms at your sides and weight even on both feet (WHO, 2011).
Consistency rules
A single measurement tells you little. A series taken the same way tells you a lot. Use this as your pre-measurement routine; tap each one as you go.
- Same tape every time
- Morning, after the bathroom, before eating or drinking
- Before training, not after (a pump inflates arms, chest and thighs)
- Bare skin, or the same thin layer each time
- Standing relaxed: feet together, arms at your sides, not sucking in
- Same side for arm, thigh and calf
- Same landmark, written down (for example, "waist: midpoint")
- Two readings per site; average if within ½ in (1 cm)
Body measurements for women
Women usually track the same sites, plus the bust, and sometimes the underbust.
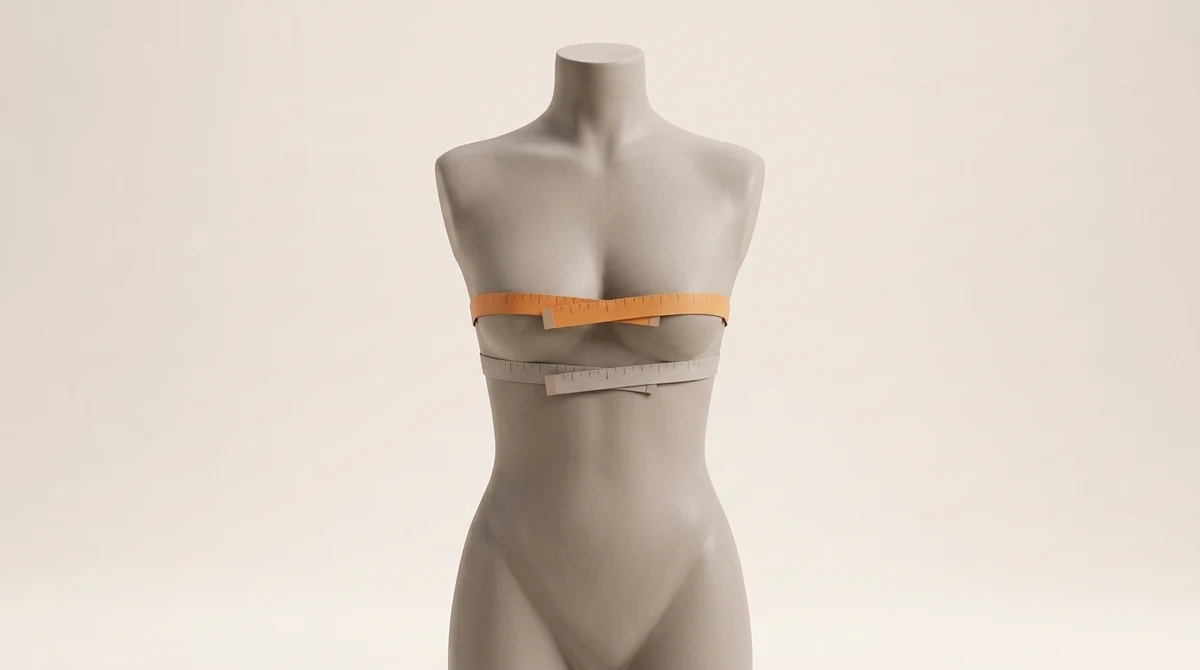
- Bust: around the fullest part, with the tape level across the back. Wear the same non-padded bra each time, or none; different bras change the number.
- Underbust: directly under the bust, around the ribcage, snug. It changes less with breast tissue, so it's a steadier read on fat loss around the upper torso.
- Waist and hips: same as above. Women's waist readings differ more between sites than men's (about 1¼ in between the WHO midpoint and the hip bone, in the CDC study), so pick one and label it.
Your menstrual cycle matters too. In a year-long study of 62 women, self-reported fluid retention peaked on the first day of the period and was lowest in the days after it ended (White et al., 2011). If you have a regular cycle, measure at the same point in it each time, for example a week after your period starts, and note the day in your log.
A printable body measurements chart
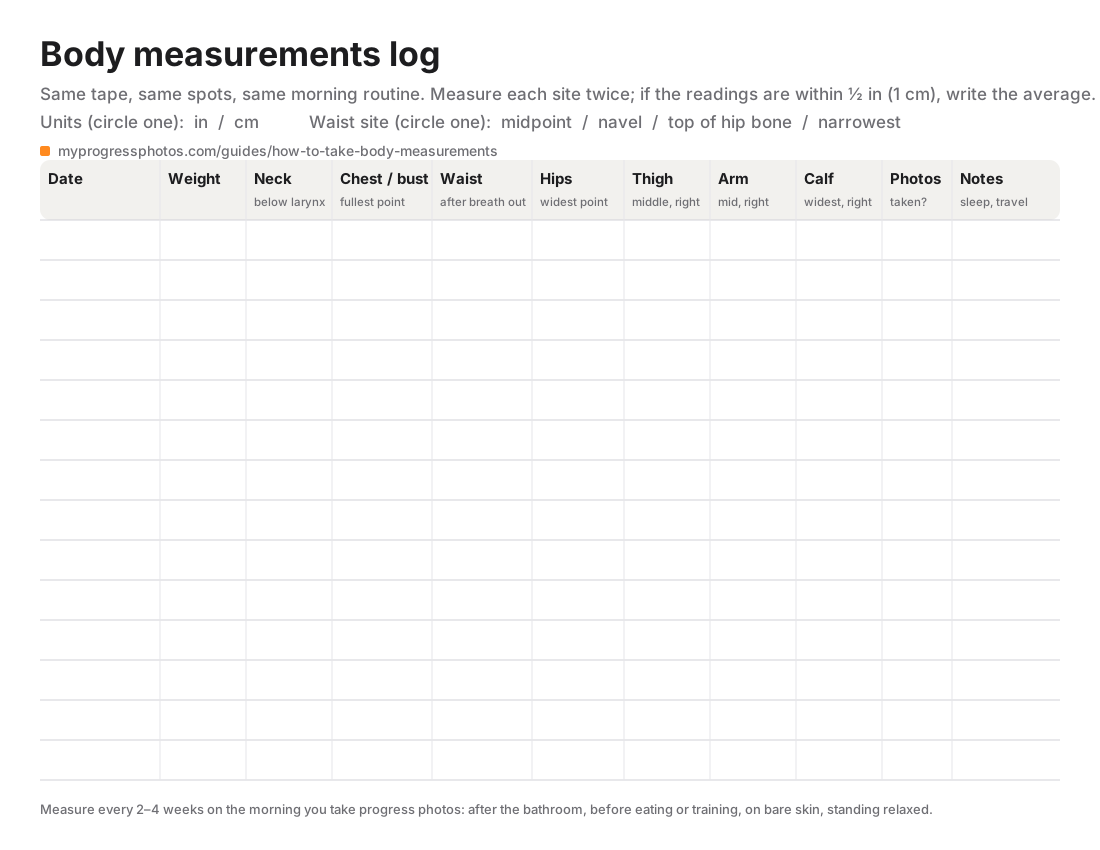
Use the log below, or open the printable body measurements log (landscape, one page, 14 check-ins) and print it from your browser. Fill in the first row on day one, even if you don't like the numbers. That baseline is what makes every later row mean something.
| Date | Weight | Neck | Chest/bust | Waist | Hips | Thigh | Arm | Calf |
|---|---|---|---|---|---|---|---|---|
| Example | 172 lb | 15.0 | 40.0 | 34.5 | 39.5 | 23.0 | 13.0 | 15.0 |
| Week 4 | ||||||||
| Week 8 | ||||||||
| Week 12 |
Example values in inches. Write your waist site and units at the top of the page.
To interpret the numbers: your waist alone feeds the waist-to-height ratio calculator, waist and hips give you a waist-to-hip ratio, and neck, waist and (for women) hips are the inputs to the body fat percentage calculator.
How often should you measure?
Every two to four weeks is plenty. Real changes in fat and muscle are slow, and day-to-day readings move with food, water and how carefully you placed the tape. In a study cited by the WHO, repeat waist measurements by the same measurer differed by about 1.3 cm (½ in), just from technique (WHO, 2011). Measure weekly and most of what you see is that noise.
The easiest rhythm is to measure on the same morning you take progress photos, so every check-in has numbers and pictures from the same moment.
What changes in your measurements mean
Read patterns across several check-ins, not single numbers. A drop under ½ in once is noise; the same drop three check-ins in a row is a trend.
| Pattern over 4–8 weeks | What it usually means |
|---|---|
| Waist down, weight down | Fat loss |
| Waist down, weight about the same | Losing fat while holding or gaining muscle (recomposition) |
| Arms, chest or thighs up, waist steady | Muscle gain, if you're training |
| Waist up quickly, weight up quickly | Usually water, food or bloating; check again in a week |
| Waist and weight both creeping up | Fat gain |
| Nothing changes for a month | A plateau, or your routine matches your current body |
The second row is the one the scale hides. A 2020 consensus statement from an international panel of obesity researchers noted that waist circumference falls with exercise or diet "with or without weight loss" and argued it should be measured routinely as a vital sign (Ross et al., 2020). If you're lifting and eating well, your waist can shrink for weeks while the scale sits still. Our body recomposition guide covers that case in detail.
Why measurements and progress photos beat the scale
The scale adds everything together: fat, muscle, water, food and the glass of water you just drank. It can't tell you where change happened. A tape measure can, at seven precise points. Progress photos fill in everything between those points: the shape of your waist, the line of your shoulders, posture, and how your body looks from the side and back.
Illustrative data: eight weeks of daily weigh-ins starting near 178 lb. The 7-day average drops for four weeks, then holds flat for four more while the waist measurement keeps shrinking.
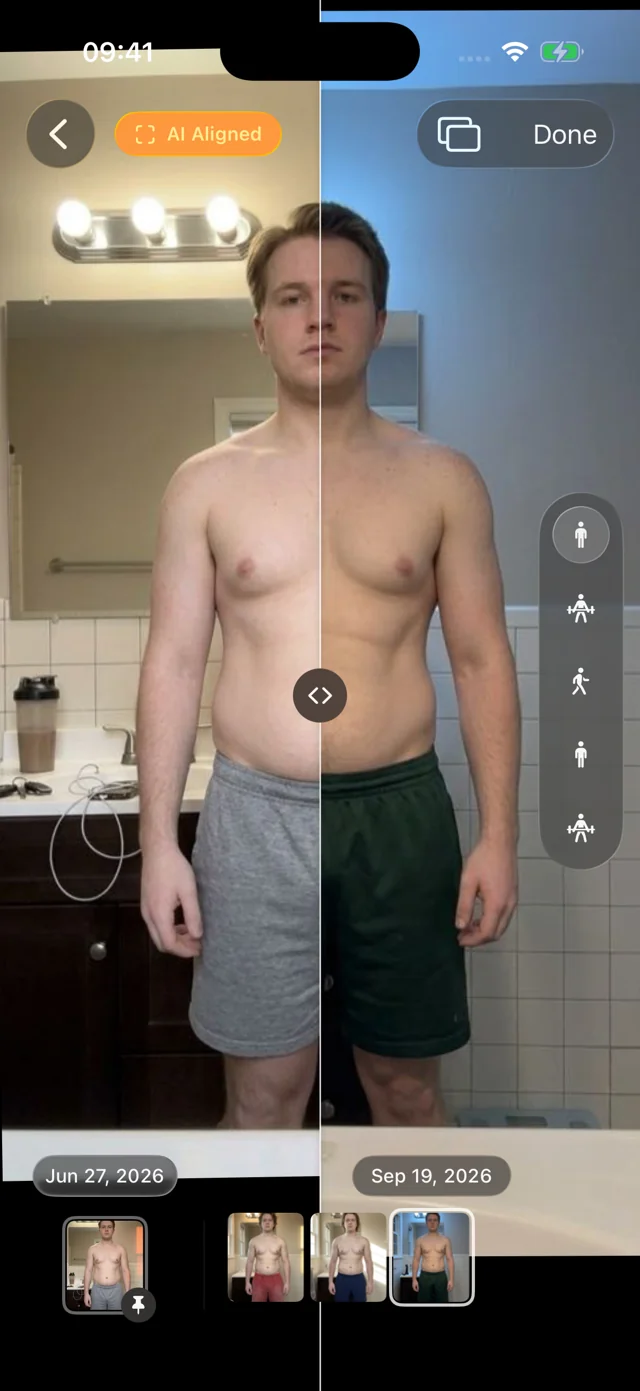
Together they check each other. If your waist is down an inch but you can't see it in photos, keep going; visible change often lags. If the photos look different but the tape barely moved, look at the sites you're not measuring. And if the weekly average weight on the scale is flat, as in the chart above, the tape and photos tell you whether that's a weight loss plateau or progress the scale can't see.
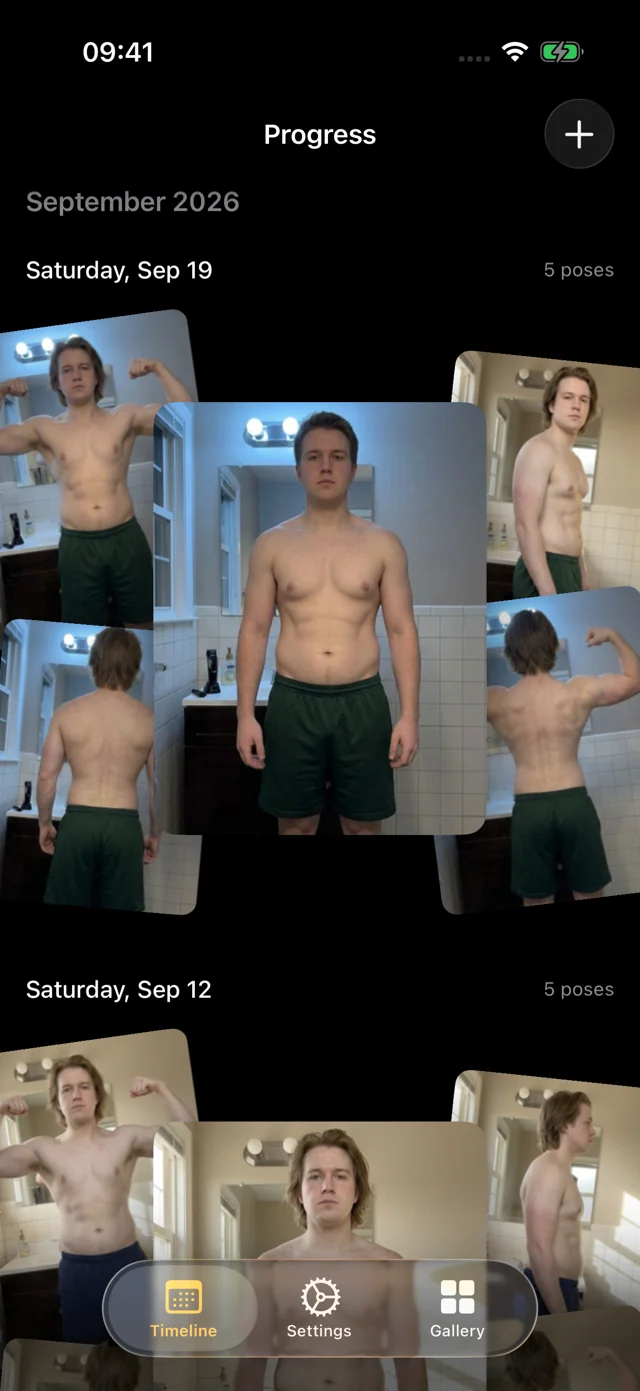
Photos only work as evidence when every session is framed the same way. That's the hard part, and it's what Progress does for you: every photo is AI aligned, so you can slide between two dates and see exactly what changed. Progress also logs your weight and body-fat percentage with each session, typed in or read from Apple Health. It doesn't track tape measurements, so keep those in the log above and measure on photo mornings so the dates line up. Our guide on how to take progress photos covers the camera side of the routine.
FAQ
What's the correct way to measure your waist?
Stand relaxed with your feet together and find the bottom of your lowest rib and the top of your hip bone. Wrap the tape around your middle halfway between them, level with the floor and snug on bare skin. Read the tape at the end of a normal breath out, without sucking in. Take two readings and average them.
Do you measure your waist at the belly button?
Some studies and the US Navy formula for men do, but the WHO measures halfway between the lowest rib and the hip bone, which for most people is an inch or two above the navel. The CDC measures just above the hip bones. Any of them works for tracking if you use the same one every time.
What should my waist be at 5'7"?
A common guideline is to keep your waist to less than half your height, which at 5'7" (67 in) means under 33.5 in. That's the 0.5 cut-off for waist-to-height ratio used by the UK's NICE. Check yours with the waist-to-height ratio calculator; it's a screening guide, not a diagnosis.
Can I measure my body with my phone?
Some apps estimate measurements from photos or a phone's depth camera, but accuracy varies and they're hard to compare with tape readings. For tracking, an inexpensive tape measure and a consistent routine are more reliable. Use your phone for what it does best: consistent progress photos taken on the same mornings.
How do I measure myself without a tape measure?
Wrap a piece of string or a phone charging cable around the site, mark where it meets, and measure the length against a ruler or a printed ruler. It's less precise, so use the same string and the same method each time, and buy a cloth tape when you can.