Progress
How to Take Progress Photos That Actually Show Change
How to take progress photos you can actually compare: camera height, distance, lighting, what to wear, five poses, how often, and a printable checklist.
On this page 12 sections
- Why progress photos beat the scale and the mirror
- How to take progress photos by yourself: the setup
- Lighting: same light, same time of day
- What to wear for progress photos
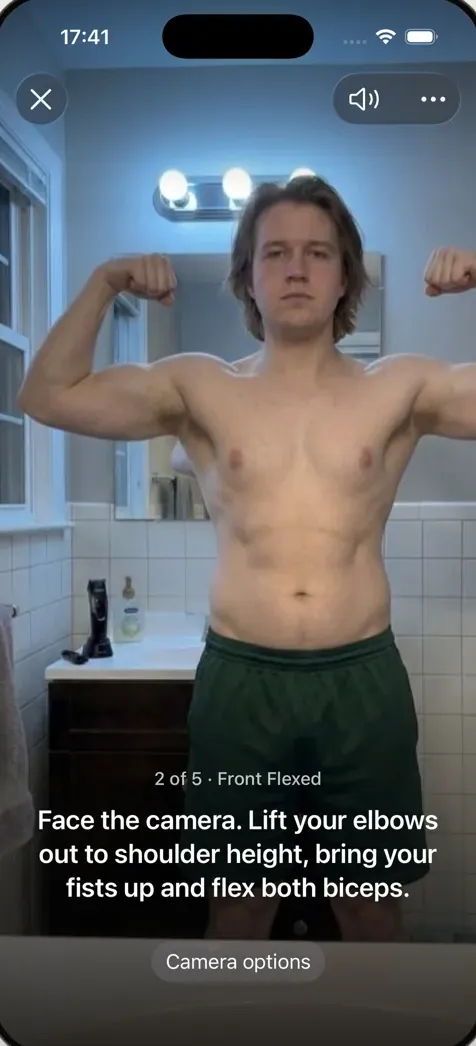
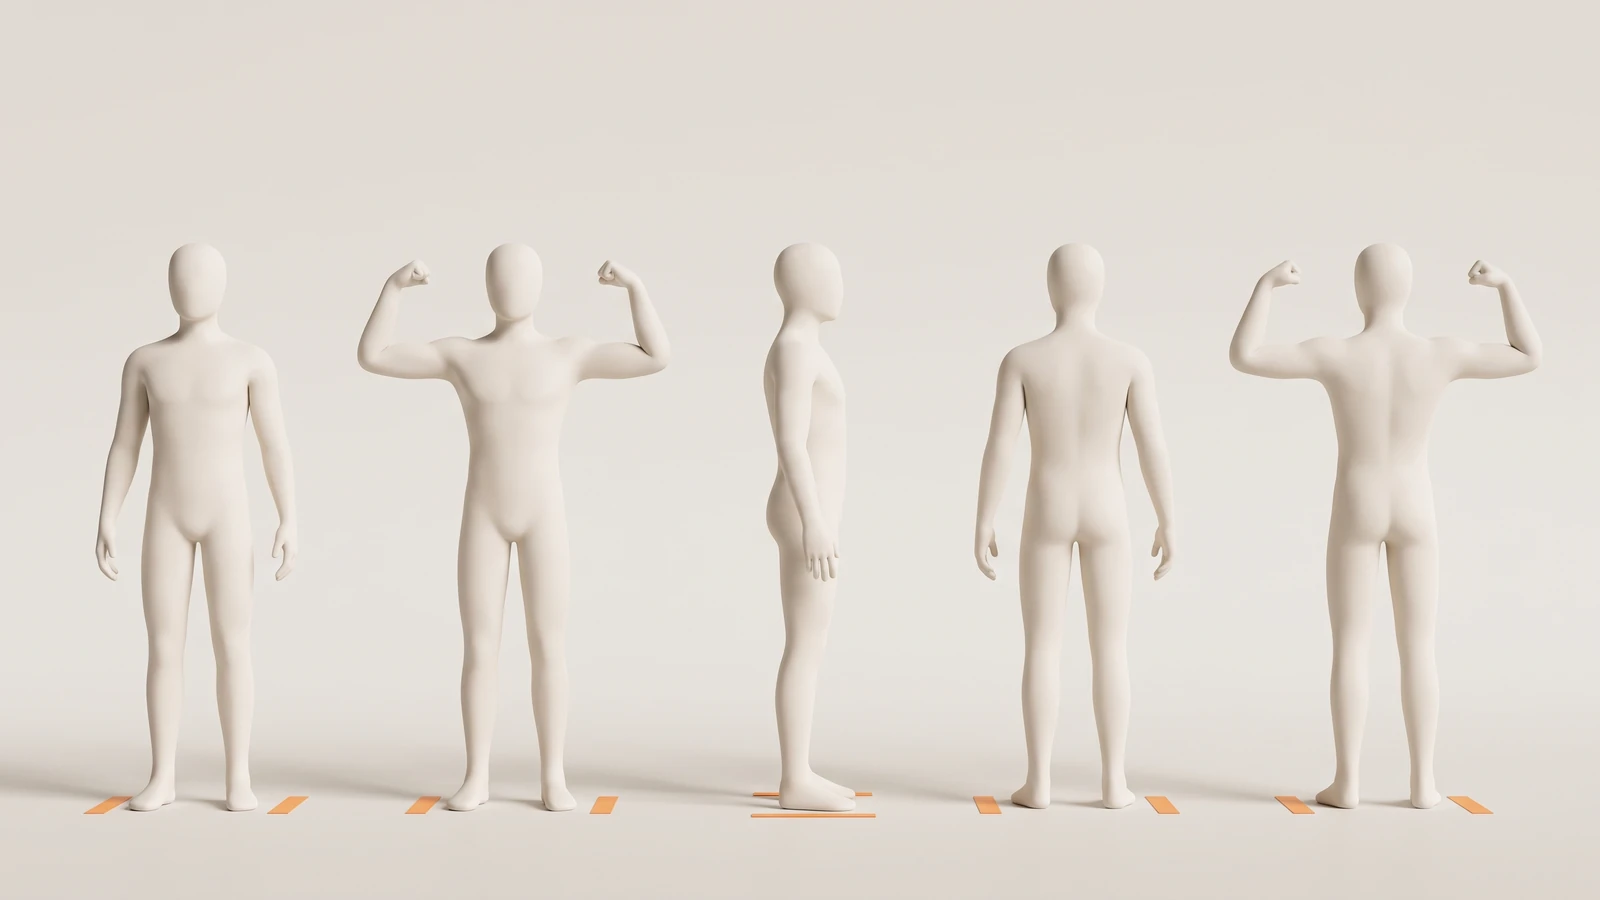
- The five standard progress photo poses
- Progress photos for men and women
- Gym progress photos
- How often to take progress photos
- How to compare progress photos
- Keep your progress photos private
- Printable progress photo checklist
- FAQ
To take progress photos that show real change, keep everything except your body the same. Put your phone on a tripod or shelf at navel-to-chest height, 6 to 10 feet away, in the same spot every time. Use the same light, wear the same clothes, and shoot the same five poses at the same time of day: ideally in the morning, before you eat. Use the self-timer, take a set every one to four weeks, and compare each new set side by side with your first.
That's the whole method. The rules are simple, but most people break at least one, and a single changed variable can hide twelve weeks of work.
Key takeaways
- Fix the setup once: phone on a tripod at navel-to-chest height, 6–10 ft away, tape marks on the floor.
- Repeat the conditions: same light, same clothes, same time of day, before eating or training.
- Shoot five poses: front relaxed, front flexed, right side, back relaxed, back flexed.
- Compare checkpoints: week 1 against week 12, same pose, lined up at the same size.
Why progress photos beat the scale and the mirror
The scale gives you one number. According to the CDC, BMI "does not distinguish between fat, muscle, and bone mass." Neither does your bathroom scale. If you're losing fat and building muscle at the same time, the number can sit still while your shape changes. The mirror has the opposite problem: you see yourself every day, so slow change is invisible.
Photos fix both, but only if they're comparable. A step closer to the camera, a lower angle, or harsher light can change how you look more than a month of training. The setup below removes them.
How to take progress photos by yourself: the setup
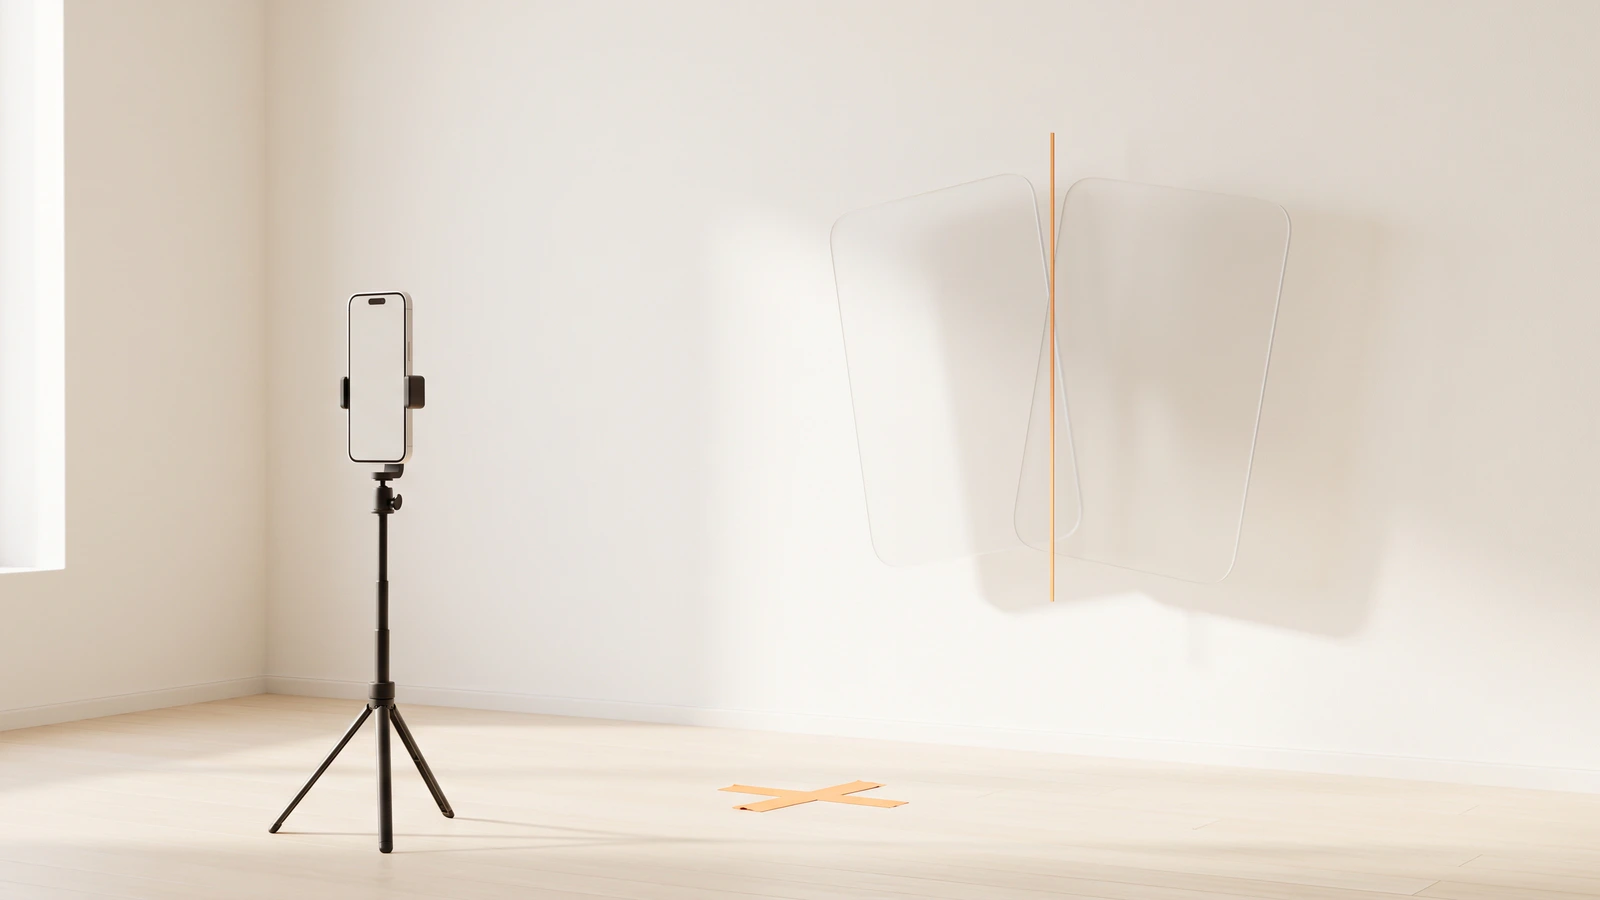
You don't need a partner or a gym. You need a phone, something to hold it still, and a spot you can return to. Try it below: drag the phone or use the sliders to change its height and distance, and watch how the framing changes.
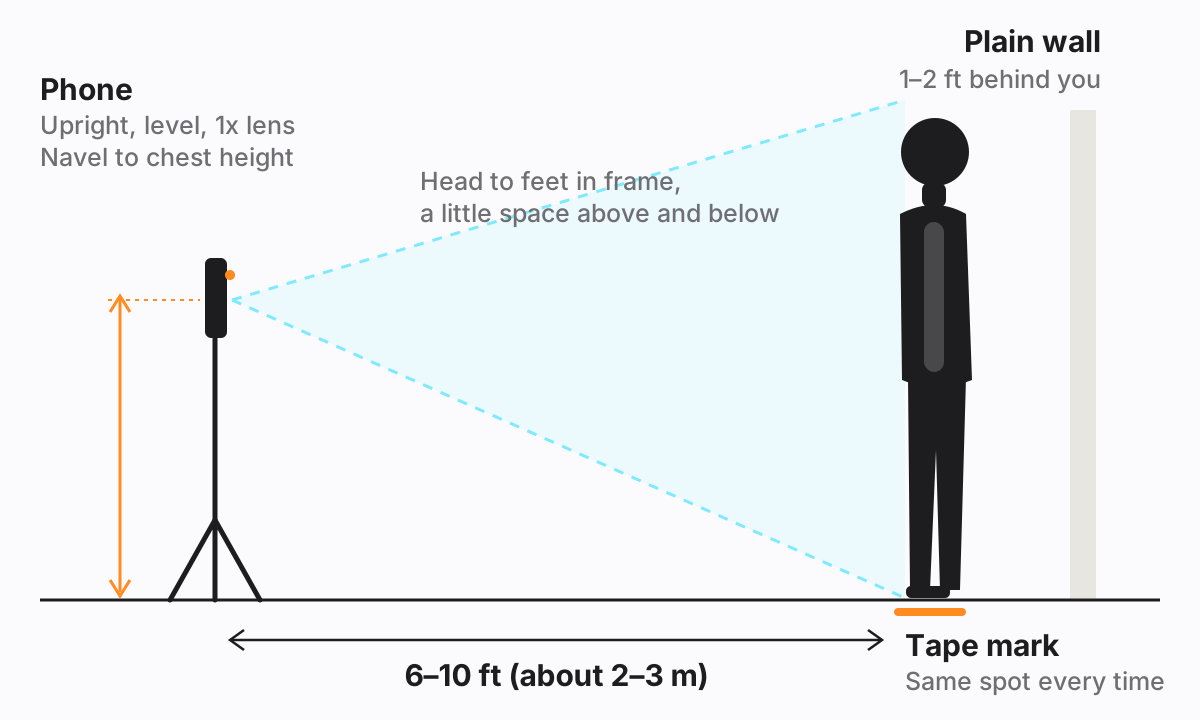
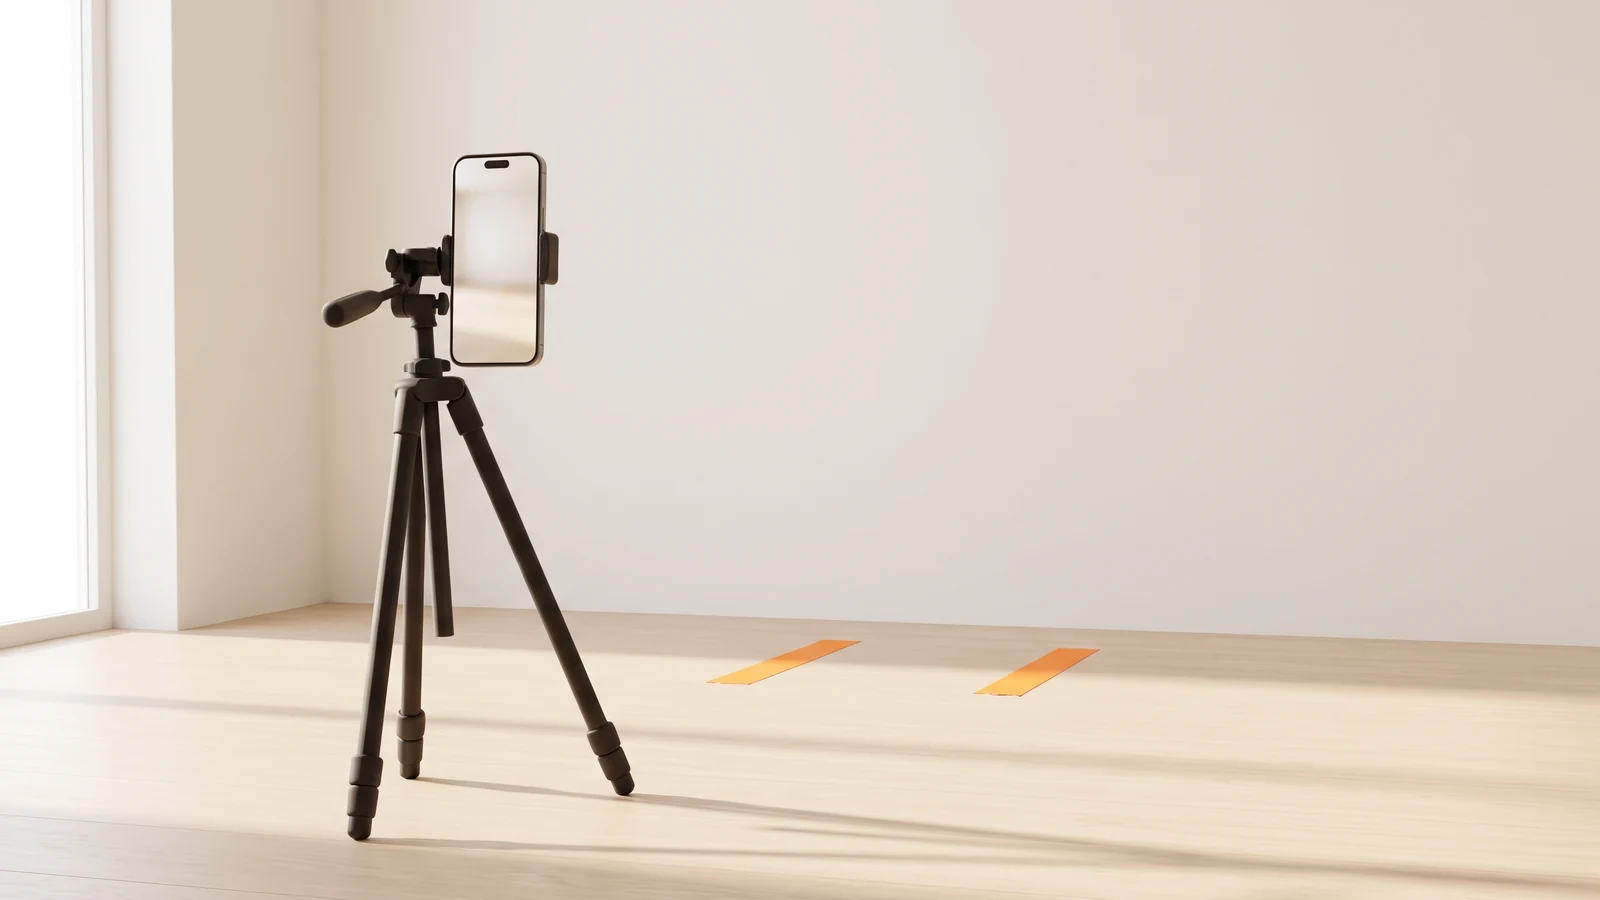
- Hold the phone still. A small phone tripod is easiest. A stack of books on a dresser works too, as long as you rebuild the same stack every time. Don't hand-hold the phone, and don't shoot in a mirror: mirror selfies put the phone in the frame, cover your face or chest, and change angle with every shot.
- Set the height: navel to chest. Aim the lens at about your belly button or lower chest. Shooting from higher up makes your legs look shorter and your upper body bigger; from lower down, the opposite. Measure the height and write it down.
- Keep it level and upright. Portrait orientation, not tilted up or down. If your tripod has a bubble level, use it. A tilt of a few degrees warps proportions in ways you'll mistake for change.
- Step back 6 to 10 feet. Your whole body should fit with a little space above your head and below your feet. Use the standard 1x camera: the 0.5x ultra-wide distorts anything near the edges, and zooming in loses detail.
- Use a plain background. A blank wall 1 to 2 feet behind you makes your outline easy to read. Moving furniture between sessions makes photos harder to compare.
- Use the timer or a remote. Turn on the 10-second self-timer in the Camera app's controls and take a few frames per pose. A Bluetooth shutter remote or the Camera Remote app on Apple Watch also works; keep your hands out of the shot.
If the timer dance gets old, an app can run the session for you.
Lighting: same light, same time of day
Light is the variable people forget, and it's the one that fools you most. Hard overhead light makes abs and shoulders look more defined. Flat, dim light hides definition you actually have. If the light changes between sessions, you're comparing lighting, not bodies. Step through the four setups most people end up with:
Best: daylight from behind the camera
Stand facing a window, with the phone between you and the glass. Daylight from in front is soft and even and shows your shape honestly. Shoot at the same time of day so the light is the same strength and direction each session.
Good: the same lamps every time
If your schedule moves, artificial light is easier to repeat. Close the curtains, turn on the same lamps in front of you, and mark where they stand. Two matching lamps give even light day or night.
Avoid: one bulb overhead
A single overhead light carves deep shadows under your chest and along your stomach. They come and go depending on exactly where you stand, so one week looks dramatically lean and the next doesn't.
Avoid: a window behind you
The camera exposes for the bright window and you become a silhouette. You'll see your outline but none of the detail that shows change.
Whichever setup you use, turn off flash, filters, Portrait mode and beauty effects, and leave HDR and exposure on their defaults so the camera treats every session the same way.
What to wear for progress photos
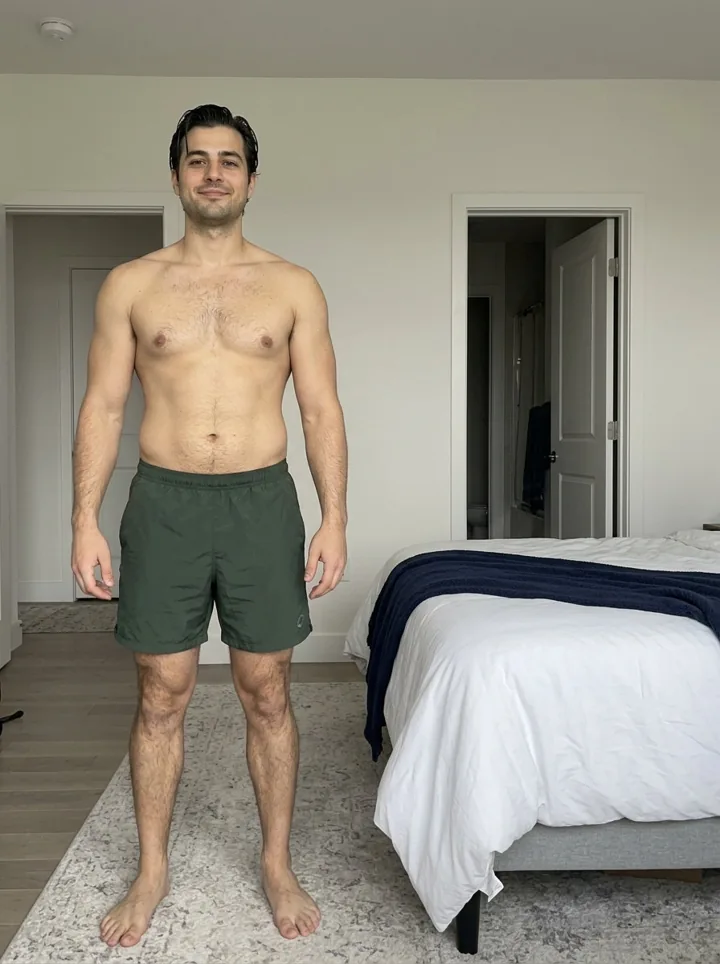
Wear the least clothing you're comfortable photographing, and wear the same clothing every time. The goal is to see your outline, especially at the waist, hips and thighs.
- Men: fitted shorts or boxer briefs, no shirt. Keep the waistband at the same height every session; a waistband that sits lower one week changes how your stomach looks.
- Women: a sports bra or bikini top and fitted shorts or briefs. Same items, same colors, so changes in fit stand out.
- Avoid: loose or baggy clothing, compression wear that reshapes you, and black on a dark background.
- Tie long hair back so your shoulders and the line of your neck are visible.
- Keep it neutral. No pump, no fake tan before one session and not the next, and the same shoes or bare feet every time.
If you're not comfortable shooting with minimal clothing, take photos in a fitted outfit you keep only for this. Fit is information: a shirt that hangs differently in week 12 tells you something.
The five standard progress photo poses
A single front photo misses most of the story. Fat loss and muscle gain often show first from the side and the back. The standard set is five poses; switch between them below.
Feet hip-width apart, arms hanging a few inches from your sides, shoulders down. Breathe out normally and let your stomach sit where it sits. This pose shows overall shape and your waist best.
Elbows up at shoulder height, fists in, biceps flexed. Flex the same way every time; consistency matters more than intensity.
Turn 90 degrees so your right shoulder faces the camera, arms relaxed, looking straight ahead. Stand tall without sucking in. Stomach, posture and glutes change most visibly here.
Face the wall, same stance and same tape marks as the front. This shows back width, waist and hip shape.
Elbows up, back and arms flexed, head facing forward so your shoulders stay level.
The rule for every pose is relaxed means relaxed. Don't suck in your stomach on one date and let it out on another. Breathe out normally and hold still. For stance details, common mistakes and variations, read our guide to progress photo poses.
Progress photos for men and women
The method is the same for everyone. A few details differ.
How to take progress photos as a man. Watch for the pump. A workout fills muscles with blood and makes your arms and chest look bigger for a while afterward, so shoot before training, not after. Keep the waistband line in the same place, and don't flex in the "relaxed" poses.
How to take progress photos as a woman. Fluid retention can change across the menstrual cycle; in one year-long study, women's self-reported fluid retention peaked on the first day of their period. If you have a cycle, note where you are in it with each set, or compare photos taken at the same point in different cycles. Wear the same bra and bottoms each time, since different cuts change your outline.
Gym progress photos
Gym progress photos are possible, but harder. Gyms have overhead lighting, mirrors, other people, and equipment that moves. If you shoot at the gym, use the same corner at the same time, set the phone on a bench or a small tripod, and take the photos before you train.
How often to take progress photos
Take a full set every one to four weeks. Weekly is a good habit if you're consistent; every two to four weeks is enough to see change and less discouraging.
Here's why daily photos don't help: the CDC notes that people who lose weight at "a gradual, steady pace—about 1 to 2 pounds a week" are more likely to keep it off. That pace is hard to see from one week to the next. Weight also moves within a single week; one European study found body weight was highest on Monday and lowest on Friday, even in people who weren't trying to gain or lose. (If you want to see how much of a jump is just water, try the water weight calculator.)
So control the timing:
- Same day of the week. If Friday is your photo day, keep it Friday.
- Morning, before eating or drinking much, and after using the bathroom.
- Before exercise, never right after.
- Away from unusual days: a salty dinner, a big night out, or a long flight can change how you look the next morning.
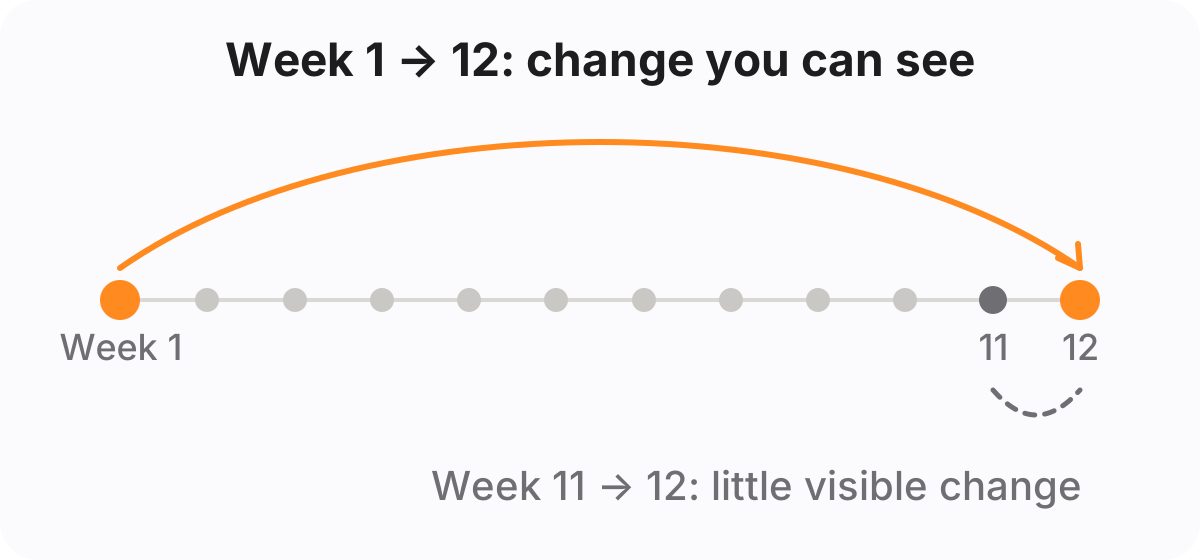
Whatever schedule you pick, the most valuable comparison is long-range. Comparing week 11 to week 12 shows little. Comparing week 1 to week 12 can show a lot.
How to compare progress photos
Comparing well is half the work. Three rules:
- Compare the same pose. Front with front, side with side.
- Compare against a fixed reference, usually your first set or the start of a new phase, not just last week.
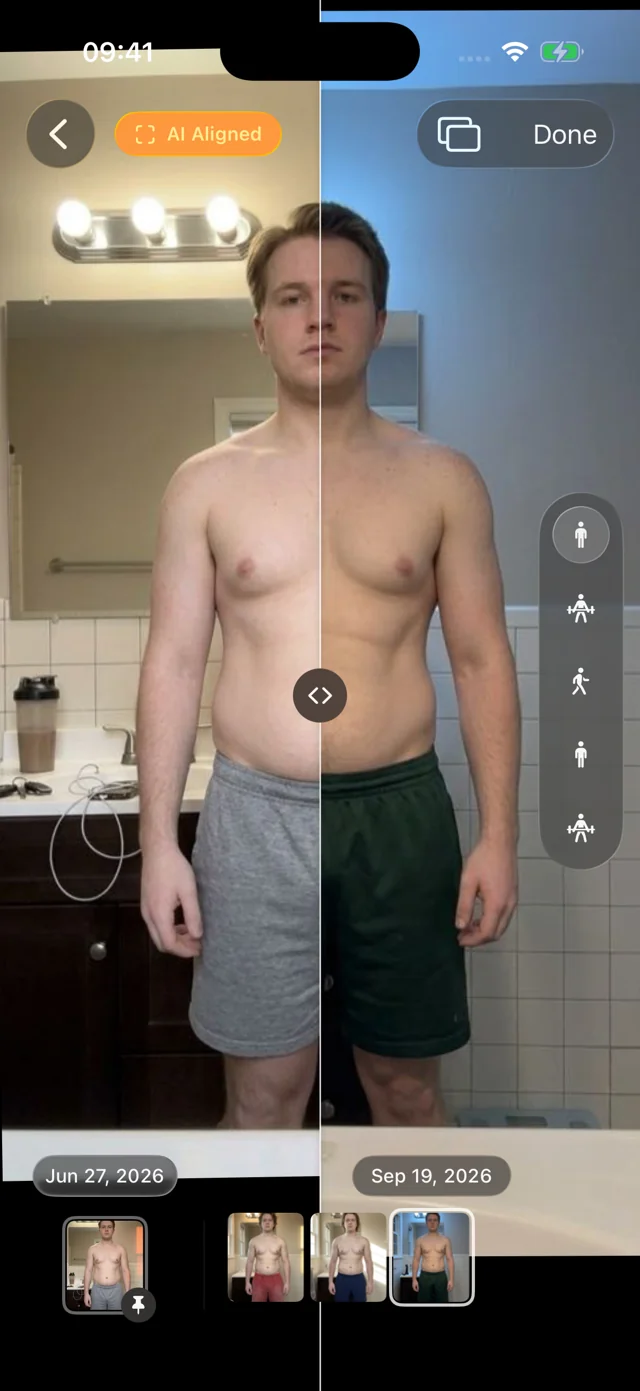
- Line the photos up. Put them side by side at the same size, with your body at the same height in both frames. If you're farther from the camera in one photo, you'll look smaller in it, and you'll misread the change.
Rule 3 is where most comparisons fail. Drag the divider below, then switch AI aligned off to see the same two photos exactly as they were shot.
You can do this by hand: crop both photos to the same size in any photo editor and scale one until your shoulders and hips sit at the same height in both. It works, but it gets tedious across dozens of sessions. For a one-off side-by-side, our before-and-after photo maker does the layout in your browser.
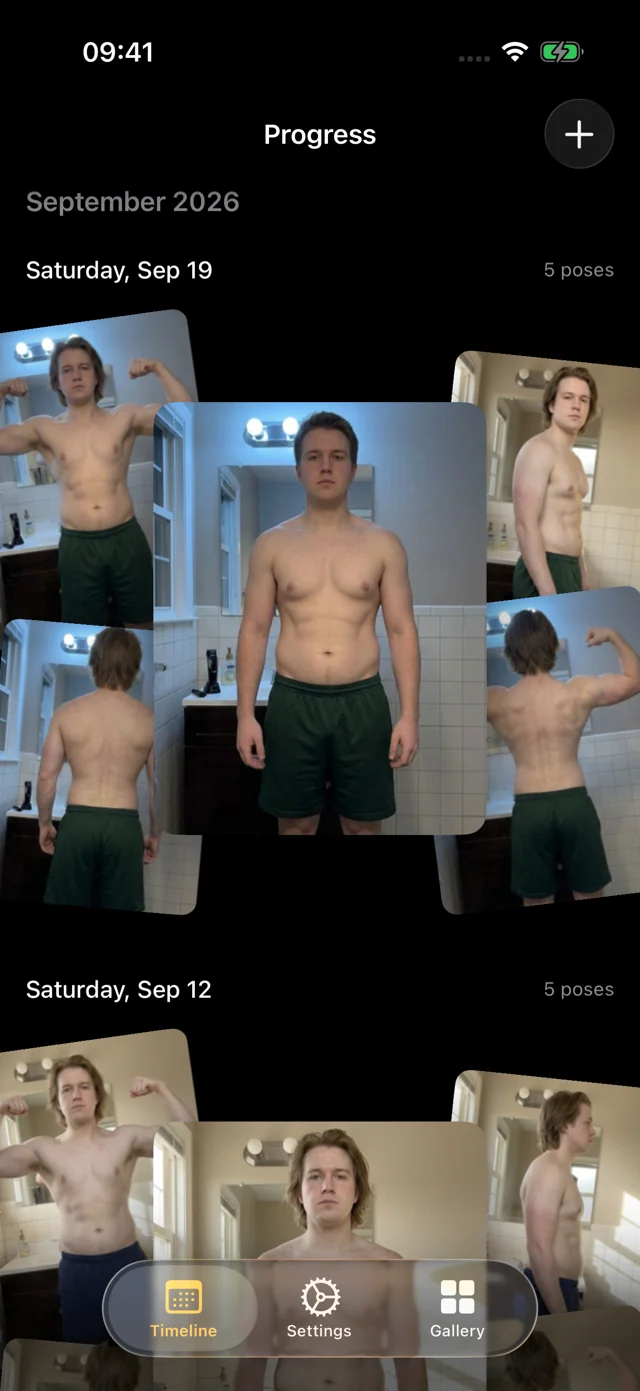
Progress is built for this. It's an iPhone and iPad app that lines up every photo with on-device AI, so each session is framed the same way. Slide a divider between any two dates, or pin your first session and scrub everything since. Your originals stay untouched, and your photos never leave your iPhone.
What a good progress photo example looks like
A good set looks almost boring. Same wall, same light, same framing, same clothes, same relaxed stance. You should be able to flip between two dates and see only your body change. If the room, angle, or your size in the frame jumps around, the photos aren't wrong, but they're harder to trust. Fix the setup going forward and keep the old photos; with alignment, even inconsistent early photos become useful. For more on presenting a comparison, see our guide to before-and-after photos.
Keep your progress photos private
These are some of the most personal photos on your phone. Keep them that way:
- Keep them out of your main camera roll if you share your screen, your photo library, or your phone. On iPhone, the Hidden album is locked behind Face ID.
- Be careful where you upload them. Many apps store photos on their own servers. Read the privacy policy before handing your body photos to a company.
- Prefer on-device processing. Alignment and pose detection don't need the cloud.
- Back them up deliberately. Losing a year of photos hurts. Use your device backup or keep an export somewhere you control.
- Share on purpose. If you post a before-and-after, crop out anything that identifies where you live.
Printable progress photo checklist
Run through this every session; tap items as you go, or print the page.
- Phone on a tripod or fixed surface, not handheld or in a mirror
- Lens at navel-to-chest height, phone upright and level
- 6 to 10 feet away, 1x lens, head to feet in frame
- Tape marks on the floor for your feet and the tripod
- Plain wall 1 to 2 feet behind you
- Light from in front: window behind the camera or the same lamps
- Same day of the week and same time of day
- Morning, before eating, after the bathroom, before training
- Flash, filters and Portrait mode off
- Same clothes, waistband at the same height, hair tied back
- Five poses: front relaxed, front flexed, right side, back relaxed, back flexed
- Relaxed poses fully relaxed; no sucking in
- Self-timer or remote; a few frames per pose
- Compare against your first set, same pose, lined up
- Note the date, weight if you track it, and anything unusual
- Back up the photos somewhere private
If you're tracking a specific goal, our guides to body recomposition before and after and realistic body transformation timelines cover what to expect and when.
FAQ
How do you take progress photos by yourself?
Set your phone on a tripod or shelf at navel-to-chest height, 6 to 10 feet away, and use the 10-second timer or a Bluetooth remote. Mark where you stand with tape so you return to the same spot every time.
What is the best outfit for progress pictures?
Fitted, minimal clothing you can wear every time: shorts or briefs for men, a sports bra and fitted shorts for women. Consistency matters more than the specific outfit, so keep the same items and the same waistband height.
How often should you take progress photos?
Every one to four weeks. Weekly works if you can keep conditions identical; every two to four weeks shows more visible change between sets. Always shoot on the same day of the week and at the same time.
Should you take progress photos in the morning?
Yes, if you can. Morning, before eating and before training, is the easiest condition to repeat. What matters most is that every set is taken under the same conditions.
Should you flex in progress photos?
Only in the flexed poses. Take relaxed and flexed versions separately and keep "relaxed" truly relaxed; flexing or sucking in on some dates but not others makes the comparison unreliable.