Progress
Progress Picture Poses: The 5 Poses That Show Change
The five progress picture poses, front relaxed to back flexed, with exact stance, breathing and arm cues, what each pose reveals, and the mistakes to avoid.
On this page 12 sections
- The five progress picture poses at a glance
- Before you pose: the parts that never change
- 1. Front relaxed
- 2. Front flexed
- 3. Right side
- 4. Back relaxed
- 5. Back flexed
- Common progress picture pose mistakes
- Progress pictures for men and women: same poses?
- Optional extras for bodybuilding progress photos
- Keep the routine fixed
- FAQ
The best progress picture poses are the boring ones, repeated exactly. Take five every time: front relaxed, front flexed, right side, back relaxed and back flexed. Stand on the same marks, feet hip-width apart, breathe out normally, keep your face neutral, and hold each pose the same way you held it last time. That set covers your shape from every angle that matters, and because it never changes, the only thing that changes between photos is you.
If you haven't set up your camera yet, start with our guide on how to take progress photos.
Key takeaways
- Shoot the same five poses in the same order every session: front relaxed, front flexed, right side, back relaxed, back flexed.
- Relaxed poses show fat loss and overall shape; flexed poses show muscle a relaxed stance hides.
- Tape your foot marks once. Your heels go back on them for every pose, including the turns.
- Take each photo at the bottom of a normal exhale. Never suck in.
- Most "no change" weeks are pose drift: arms pinned, a partial side turn, elbows at a new height.
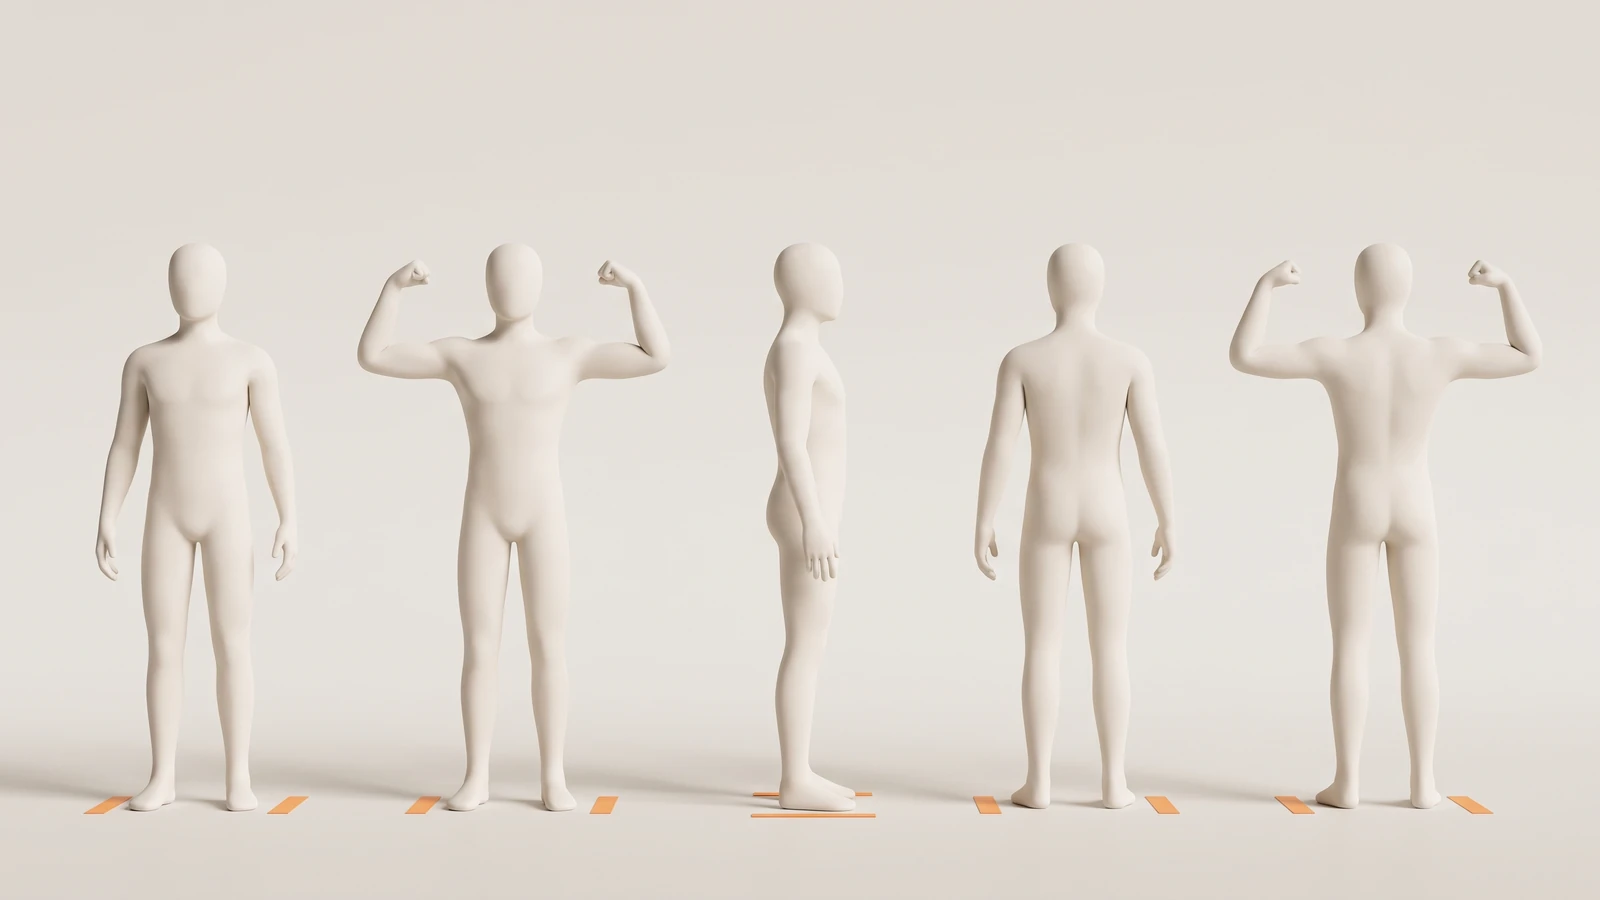
The five progress picture poses at a glance
| Pose | How to stand | What it shows best |
|---|---|---|
| Front relaxed | Facing the camera, arms a few inches from your sides | Overall shape, waist, shoulder-to-waist ratio |
| Front flexed | Elbows at shoulder height, fists up, flex | Arms, shoulders, chest, upper-body muscle |
| Right side | Turned 90° so your right side faces the camera | Posture, belly, glutes, chest depth |
| Back relaxed | Back to the camera, arms by your sides | Back width, love handles, hips, legs |
| Back flexed | Back to the camera, elbows up, fists up, squeeze | Lats, upper back, rear shoulders, arms |
Relaxed poses are your honest baseline. Flexed poses show muscle that a relaxed stance hides. You want both: fat loss shows up most clearly relaxed, and muscle gain often shows up first flexed.
Switch between the poses and people below to see what a consistent set looks like. Notice that every photo shares the same camera height, distance and footprint; only the pose changes.
Face the camera, heels on your marks, arms hanging a few inches from your sides. Breathe out normally and let your stomach sit where it sits. This is the anchor of the set: overall shape and waist.
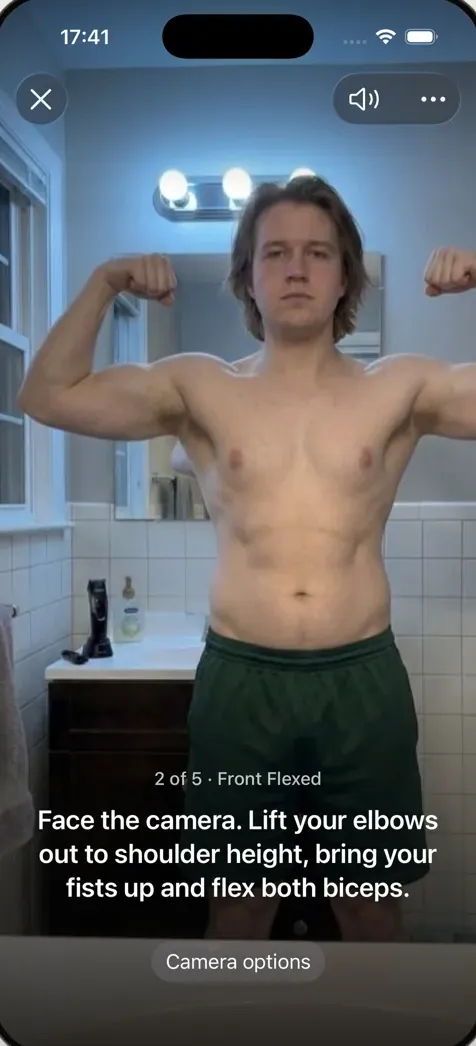
Same marks. Elbows up to shoulder height, fists up, and flex arms, shoulders and chest. Don't lean back or suck in; flex the arms, not the belly.
Turn a full 90° so your right side faces the camera. Arms hang naturally, eyes on the wall ahead. The profile is the most honest view of your midsection and posture.
Back to the camera, heels on the same marks, arms as in front relaxed. Head neutral. This shows back width, hips and legs, the parts a mirror never shows you.
From back relaxed, lift your elbows to shoulder height, fists up, and spread your back. Squeeze without twisting, and keep your head facing forward.
Before you pose: the parts that never change
Every pose shares the same foundation. Get it right once and it stays right; most of it is about your feet and your breath, not your muscles.
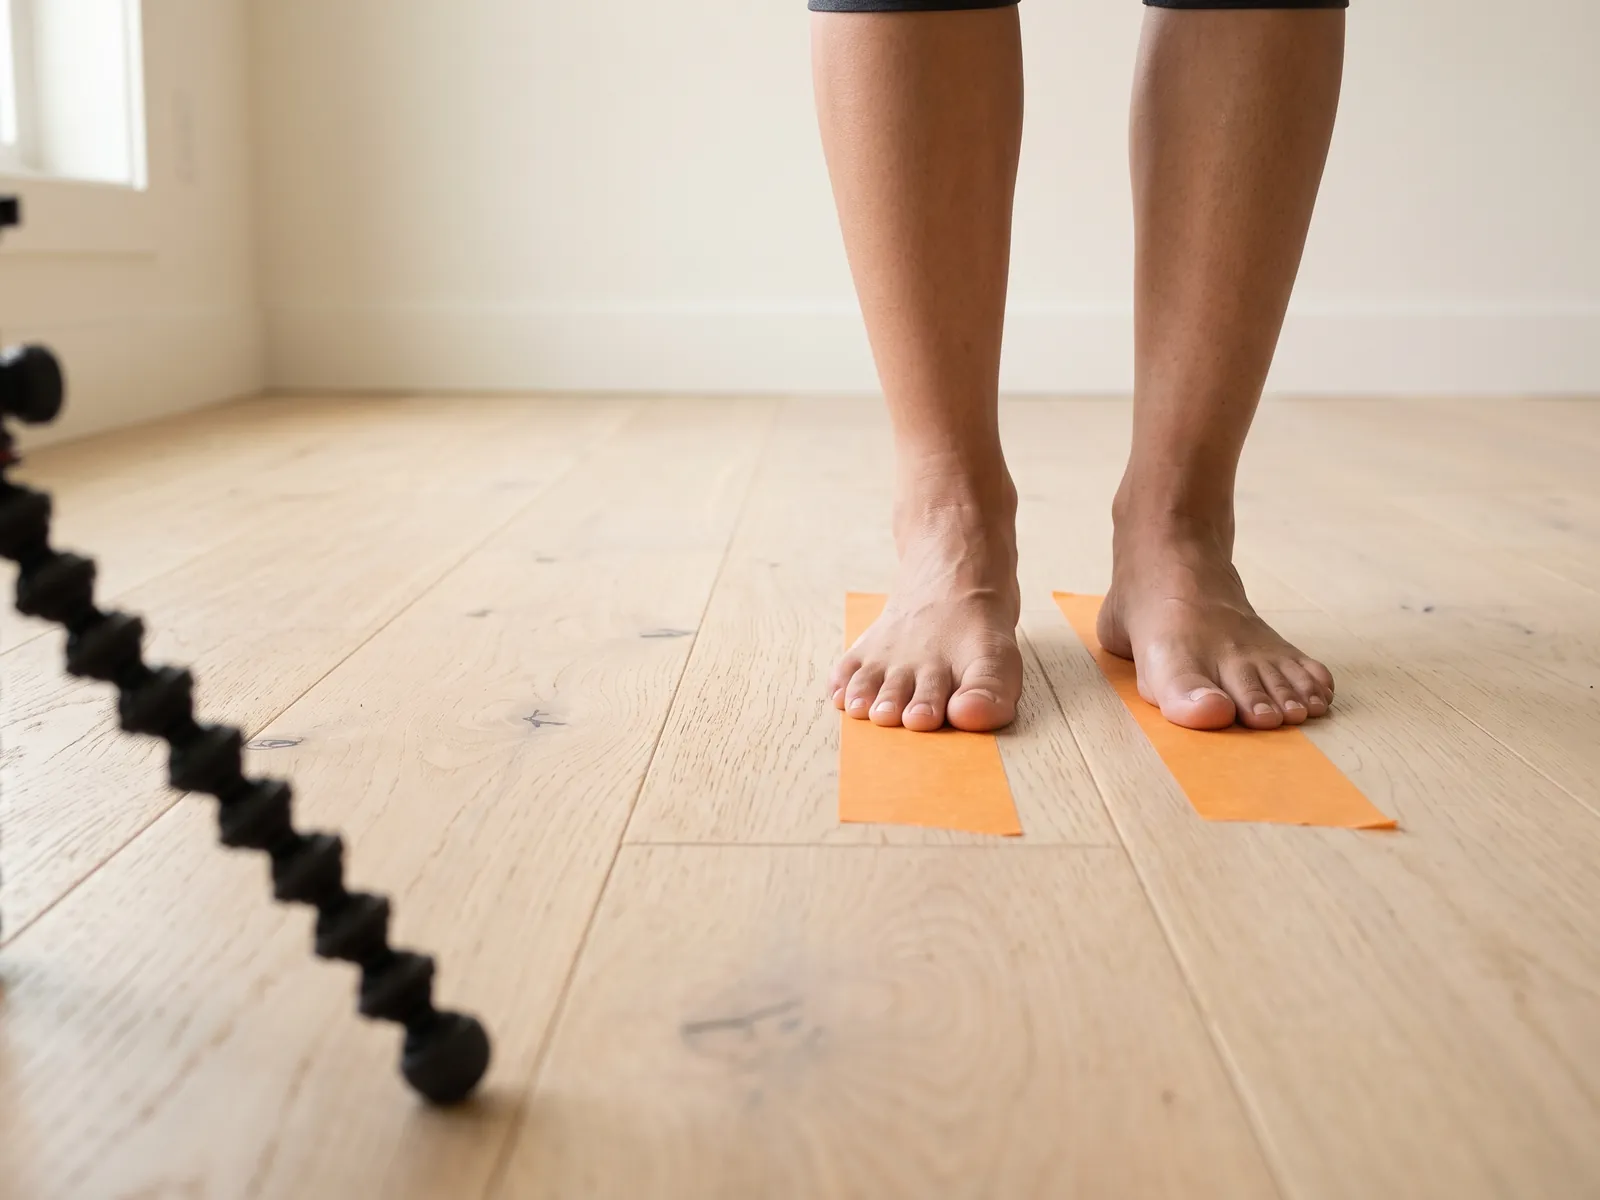
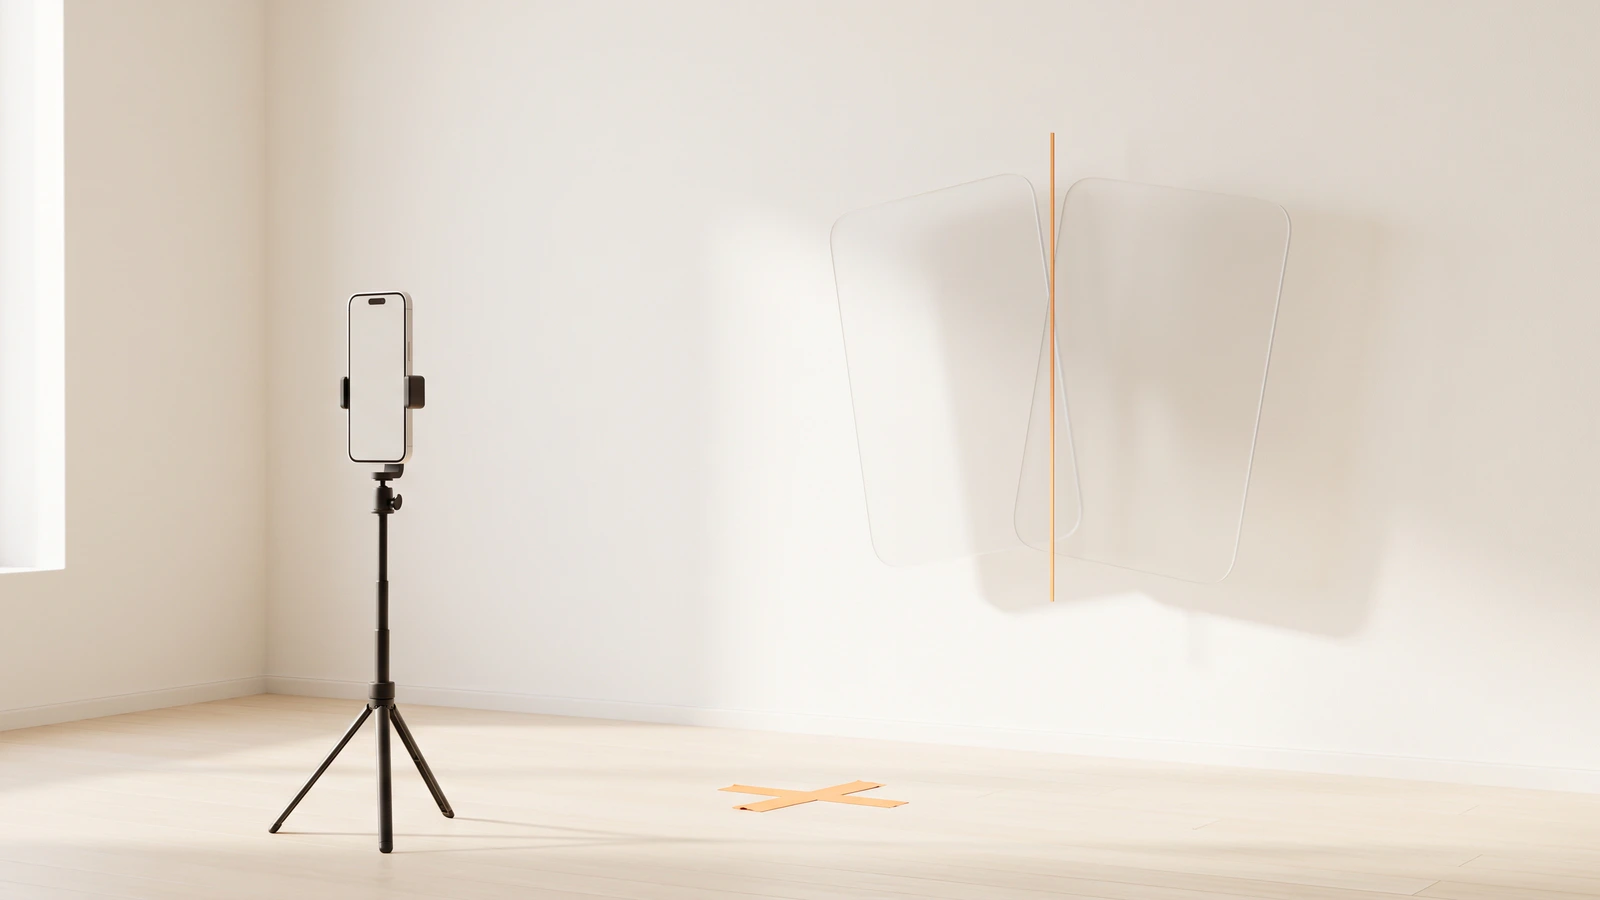
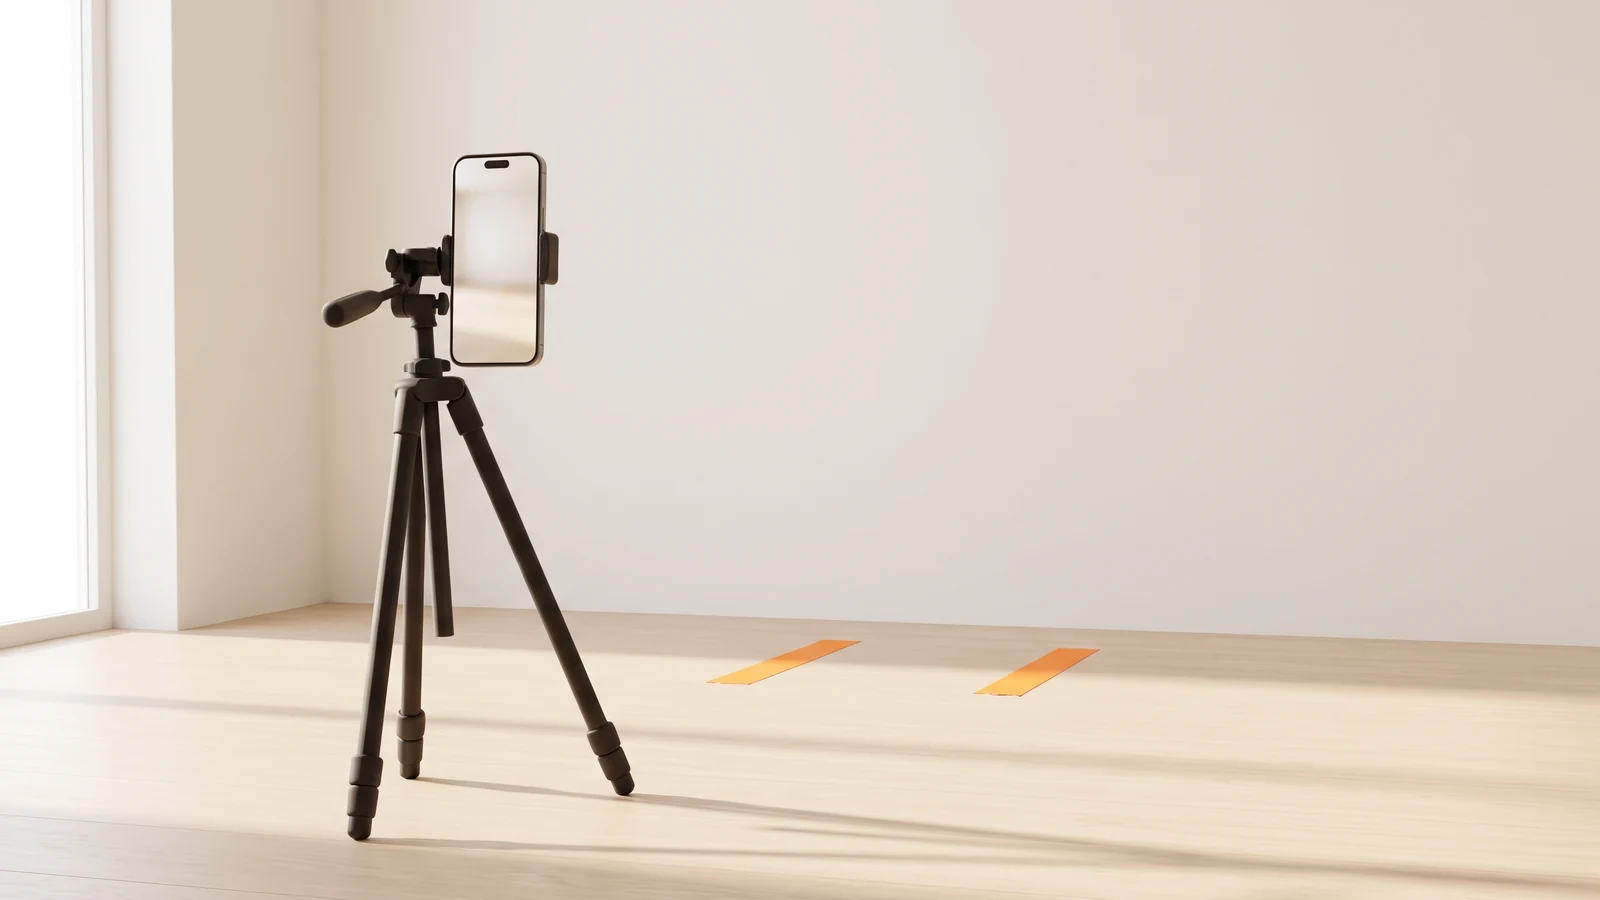
- Mark your feet. Two strips of tape on the floor, hip-width apart. Heels on the marks in every pose, including when you turn.
- Breathe out, then hold. Take the photo at the bottom of an easy exhale. Don't suck in, push your belly out, or hold a big inhale.
- Neutral face, chin level. Eyes on the lens (or straight ahead in side and back views). A tucked or lifted chin changes how your neck and shoulders read.
- Stand tall, not rigid. Imagine a string pulling the top of your head up. Don't arch your lower back or pin your shoulders back.
- Same clothes, same time of day. Fitted shorts or underwear and, if you like, a sports bra. Morning, before eating, is the easiest time to repeat.
1. Front relaxed
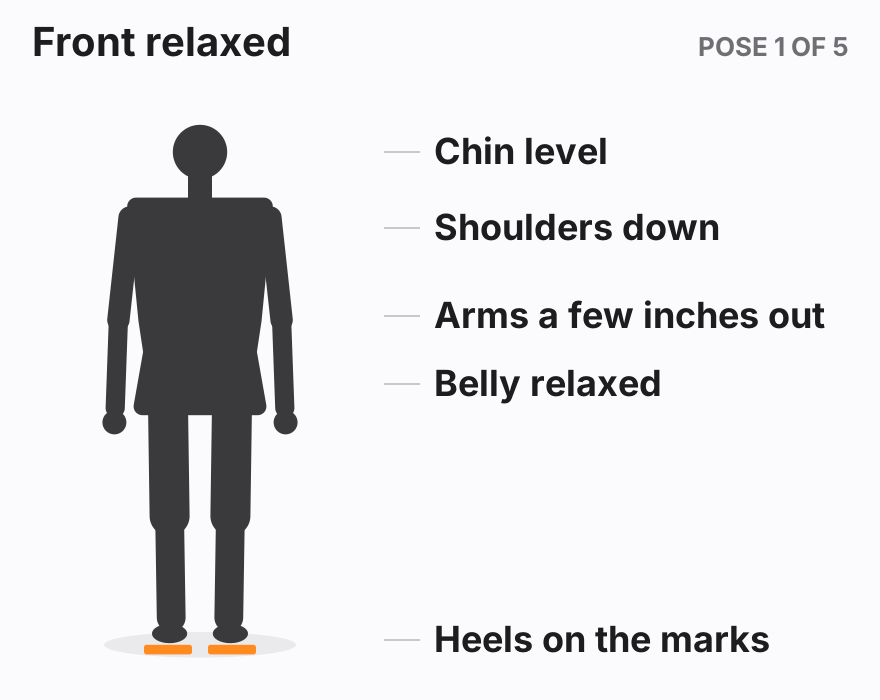
How to stand: Face the camera squarely with your heels on your marks and toes pointing forward. Let your arms hang with a small gap, a few inches, between your arms and your waist. Palms face your thighs or slightly forward; choose one and keep it. Relax your stomach and shoulders.
What it reveals: This is the anchor of the whole set. It shows your overall silhouette, waist width, the shape of your hips and thighs, and your shoulder-to-waist ratio. It is the photo most people compare first, and the one that tells the clearest story about fat loss or gain.
Watch for: arms pressed against your sides (which flattens them and widens your waist line), shrugging without noticing, and a "relaxed" pose that is secretly braced. If your abs are tensed in one photo and soft in the next, the comparison means nothing.
2. Front flexed
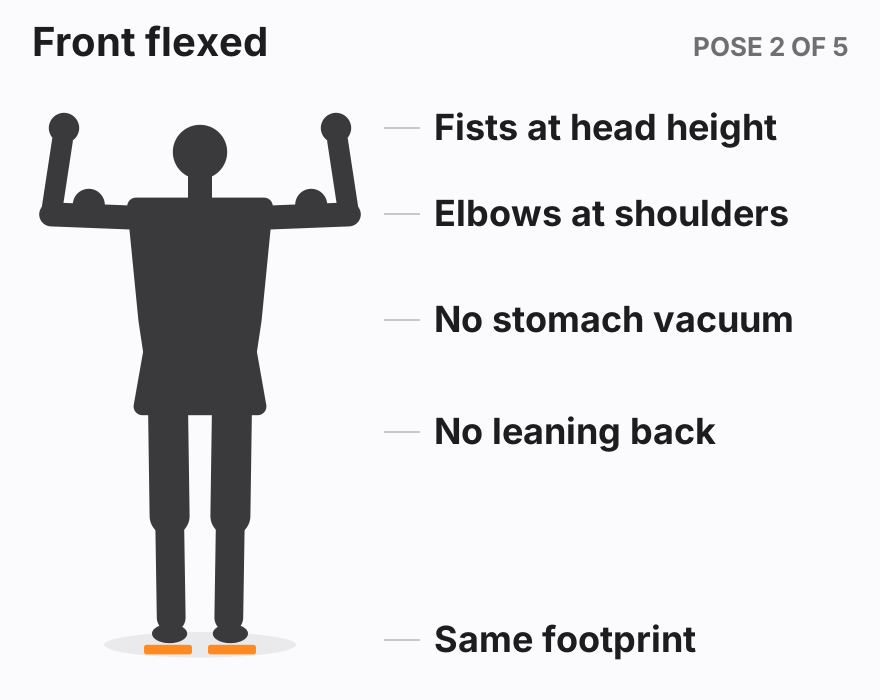
How to stand: Stay on the same marks. Lift your elbows out to shoulder height, bring your fists up so your forearms point roughly to the ceiling, and flex your arms, shoulders and chest. This is essentially bodybuilding's front double biceps, without the stage polish.
What it reveals: Biceps, shoulders, chest and the upper-body taper. For anyone trying to build muscle, especially during a body recomposition where the scale barely moves, this is often where change becomes visible first.
Watch for: elbows drifting higher or lower between sessions, a stomach vacuum, leaning back to puff the chest, and stepping off your marks to "get into" the pose. Your feet don't move.
3. Right side
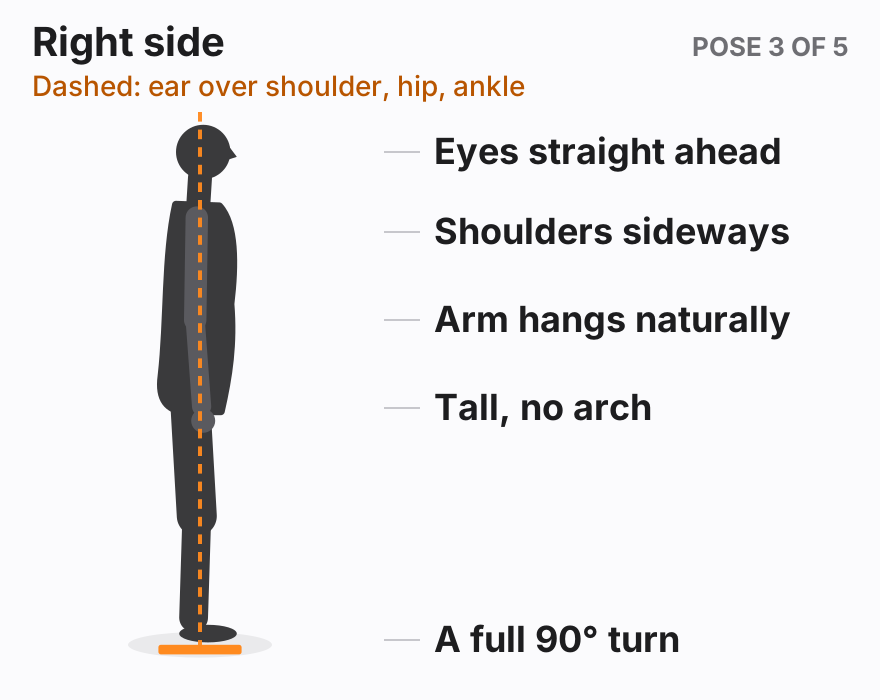
How to stand: Turn to your left until your right side faces the camera, a full 90 degrees. Keep your feet hip-width, toes pointing the same direction. Look straight ahead at the wall, not at the camera. Let your right arm hang naturally at your side so it doesn't block your torso.
What it reveals: The profile is the most honest view of your midsection. It shows belly and lower-back changes, chest depth, glute and thigh shape, and posture. Many people find their side photo shows change before the front does.
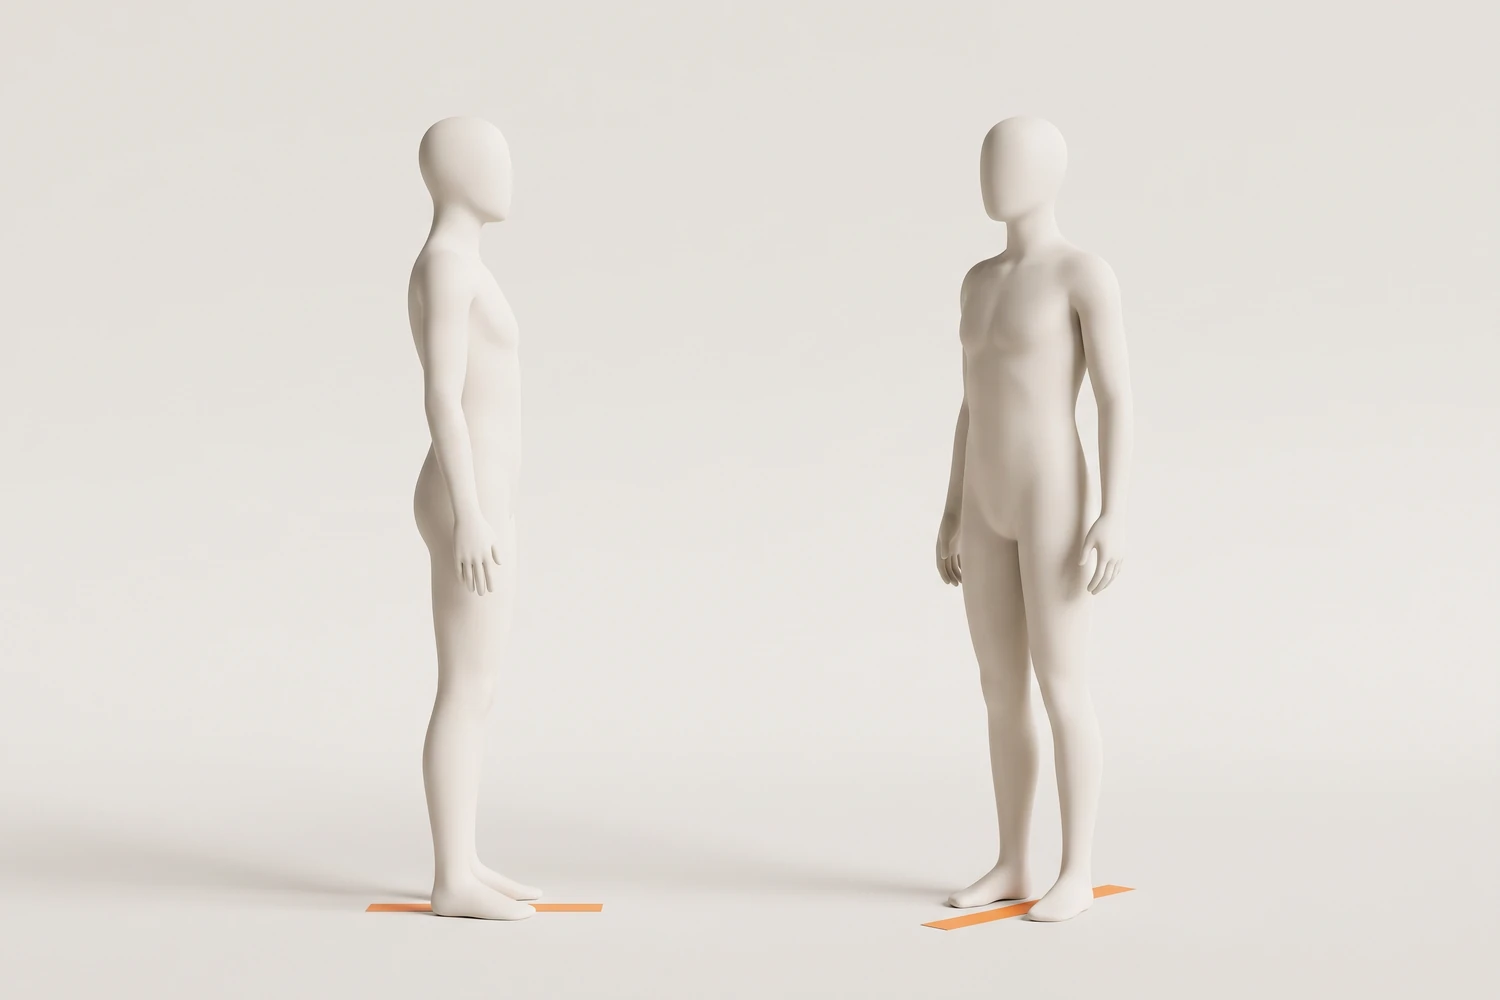
The most common side-view error is turning about 70 degrees instead of 90. If you struggle with it, put a second strip of tape on the floor pointing in the direction your toes should face. Pick one side and stick with it. The right side is the standard; take your left side too only if you're tracking an asymmetry, and keep it as an extra rather than a replacement.
4. Back relaxed
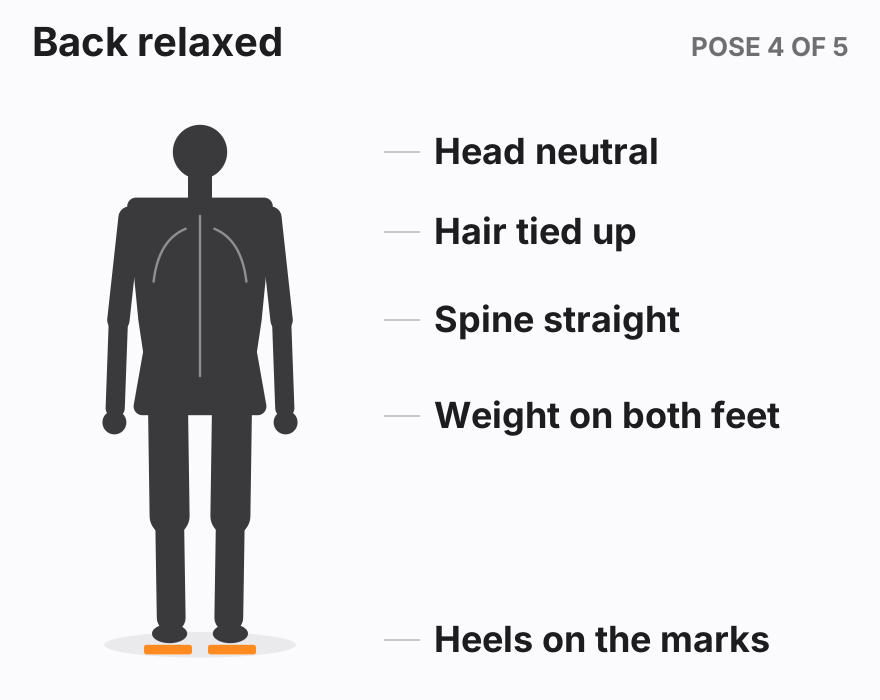
How to stand: Turn so your back faces the camera, heels on the marks, arms hanging as in the front relaxed pose. Keep your head neutral, looking at the wall ahead of you.
What it reveals: The parts you never see in a mirror: back width, the lower back and love handles, glutes, hamstrings and calves. It is also a good check on posture and whether one shoulder sits higher than the other.
Watch for: looking over your shoulder at the camera, leaning toward one side because a foot drifted, and hair covering your upper back. Tie it up the same way each session.
5. Back flexed
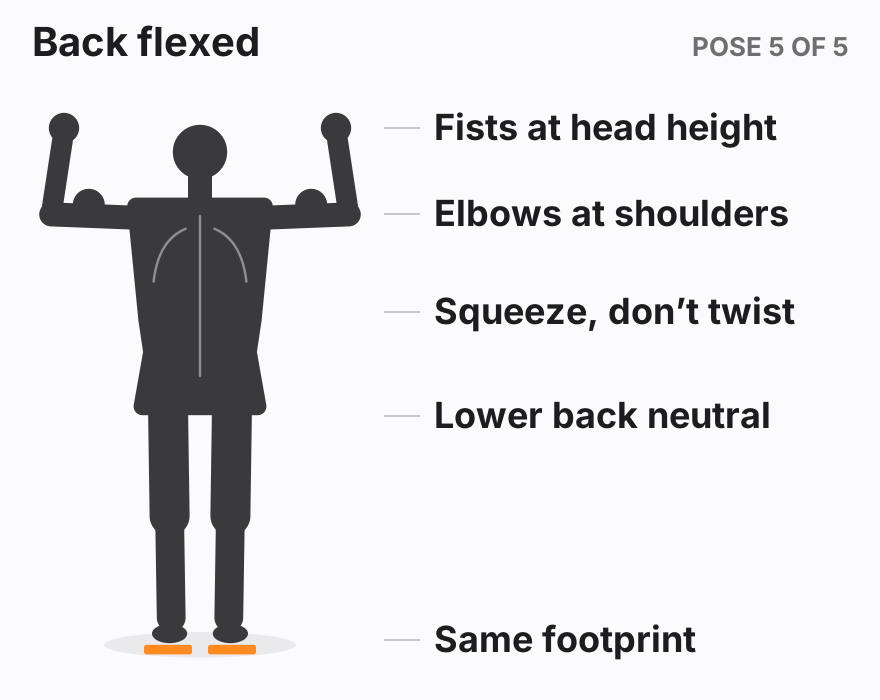
How to stand: Keep your back to the camera. Lift your elbows to shoulder height, bring your fists up, and flex, squeezing your shoulder blades and spreading your back.
What it reveals: Lats, upper back, rear delts and the back of the arms. If you train your back hard, this is the photo that makes it visible.
Watch for: twisting the torso to show off one side, different arm heights in different sessions, and arching the lower back to exaggerate the squeeze.
Common progress picture pose mistakes
Almost every frustrating comparison comes down to a handful of small habits. Step through them below; each one can look like progress, or hide it.
Arms pinned to your sides
Pressing your arms in flattens them and merges them with your waist, so your midsection looks wider. Leave a small gap at the waist, the same gap every time.
Sucking in or puffing the chest
Nobody sucks in exactly the same way twice, so it adds noise that can hide real change in either direction. Shoot at the bottom of a normal, easy exhale.
A partial side turn
A 70° turn shows part of your chest and a wider waist, and the exact angle changes every week. Turn a full 90° with your shoulders and hips together, and use a tape line for your toes.
Elbows drifting in flexed poses
Lower elbows shorten the shoulder line and change how the arms and lats read. Keep your elbows level with your shoulders in both flexed poses.
Checking the camera
Turning your head to look at the screen pulls your shoulders around with it, especially in back and side views. Set a timer or burst, look straight ahead, and check afterward.
Weight on one hip
Shifting onto one leg tilts the pelvis, raises one shoulder and makes one side of your waist look different from the other. Stand evenly on both feet with your heels on the marks.
Progress pictures for men and women: same poses?
Yes. The five poses work the same for progress pictures, male or female, because they're about repeatable angles, not about showing off a particular look. Small adjustments are fine as long as they stay fixed. Some women prefer palms facing forward in the relaxed poses, or a sports bra rather than going shirtless. Some people skip the flexed poses entirely in the early weeks of a fat-loss plan. Whatever you choose, make it your routine.
Optional extras for bodybuilding progress photos
If you compete or train like you might, add a few extras after the core set.
- Mandatory poses. The NPC's official bodybuilding rules list eight: front double biceps, front lat spread, side chest, back double biceps, back lat spread, side triceps, abdominals and thighs, and most muscular. Shooting them every few weeks helps you practice posing and spot weak points.
- Quarter turns. Judges compare competitors in relaxed quarter turns: front, both sides, back. Your five standard poses already cover most of this; adding a left side completes it.
- Close-ups. Tight shots of abs, legs or arms can be useful, but they're hard to repeat. Treat them as a bonus, never as a substitute for the full-body set.
Extras go after the standard five so the core set is always shot the same way, in the same order, even on days you're short on time.
Keep the routine fixed
The pose itself matters less than repeating it. Clinical photographers learned this long ago: plastic surgery guidance stresses the same lens, lighting and patient position for every photo so that before-and-after images are a valid comparison, and dermatologists developed a standardized set of whole-body poses for the same reason. Your progress photos benefit from the same discipline.
- Same place, same marks. Same camera position and height, same tape on the floor.
- Same five poses, same order. Front relaxed, front flexed, right side, back relaxed, back flexed.
- Same breath, face and clothes. Easy exhale, chin level, the outfit you wrote down.
- Same schedule. Weekly or every two weeks, whichever you'll actually keep.
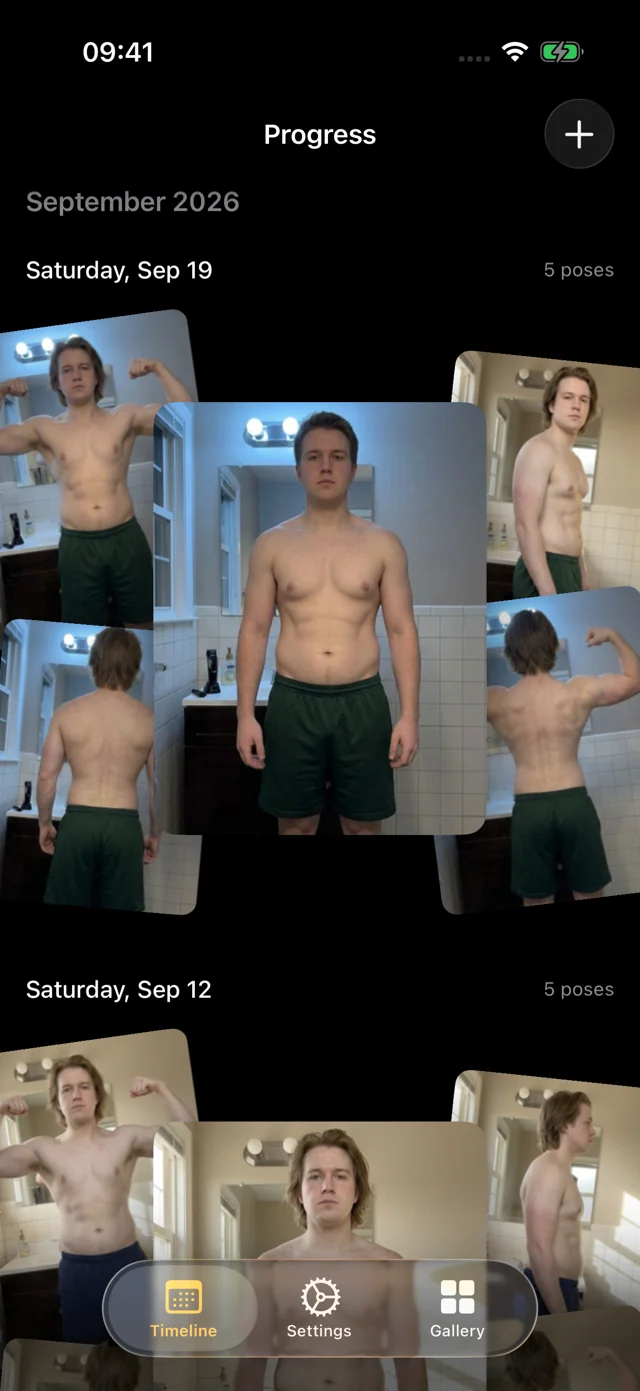
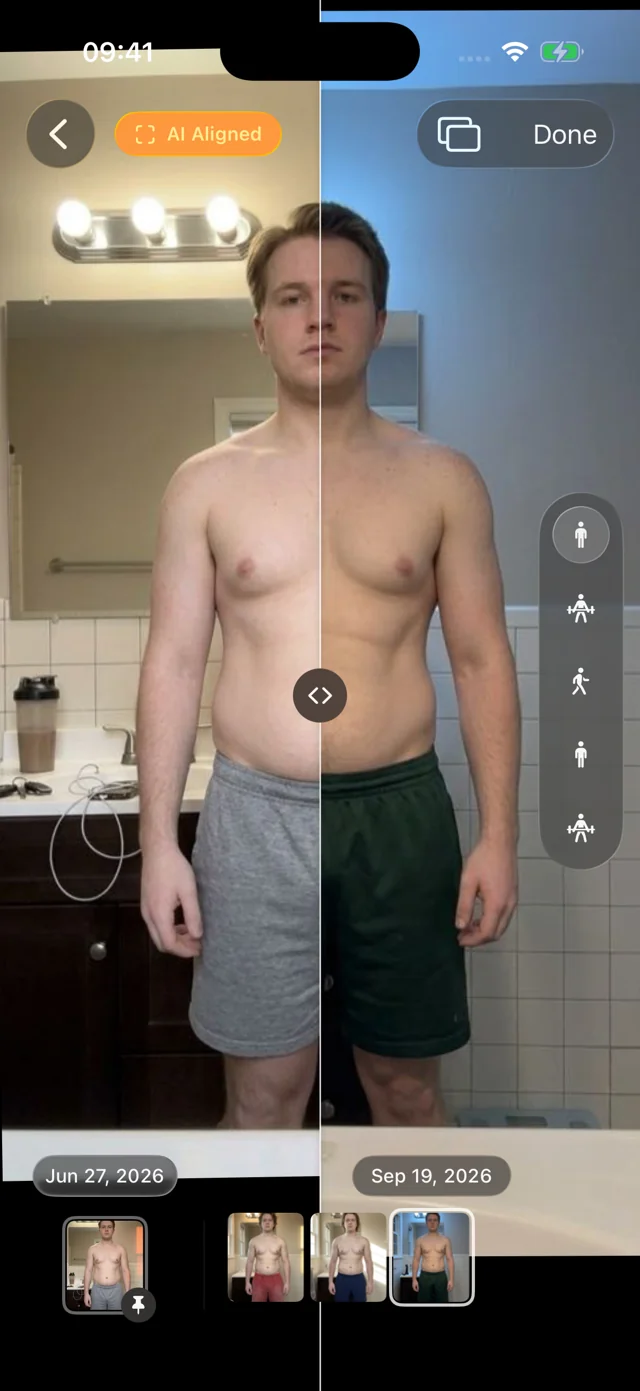
Even with all of that, no two sessions line up perfectly. You'll stand a few inches closer or the phone will tilt slightly. Progress fixes that. Set your phone down and it calls each of these five poses by voice, waits until you're in frame and holding still, and takes the photo for you, about a minute for the whole set. Every photo is then AI aligned on your iPhone, so you can slide between two dates and see the change instead of the framing.
When you're ready to show the result, our guide to before and after photos covers comparing and presenting them, and the free before and after photo maker puts two of your pose shots side by side in your browser. For how long visible change can take, see the body transformation timeline.
FAQ
How do you pose for progress pictures?
Stand on the same floor marks with feet hip-width apart, face the camera, breathe out normally and keep a neutral face. Take five poses in the same order every session: front relaxed, front flexed, right side, back relaxed and back flexed.
Should you flex in progress pictures?
Do both. Relaxed poses are your honest baseline and show changes in shape and fat; flexed poses show muscle you can't see when relaxed. Keeping both in every session lets you compare like with like.
Should you suck in for progress photos?
No. Take the photo after a normal, easy exhale with your stomach relaxed. Sucking in is hard to repeat exactly, so it adds noise and can hide real change in either direction.
What are the mandatory poses in bodybuilding?
The NPC lists eight: front double biceps, front lat spread, side chest, back double biceps, back lat spread, side triceps, abdominals and thighs, and most muscular. Requirements vary by federation and division, so check your organization's current rules before a show.
How many progress picture poses do you need?
Five covers every important angle without becoming a chore. Fewer than three (front, side, back) misses too much; many more makes it hard to stay consistent.