Progress
Before and After Photo App Guide: Make Fair Comparisons
What a good before and after photo app should do, why most comparisons mislead, and how to line up two photos by hand, free in your browser, or on iPhone.
On this page 8 sections
- Why most before-and-after photos mislead
- What makes a before-and-after comparison fair
- How to align before and after photos by hand
- What to look for in a before and after photo app
- How Progress makes before-and-after photos comparable
- Compare more than your first and last photo
- Making a before-and-after you'll trust
- FAQ
A fair before-and-after photo shows the same body, in the same pose, at the same scale, in the same spot in the frame. Change only the date. Most comparisons change much more than that: the camera is a step closer, a little lower, the light comes from a different window, and one photo was taken right after a workout. The result can exaggerate progress or hide it completely.
A good before and after photo app fixes the part you can't control by hand. It lines up both photos by your body, not by the edges of the picture, then lets you compare them with a slider or a quick swap. To line up two photos right now, use our free before and after photo maker in your browser.
Key takeaways
- Distance, camera angle, lens, light, pump and posture can each fake or hide weeks of change.
- Keep the setup identical, then fix scale and position afterward. That second step is alignment.
- By hand, align with two matching points on your body, never by the photo's edges.
- For ongoing tracking, choose an app that aligns automatically and keeps photos on your device.
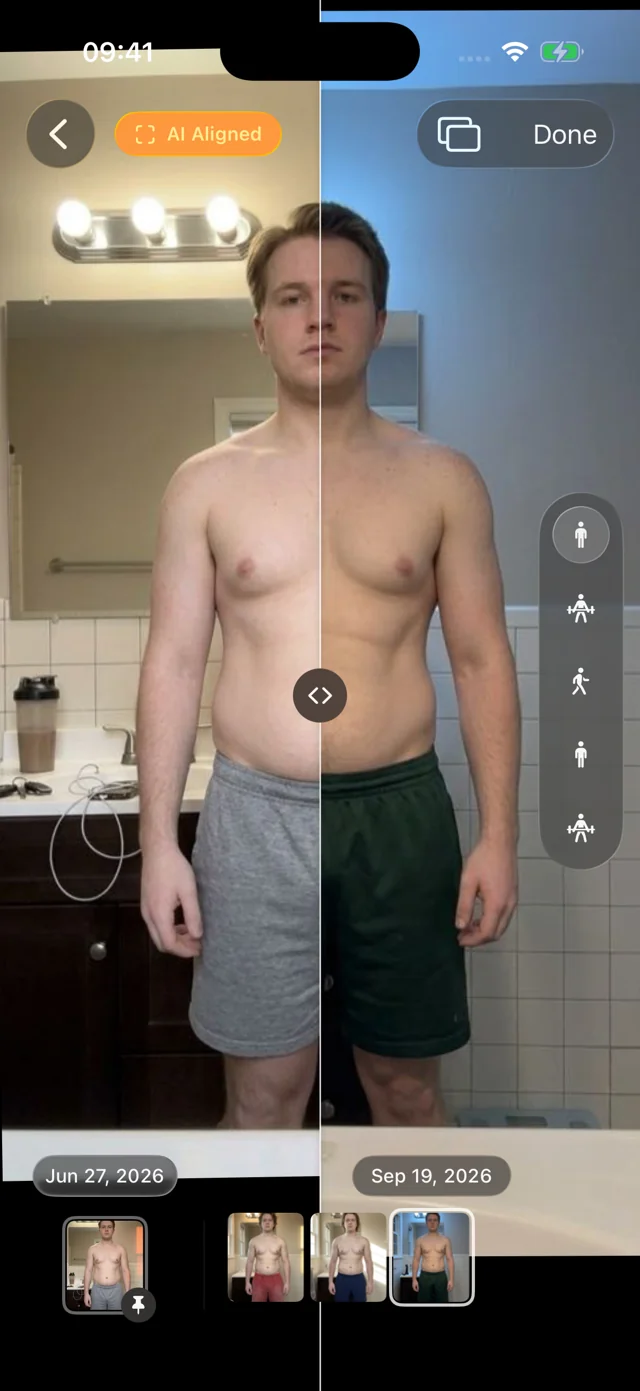
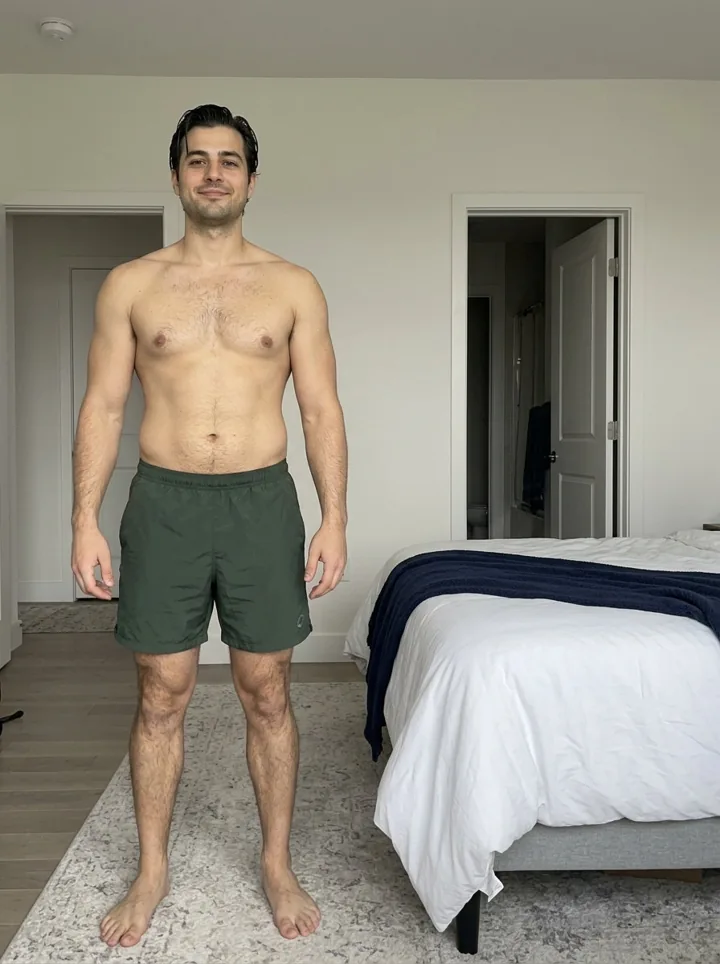
Before the details, see how much framing alone matters. These two photos were taken weeks apart by the same person, with the phone set up a little differently each time. Drag the divider, then switch AI aligned off to see them exactly as shot.
Why most before-and-after photos mislead
Look at almost any transformation post and you can spot at least one of these. None of them requires bad intent. They happen because two photos taken weeks apart are rarely taken the same way.
Step through the six that matter most. In each pair, only the setup changed, not the body.
A step closer looks bigger
Move the camera closer and you look bigger, and phone lenses exaggerate whatever is nearest. Your chest and stomach grow more than your legs. A half-step difference between sessions is enough to make your shoulders look broader or your waist look thicker.
Camera height and tilt reshape you
A low camera tilted up lengthens the legs and shrinks the upper body. A high camera tilted down does the opposite. Keep the phone level, at the same height every time, around chest or navel.
0.5x is not a zoom setting
Switching between the 0.5x, 1x and front cameras changes perspective, not just how much fits. To fill the frame with the ultra-wide you stand closer, which widens the middle of your body. Pick one lens and never switch.
Overhead light carves fake definition
A single light above you throws shadows under your chest and across your stomach that read as muscle definition. Soft, even light from the front hides it. Shoot in the same light, at the same time of day.
The post-workout pump fades
Right after training, worked muscles are temporarily fuller and your skin is flushed. It looks great and lasts about as long as your shower. Take progress photos rested, ideally in the morning before eating.
Standing tall is worth weeks of work
Drawing in your stomach, flaring your lats and lifting your chest can look like a month of progress. Relaxed means relaxed in both photos; if you flex in one, flex the same way in the other.
Distance matters more than most people expect. A model published in JAMA Facial Plastic Surgery showed that a photo taken about 12 inches from the face makes the base of the nose appear roughly 30 percent wider than one taken at 5 feet (Ward et al., 2018). The same perspective effect applies to a torso: whatever is closest to the lens grows.
The pump is real too. In one study of trained lifters, elbow-flexor muscle thickness increased significantly from before to after a single session, an acute swelling that fades. And body weight varies by about half a percent from one day to the next even when nothing meaningful has changed, mostly through water. Food, water and sodium shift how your midsection looks from morning to night, so a photo after dinner and a photo before breakfast are not the same baseline.
What makes a before-and-after comparison fair
You can't freeze every variable, but you can hold the important ones steady and correct the rest afterward.
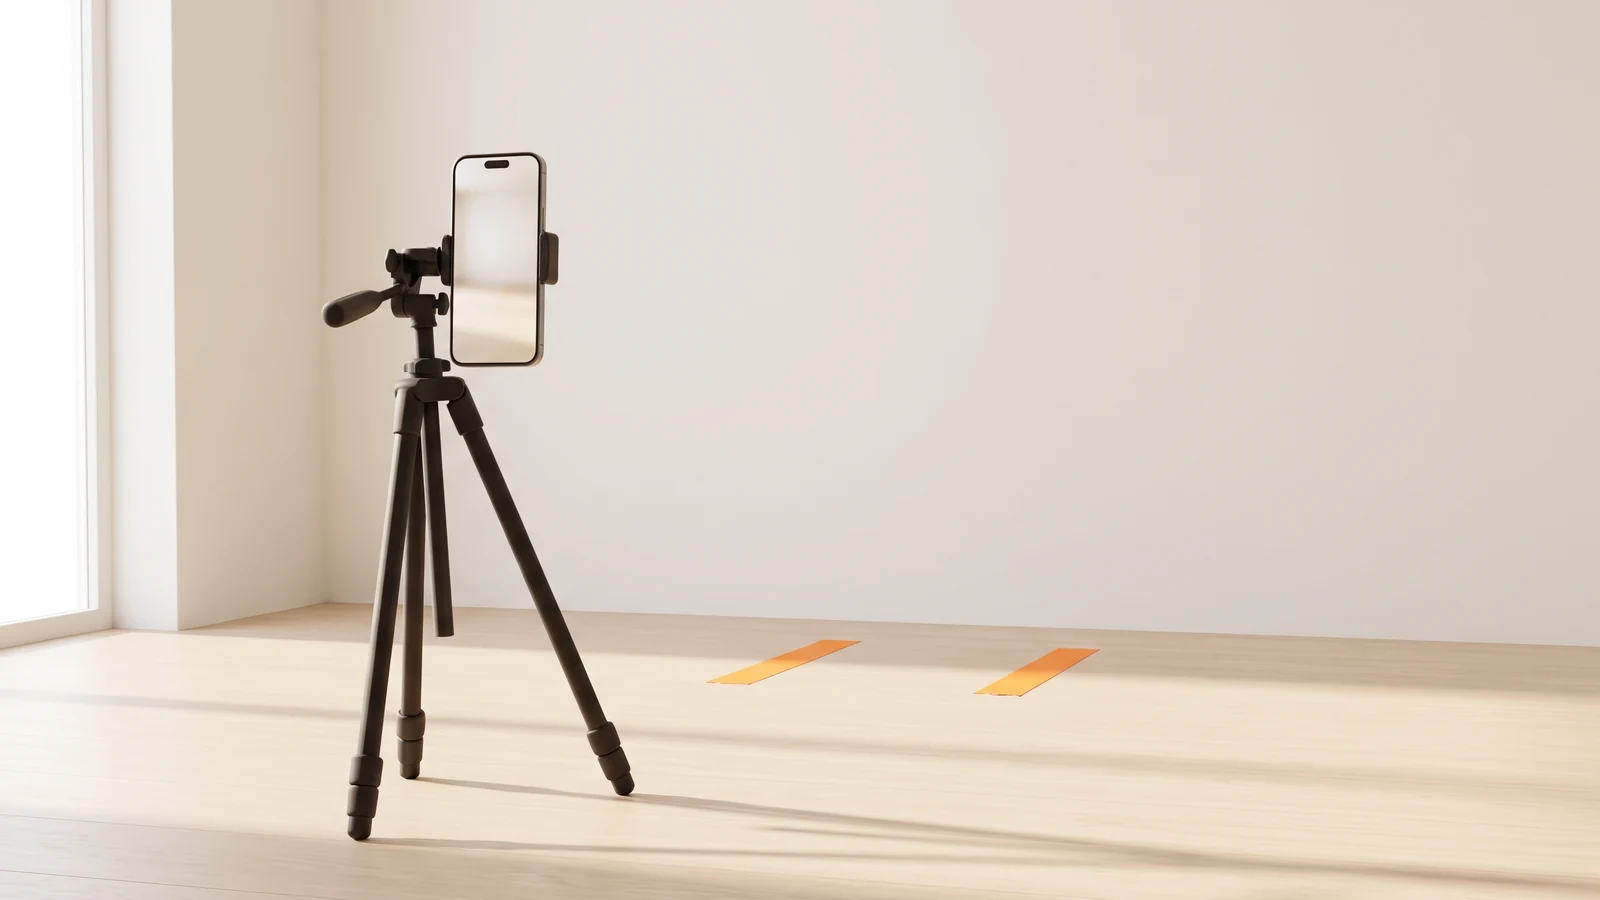
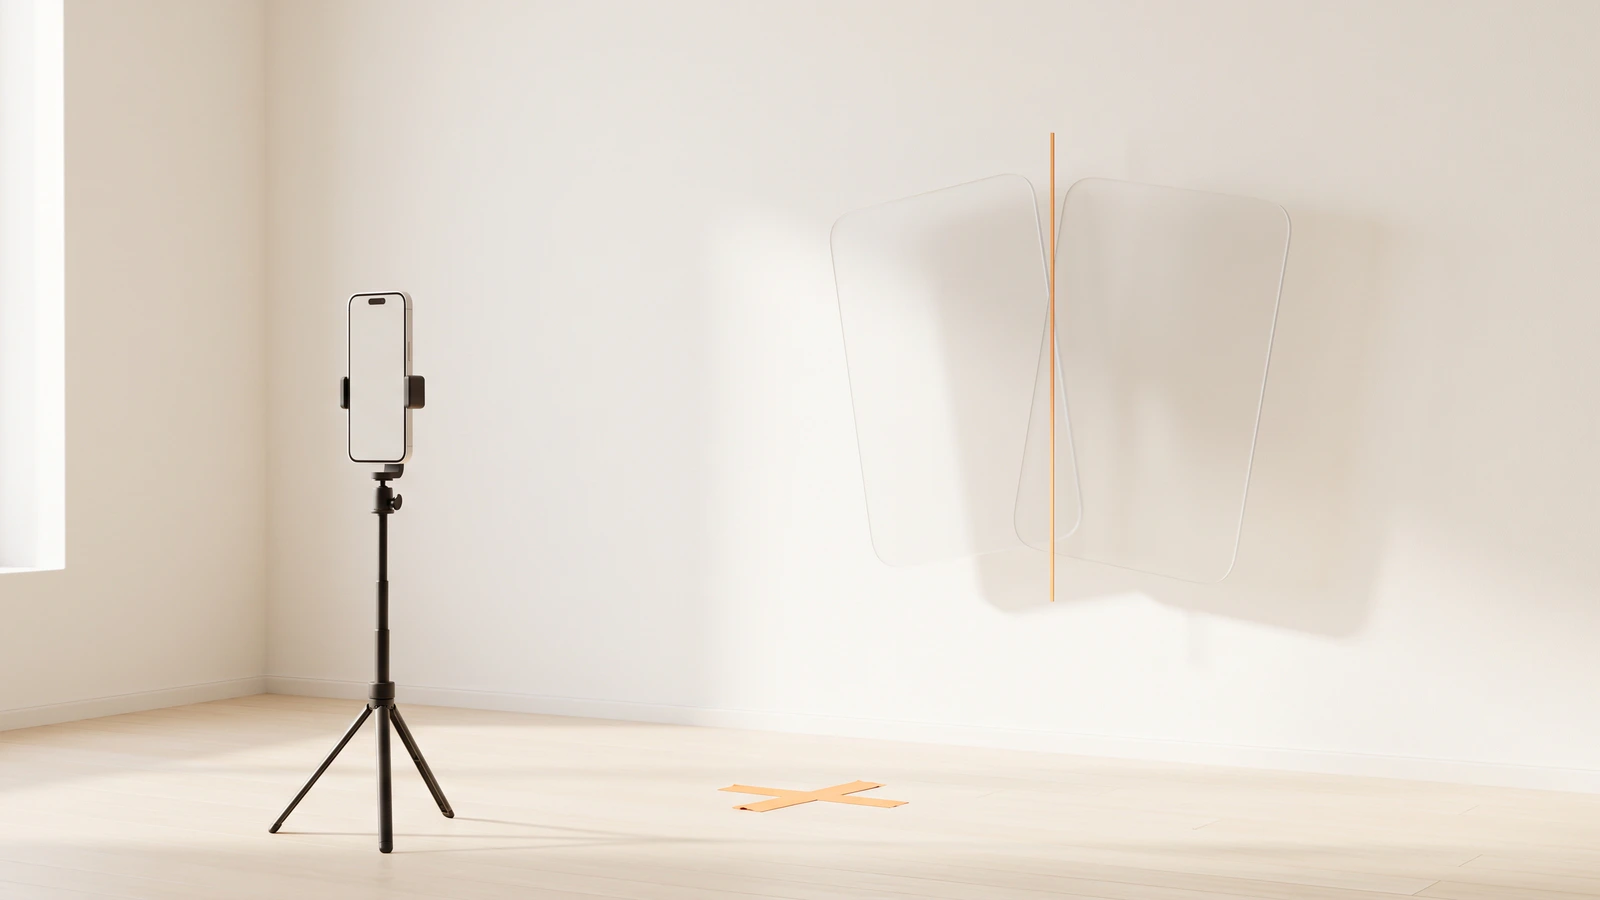
- Same setup. Same room, same spot on the floor, same camera height (around chest or navel), same lens. Set the phone on something stable and use a timer, never a mirror.
- Same conditions. Same time of day, ideally in the morning before eating, and never right after training. Similar clothing so waistbands sit in the same place.
- Same poses. A fixed routine of standard progress photo poses means you're always comparing front with front and side with side.
- Same scale and position in the frame. The one you can't fully control at capture time, because you never stand in exactly the same spot. It's what alignment fixes.
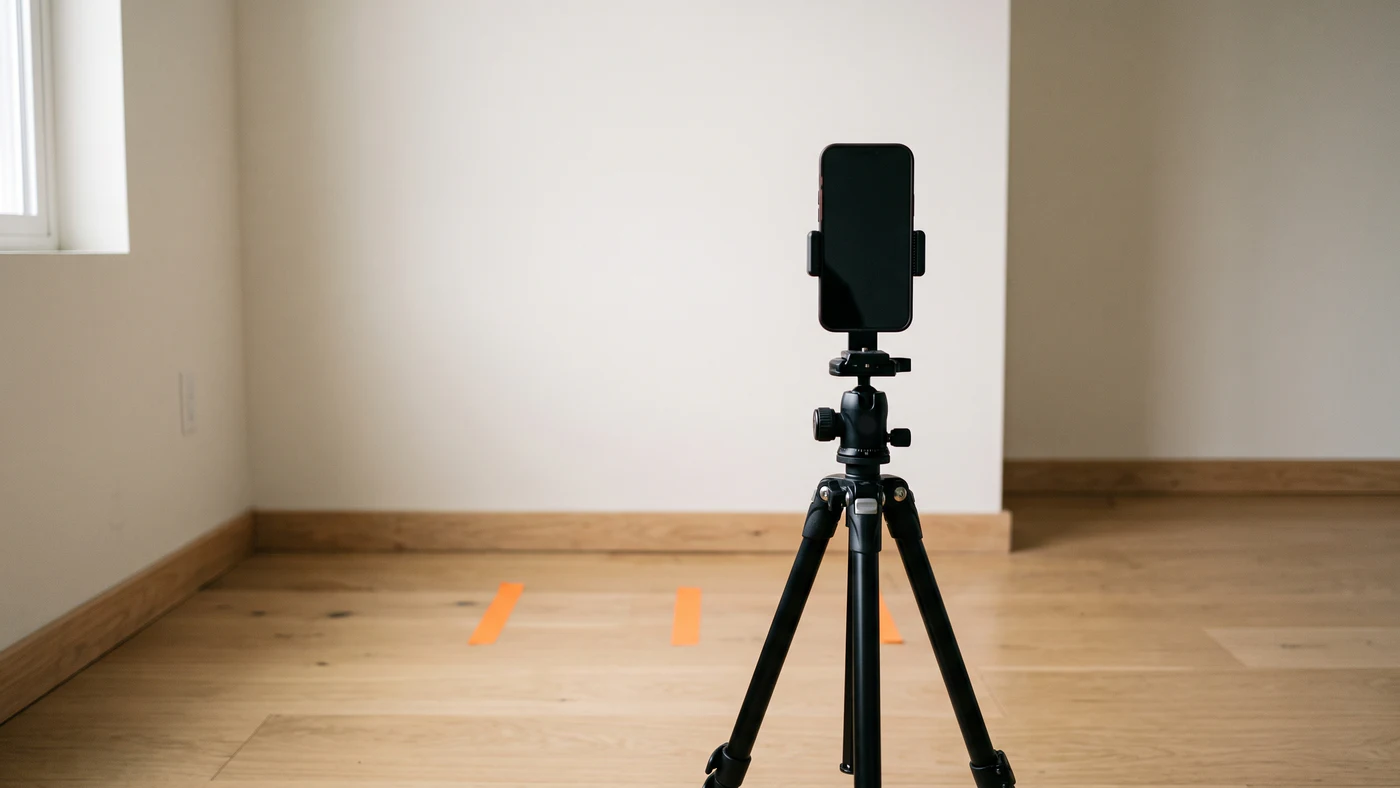
Our guide to taking progress photos that actually show change covers camera height, distance and lighting in detail.
The fourth point is where most comparisons break down. Even with a tripod and tape on the floor, you'll end up a few inches closer or further away, or framed a little higher. That's enough to make your shoulders look wider or your waist look smaller, which is exactly what the raw view in the comparison above shows.
How to align before and after photos by hand
Alignment means scaling, rotating and shifting one photo so that your body occupies the same space in both. The simplest reliable method uses two points that you can find on both photos: one high, one low. The notch between your collarbones and your belly button work well for front photos. Don't align by the top of your head (hair changes) or by the photo's edges (that's the framing you're trying to correct).
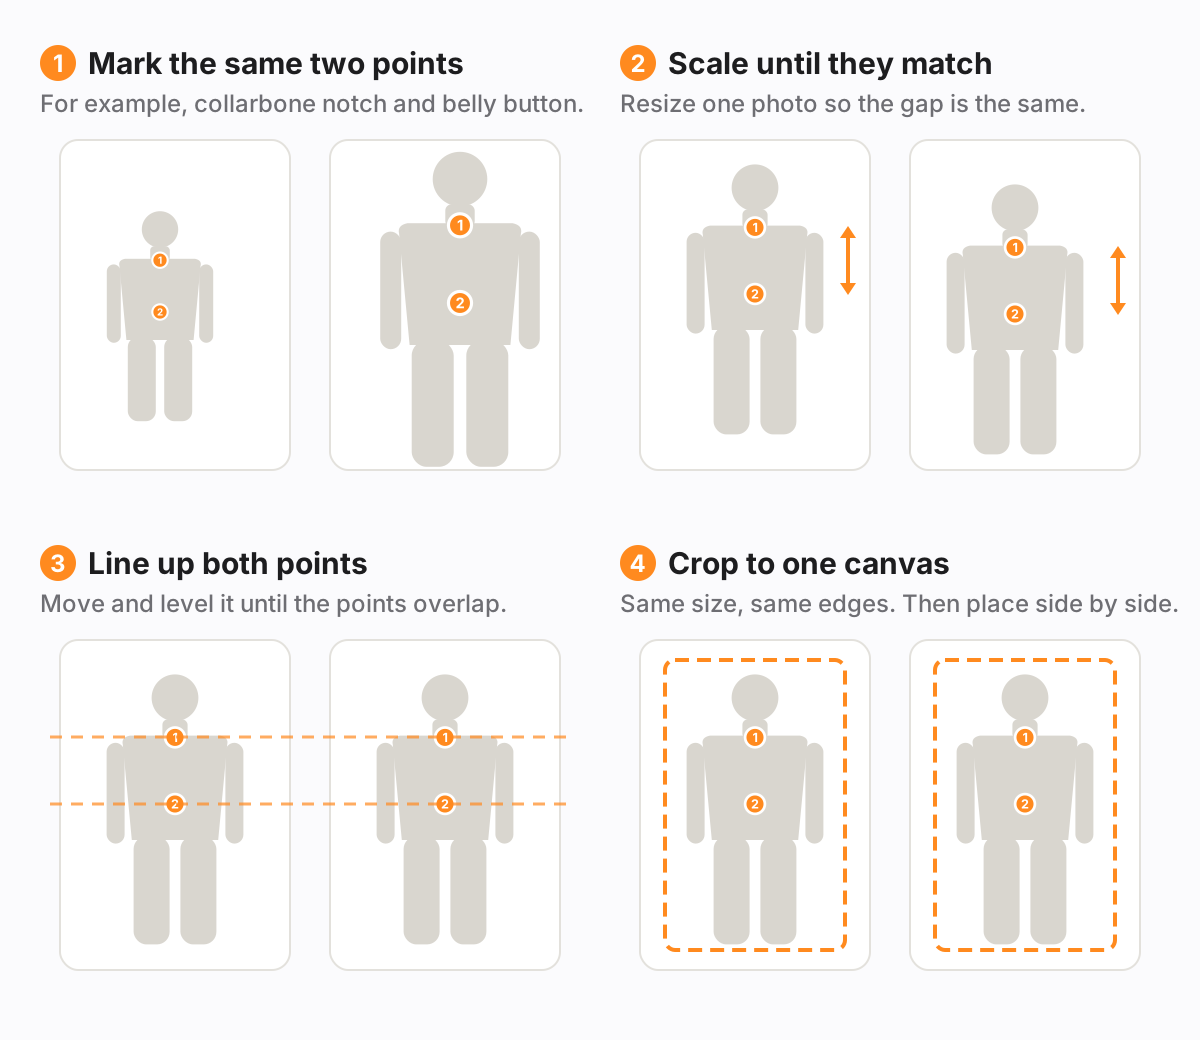
Any editor with layers works: Photoshop, Affinity Photo, Pixelmator Pro, or a free option like Photopea in the browser.
- Open both photos as layers on one canvas and lower the top layer's opacity to about 50 percent so you can see through it.
- Mark the two points on both photos with a guide or a small dot: the collarbone notch and the belly button.
- Scale. Resize the top layer proportionally (never stretch one axis) until the distance between its two points matches the bottom layer.
- Line up and level. Move the top layer until both points sit on top of each other. If you're slightly rotated in one photo, rotate a degree or two so the line between the points is vertical in both.
- Crop both to the same canvas. Pick a crop that contains your whole body in both photos, then export each at exactly the same pixel size.
- Place them side by side on a plain background with a small date label above each. Avoid filters, and apply any color correction equally to both.
For one pair, that's manageable. Across many dates and poses it gets tedious fast, which is where automatic alignment helps.
Can you make a before and after photo on iPhone without an app?
Partly. The Photos app can crop and straighten, and the Shortcuts app has a Combine Images action that places two photos side by side. Neither can scale one photo to match your body in the other, so you're left lining them up by eye. For a casual comparison that's fine. For lining up the body itself, use a browser tool like the before and after photo maker in Safari, or an app that aligns automatically.
What to look for in a before and after photo app
Collage makers, photo journals and workout trackers can all make before-and-after photos. A few worth knowing:

Autoframe: Progress PicsBiBi Builds LLC
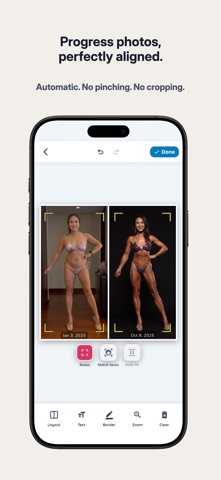
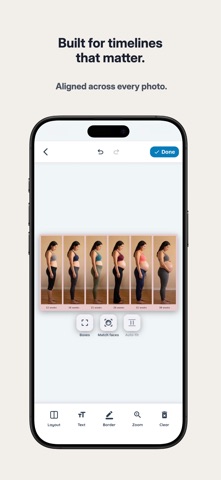
- Autoframe aligns photos automatically by body or face, with manual adjustments and shareable collages. A good pick for a pair you already have.
- Beforely offers one-tap alignment, slider and side-by-side comparisons and designed exports. Premium unlocks HD, watermark-free output.
- Metamorph is an ongoing photo journal with alignment and video and GIF exports.
- Hevy has photo comparison built into its workout tracker. If you already use it, try that first.
- Our browser photo maker aligns a pair when you place matching points, free in your browser. Best for one pair at a time.
For screenshots, prices and more options, see the progress photo app comparison.
For body progress, here's what actually matters in an app:
- Body-based alignment. The app should line up photos by your body, not just let you drag a picture around. Ghost overlays help at capture time, but they still depend on you matching an outline by eye.
- A real compare view. A side-by-side collage is good for sharing. For seeing change, a slider you drag across two aligned photos, or a full-screen swap between them, is far more revealing because your eye catches the difference at the edge.
- Any two dates, not just first and last. Week 1 against today is satisfying. Week 8 against week 12 tells you whether what you're doing now is working.
- Consistent poses. Front, side and back, every time, so you're comparing like with like.
- Privacy. These are photos of your body. Check where they're stored, whether the app needs an account, and whether processing happens on a server. An app that uploads your photos for "AI analysis" is asking for a lot of trust.
- Kept out of your camera roll. Progress photos mixed in with vacation pictures are easy to share by accident.
- Import and export. If you already have months of photos, the app should take them and line them up too, and you should be able to get every full-quality photo back out.
Free before and after photo apps
Many apps are free to download but charge for exports, add a watermark or limit resolution, so check the feature you need. Read the App Store privacy label too, to see what data the app collects and whether it's linked to you. For ongoing progress tracking, weigh alignment and privacy above price. If you're comparing dedicated options, our roundup of the best progress photo apps looks at them side by side.
How Progress makes before-and-after photos comparable
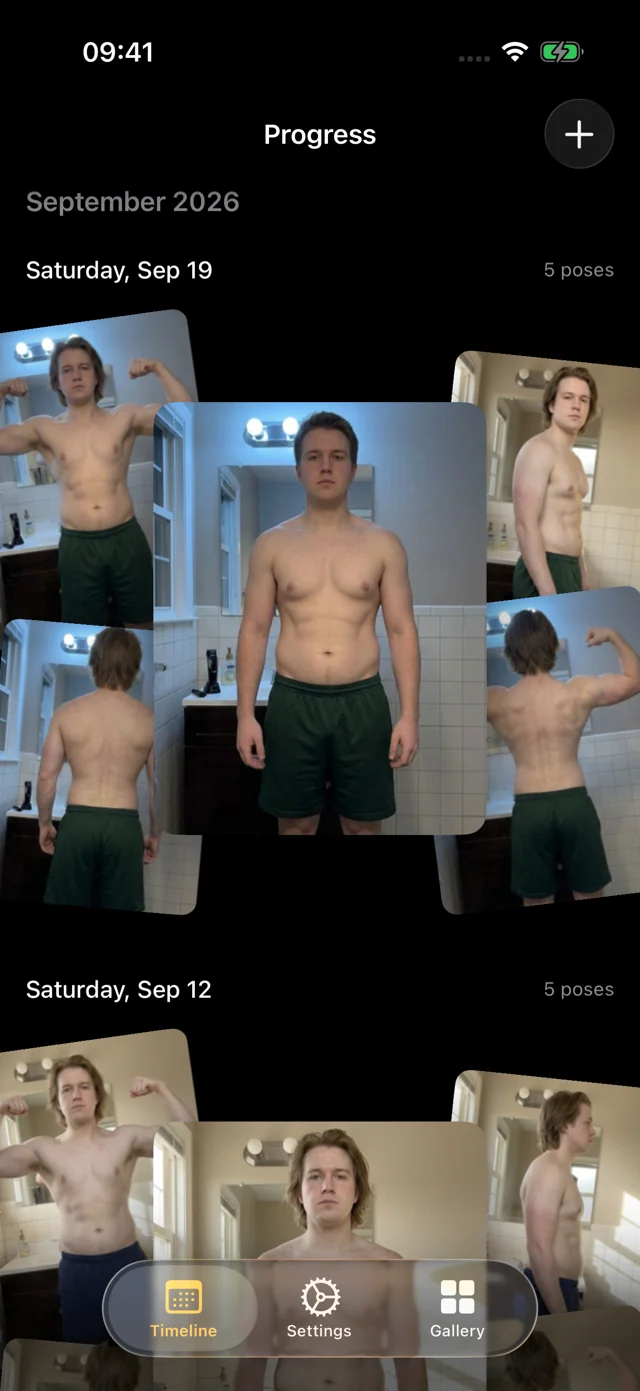
We make Progress, a progress photo journal for iPhone and iPad that does the alignment for you. A ghost overlay still asks you to match an outline by eye; Progress's AI aligns every photo you take or import automatically, so each one sits at the same scale and position as the rest. Your originals stay untouched.
To compare, slide a divider across two aligned dates or swap between them full-screen. Pin any day as your reference and scrub the filmstrip through everything since, front, side and back. Photos appear instantly, and because every one is already aligned, there's nothing to set up for each pair.
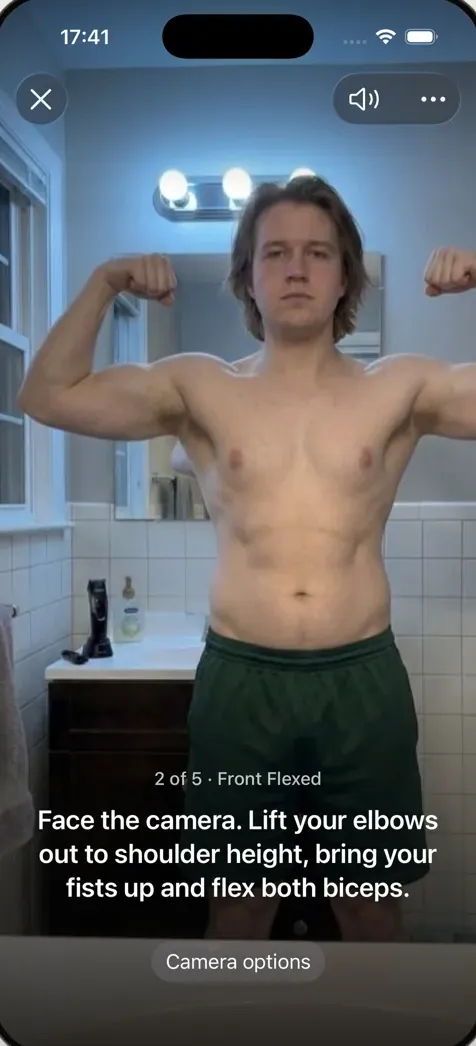
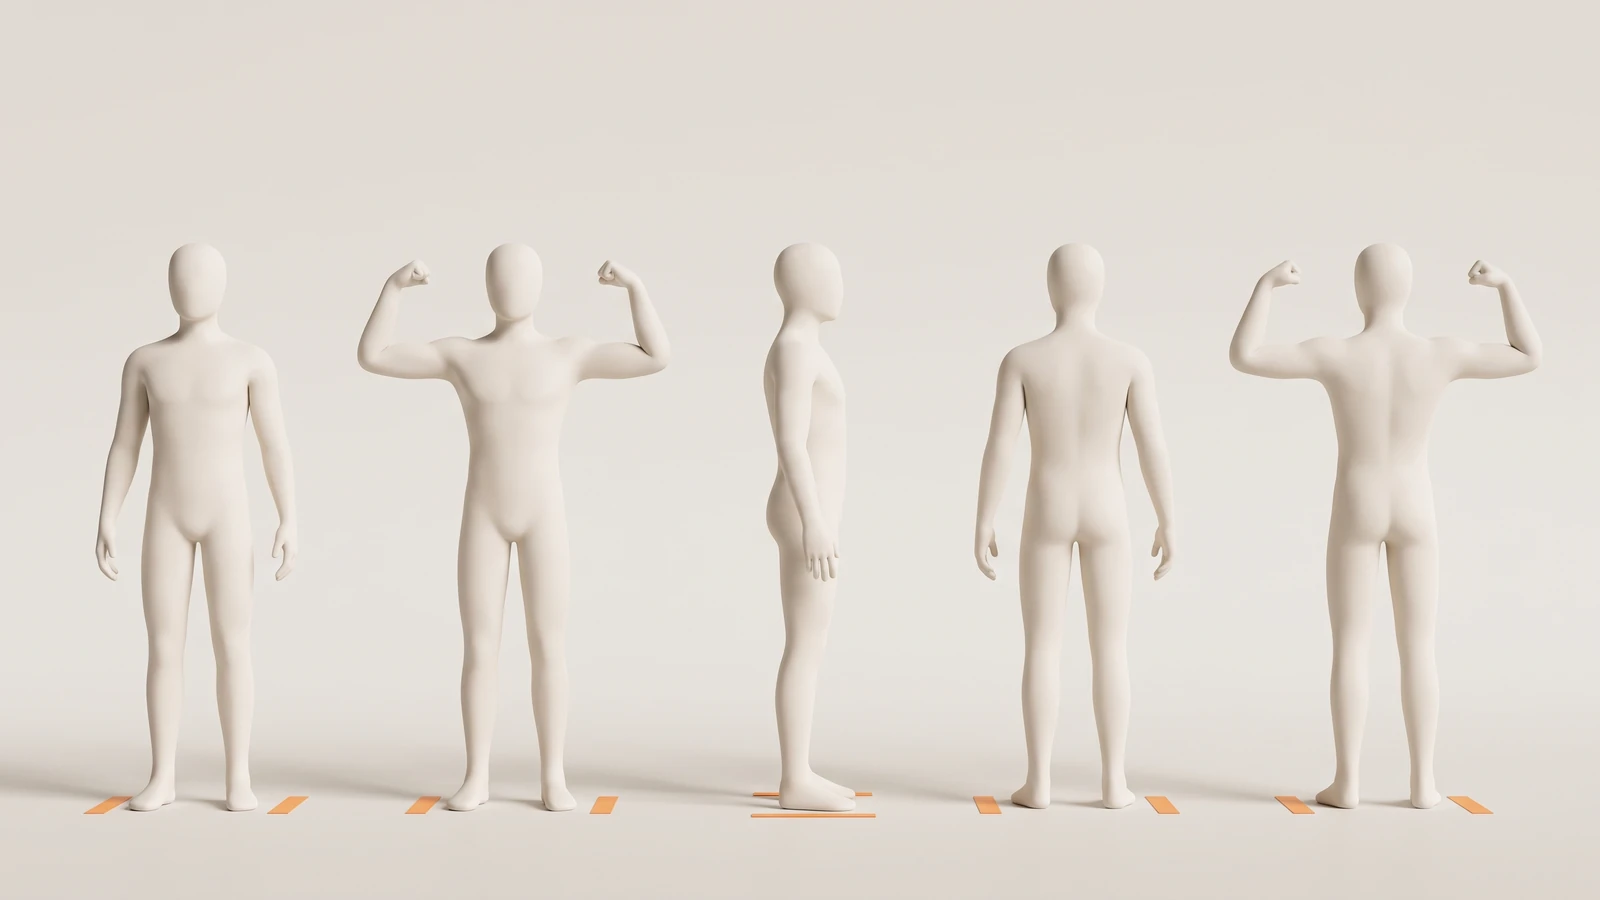
It handles the capture side too. Prop your phone on a shelf and step back: Progress watches through the camera and talks you through five poses (front relaxed, front flexed, right side, back relaxed, back flexed), with prompts like "Turn to your right until your left side faces the camera" or "Move a little closer." When you're in place and still, it takes the photo itself.
Already have a camera roll full of progress photos? Our own pose model, trained for progress photos and shipped inside the app, recognizes front, side and back. Import years of pictures from Photos or Files at once and Progress sorts them into dated sessions and aligns them, with nothing to label.
There's no account. Your personal data (photos, measurements, health data) never leaves your iPhone. We only collect anonymous usage data to improve the app, and you can turn it off in Settings. Progress is currently a free TestFlight beta for iOS and iPadOS 26.
Alignment doesn't fix everything. It can't undo a post-workout pump, harsh overhead light or a different time of day. Keep those consistent at capture, and let the app handle scale and position.
Compare more than your first and last photo
A single before-and-after hides the path between them. Was the change steady, or did it all happen in the first month? Are the last four weeks still moving? Scrubbing through every session answers that in seconds, but only if the photos are aligned; otherwise the jumps in framing drown out the change in your body.
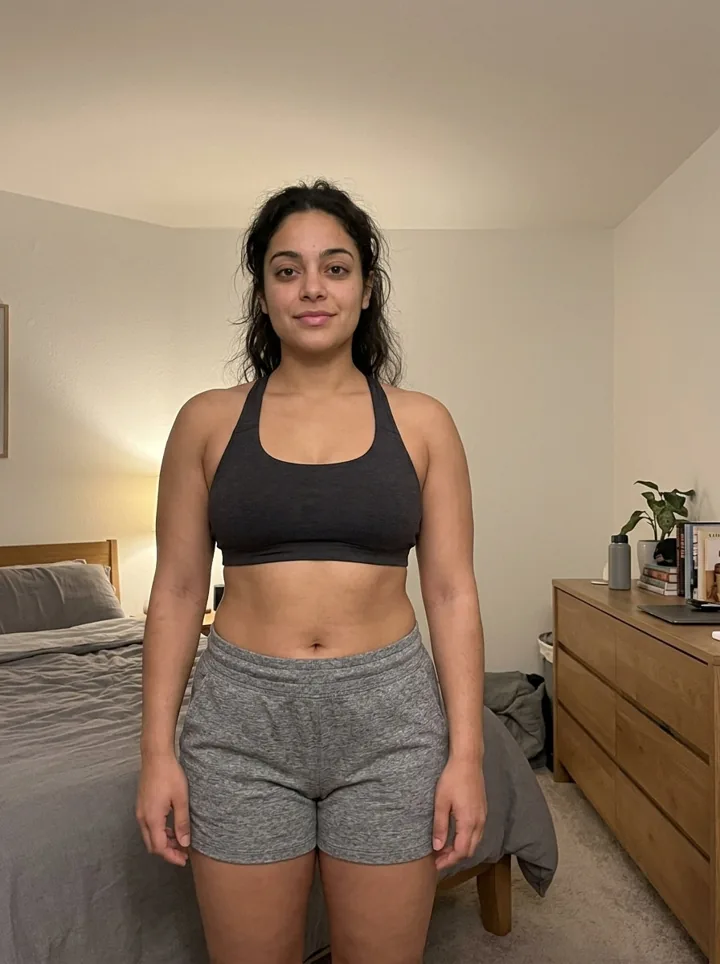
Useful checkpoints are every four to six weeks rather than every few days, since day-to-day water swings are bigger than a week's real change. Compare each checkpoint with your starting photo and with the one just before it.
Making a before-and-after you'll trust
A comparison is only as honest as its least consistent variable. Before you share or judge a before-and-after, run through this list:
- Same room, same spot on the floor, same light
- Same camera height, same lens, phone level
- Same time of day, before eating, not after training
- Same pose, relaxed or flexed the same way in both
- Similar clothing, waistband in the same place
- Aligned by your body, cropped to the same size
- No filters; any color correction applied to both
If you're photographing changes during a structured program, see how to document a body recomposition before and after, where the scale often hides what photos reveal.
FAQ
How do I make a before and after photo?
Take both photos in the same spot, with the camera at the same height and distance, in the same pose and similar light. Then scale and shift one photo so two matching points on your body (for example, your collarbone notch and belly button) line up with the other, crop both to the same size, and place them side by side. Our free before and after photo maker does the alignment in your browser, and a progress photo app with automatic alignment does it for every photo.
How can I do a before and after photo on my iPhone?
Without extra apps, crop both photos to similar framing in Photos, then use the Combine Images action in Shortcuts to place them side by side. For photos that actually line up by your body, use a browser tool or an app that aligns them automatically, ideally one that processes photos on your device.
How do you get the best before and after photos?
Keep everything consistent except the date: same room, camera position, lens, lighting, clothing, pose and time of day, and never right after a workout. Use a tripod or a stable surface and a timer rather than a mirror selfie. Then align the photos by your body before comparing.