Progress
Free Before and After Photo Maker (Private, No Upload)
Make a before and after photo in your browser. Line up two photos with two matching points, compare with a slider, and export side by side. Your photos never upload.
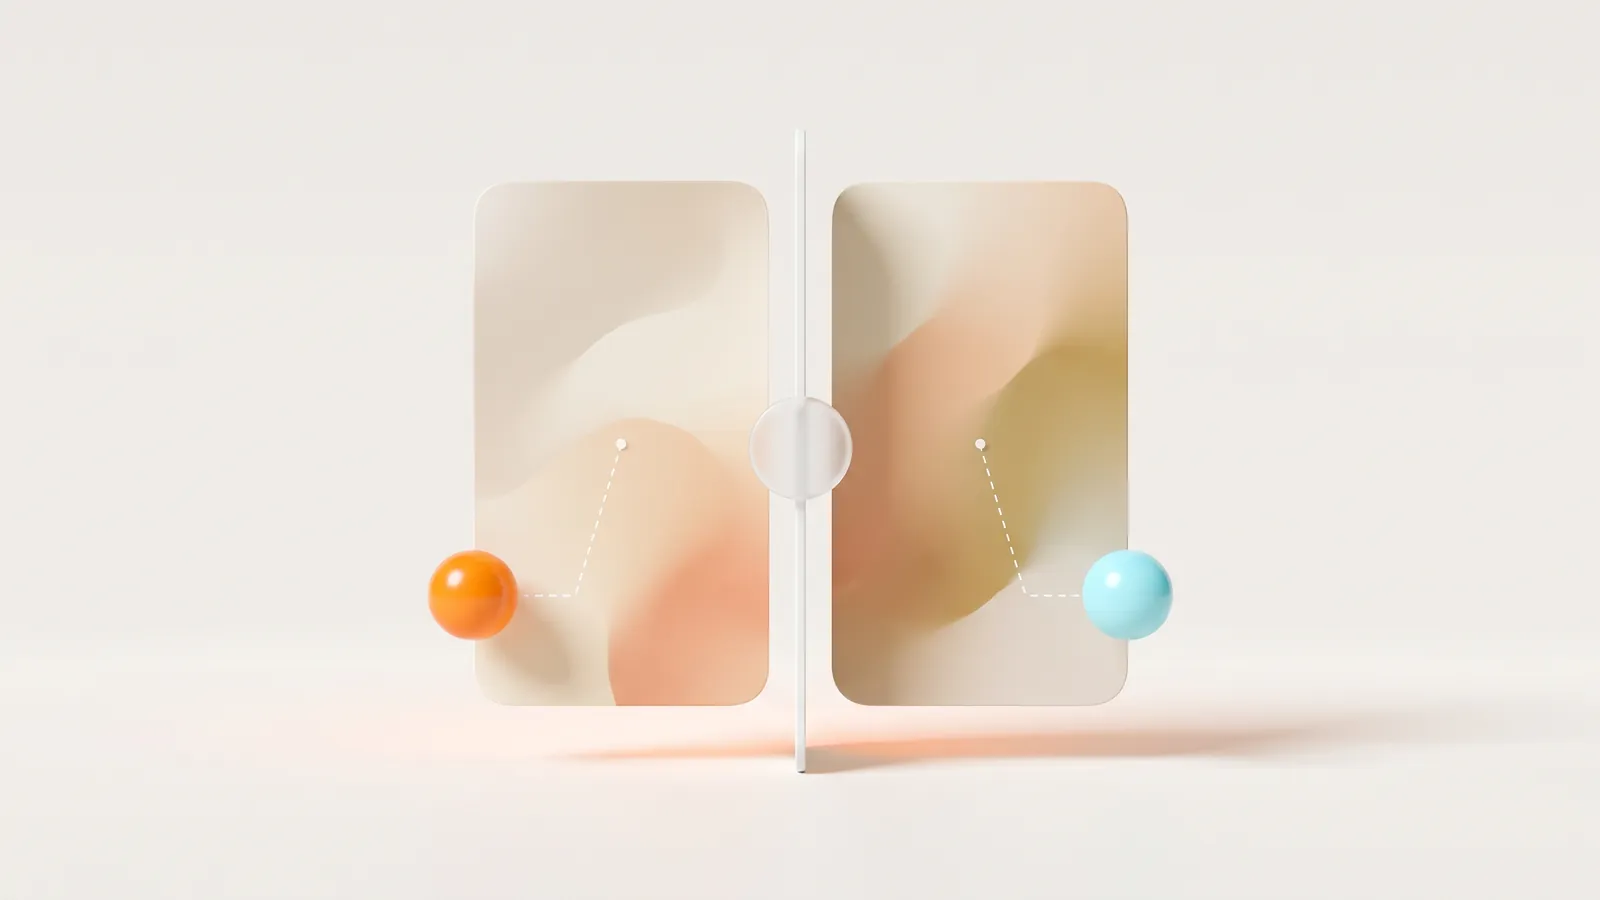
This free before and after photo maker lines up two progress photos so the comparison is fair, then exports a clean side-by-side image for a post, a story or your own records. It runs entirely in your browser: your photos are never uploaded, and there's no account and no watermark.
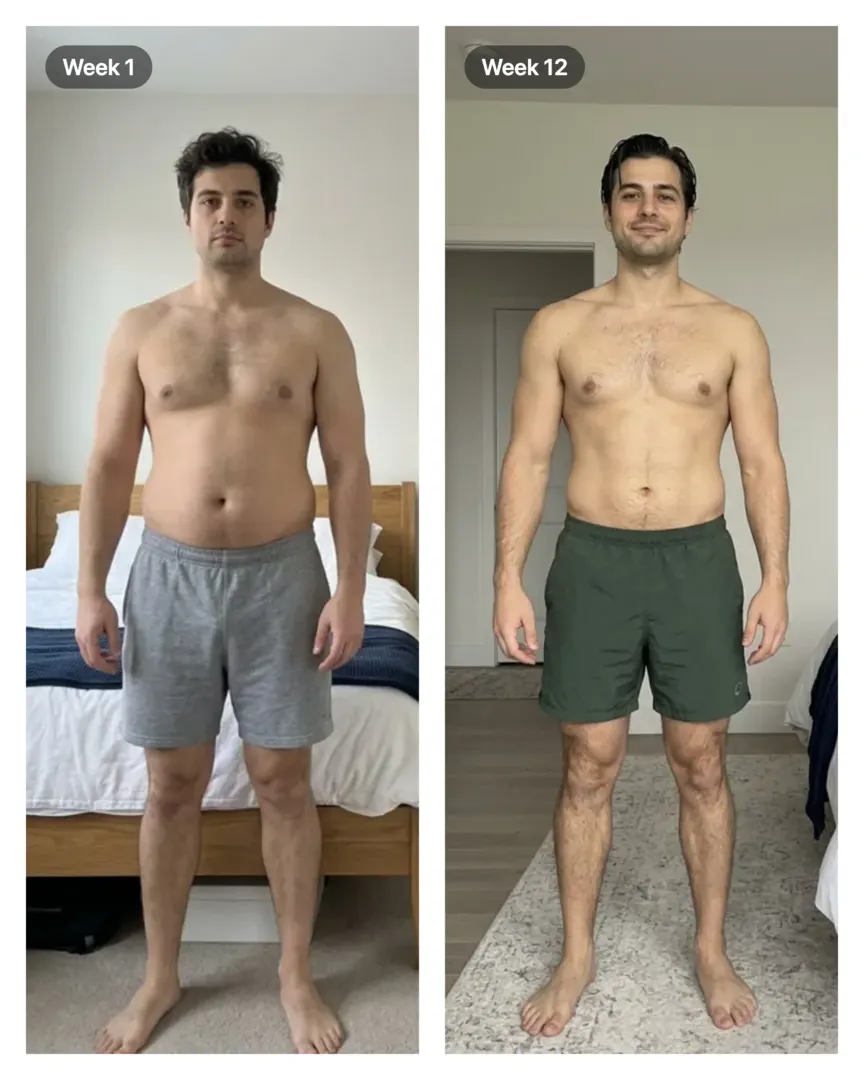
The interactive maker needs JavaScript. To make a fair before and after by hand: open both photos in any editor, mark the same two spots on your body in each (for example the notch between your collarbones and your belly button), then scale and rotate the after photo until both spots sit exactly on top of the before photo's. Crop both to the same frame and place them side by side.
Key takeaways
- Two matching points are enough to fix the three things that ruin most comparisons: distance, tilt and position in the frame.
- Pick points on your skeleton, not your soft tissue: the collarbone notch and the belly button or waistband center work well.
- Your photos never leave your device. Once the page loads, it works offline.
- Alignment can't fix lighting, pose or a post-workout pump. Take both photos the same way.
How to use the before and after photo maker
- Add two photos. Tap each box to choose a photo, or pick or drop two at once: the older one becomes "before" when the photos carry a date. Rotated phone photos are shown upright automatically. Want to see it first? Use Try with sample photos.
- Mark the same two points on each photo. Drag point 1 to a spot high on your body and point 2 to a spot lower down, then put them on exactly the same spots in the other photo. A magnifier appears under your finger so you can place them precisely; arrow keys nudge a focused point.
- Check the alignment. Drag the slider across the preview, or switch to Fade and watch for edges that jump. Turn Aligned off to see how different the raw photos really were.
- Frame and export. Choose a size (original, 1:1 square, 4:5 portrait post or 9:16 story), drag or pinch the preview to frame it, add labels or dates, pick a background, and download a full-resolution JPEG or PNG.
Labels fill in automatically with the photo dates when your files include them, and you can type anything else: "Week 1" and "Week 12", "Before" and "After", or nothing at all.
Why alignment matters more than editing
The main thing that makes a before-and-after photo misleading isn't filters. It's geometry. Two photos taken weeks apart almost never share the same camera distance, height or angle, so the same body ends up a different size, at a different tilt, in a different spot in the frame.
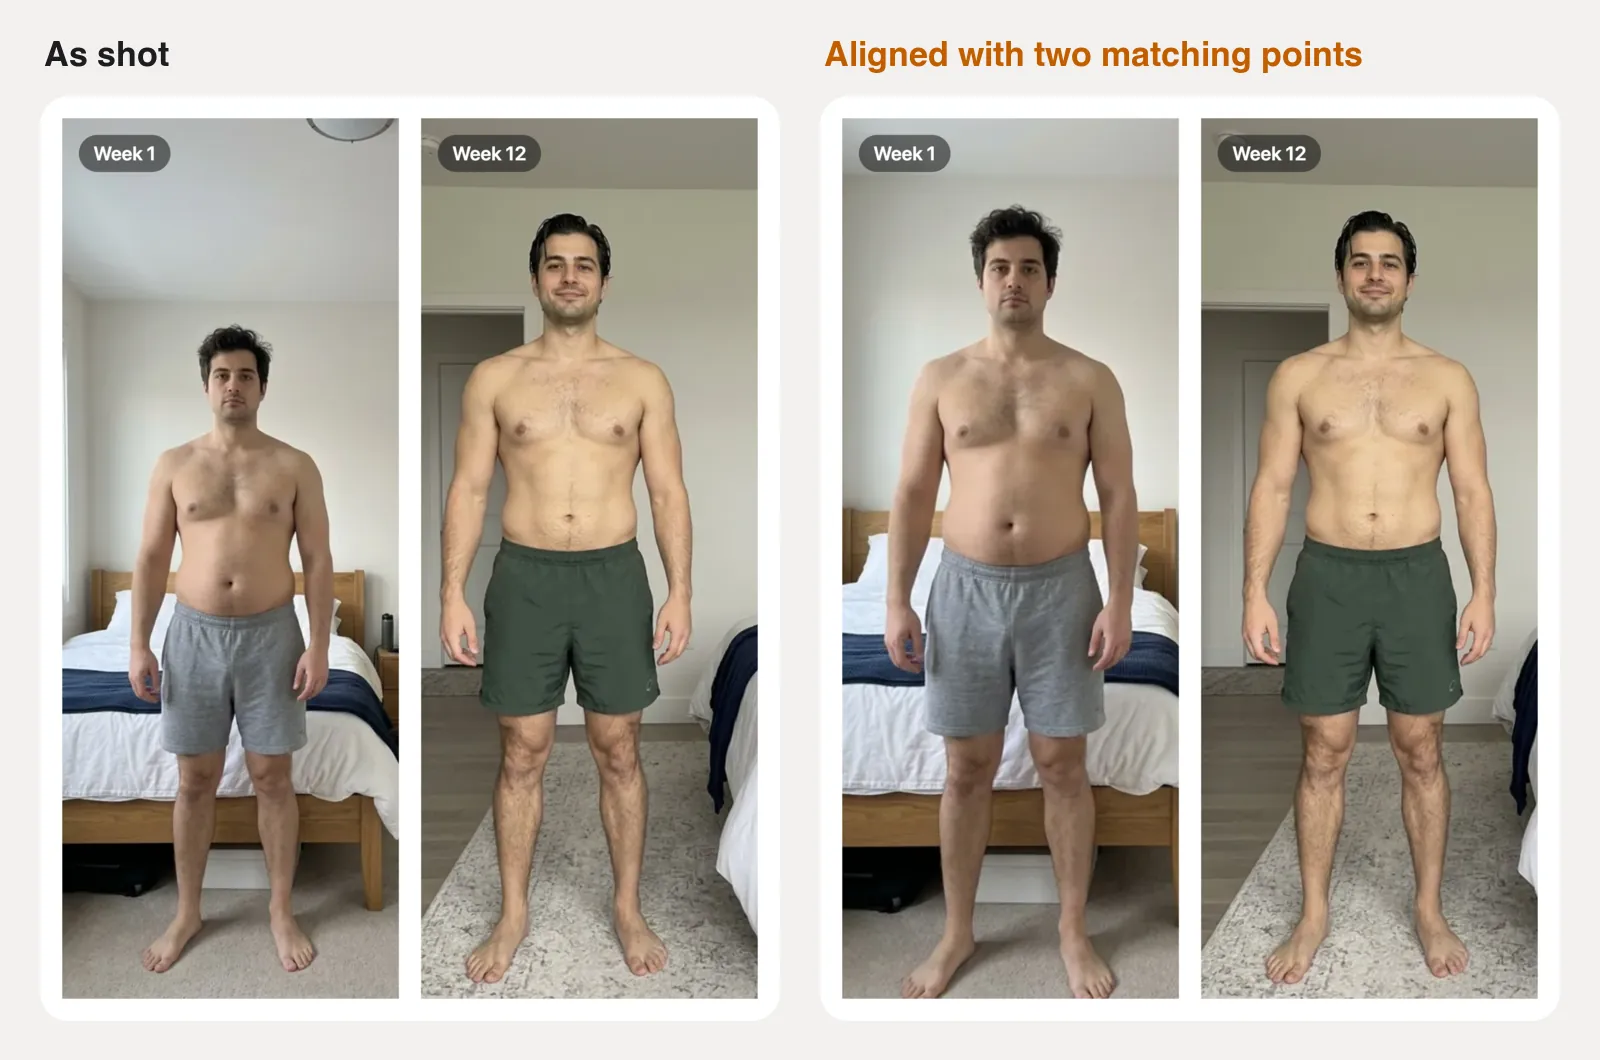
Distance also changes shape, not just size. A model published in JAMA Facial Plastic Surgery found that a photo taken about 12 inches from the face makes the base of the nose look roughly 30 percent wider than the same face photographed from 5 feet (Ward et al., 2018). Whatever is nearest a wide phone lens grows, and a torso is no exception. That's why the advice in our guide to taking progress photos that actually show change starts with a fixed camera spot and height.
How the alignment works
The tool uses a similarity transform, the standard way to overlay two images of the same thing taken at different distances. It allows exactly three adjustments: uniform scale, rotation and shift. It never stretches one direction more than another, so it can't make anyone look thinner or broader.
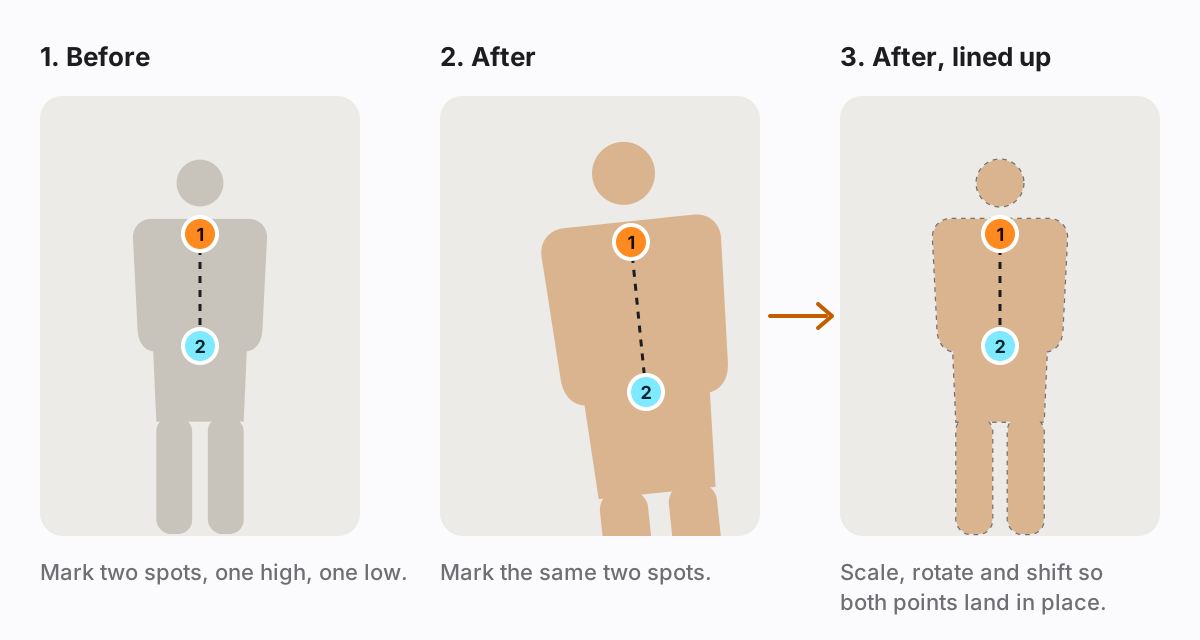
With the before photo's points at a₁ and a₂ and the after photo's points at b₁ and b₂ (in pixels):
- Scale: s = |a₂ − a₁| ÷ |b₂ − b₁|, the ratio of the distances between the points.
- Rotation: θ = angle(a₂ − a₁) − angle(b₂ − b₁), the difference in tilt of the line joining them.
- Every after-photo pixel p moves to p′ = a₁ + s · R(θ) · (p − b₁), where R(θ) rotates by θ.
Two points pin down all four numbers (scale, angle and the horizontal and vertical shift) exactly, which is why you need two and not one. In the sample photos, the line between the points is 175 pixels long in week 1 and 216 pixels in week 12, so the week 12 photo is scaled to 175 ÷ 216 ≈ 81% and turned 0.4° so the points meet. The tool shows these numbers under the photos as you move the points.
Framing is applied after alignment, to both photos at once, so they always share the same crop. By default it fills the frame with the area both photos cover, which avoids empty edges.
Choosing your two points
Good points are easy to find in both photos and don't move when your body changes.
| Pose | Point 1 (high) | Point 2 (low) |
|---|---|---|
| Front | Notch between the collarbones | Belly button or center of the waistband |
| Side | Front of the shoulder, at the bony tip | Bony point at the front of the hip |
| Back | Base of the neck, at the most prominent vertebra | Center of the waistband |
Keep the points far apart: the longer the line between them, the less a small placement error matters. Avoid soft tissue whose shape is the very thing you're tracking, like the edge of your waist. If you wore different clothes, use the body landmark rather than the waistband.
How to make a fair before and after
Alignment fixes distance, tilt and position. The rest depends on how you take the photos. The essentials are below; our guide to fair before-and-after photos goes deeper.
- Same place and camera height. Mark the floor where you stand and where the phone goes. Chest to navel height with the phone level keeps proportions honest.
- Same lens. Stick to the 1x camera. Switching to the 0.5x or the front camera changes perspective in a way no editor can undo.
- Same light. Overhead light carves shadows that look like definition; soft window light from the front flattens them. Shoot at the same time of day in the same spot.
- Same conditions. Morning, before eating and before training. A workout pump and a big meal both change how you look for hours, and your weight shifts from day to day mostly through water.
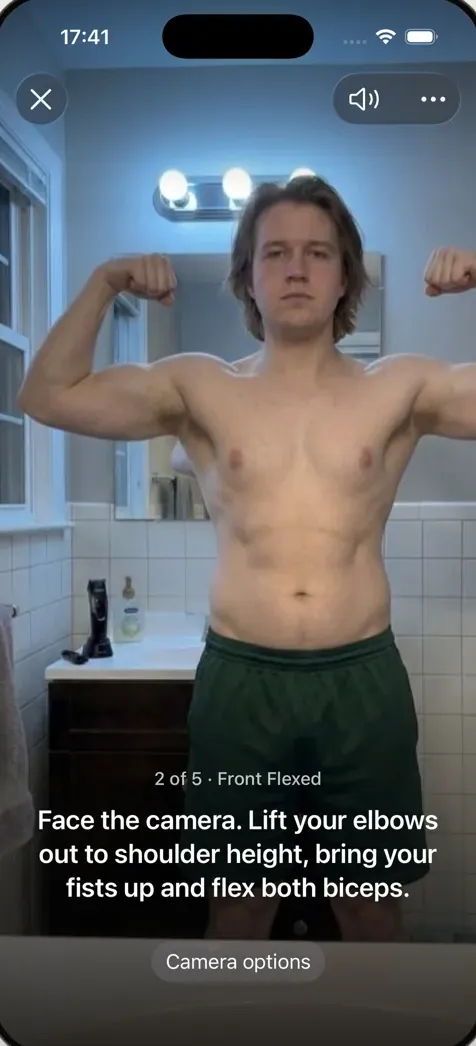
- Same pose and effort. Relaxed means relaxed in both photos; if you flex one, flex both the same way. A fixed set of standard progress photo poses makes this automatic.
When a comparison passes these checks, a lined-up before and after shows what actually changed. When it doesn't, no tool can fix it: retake the "after" photo next week.
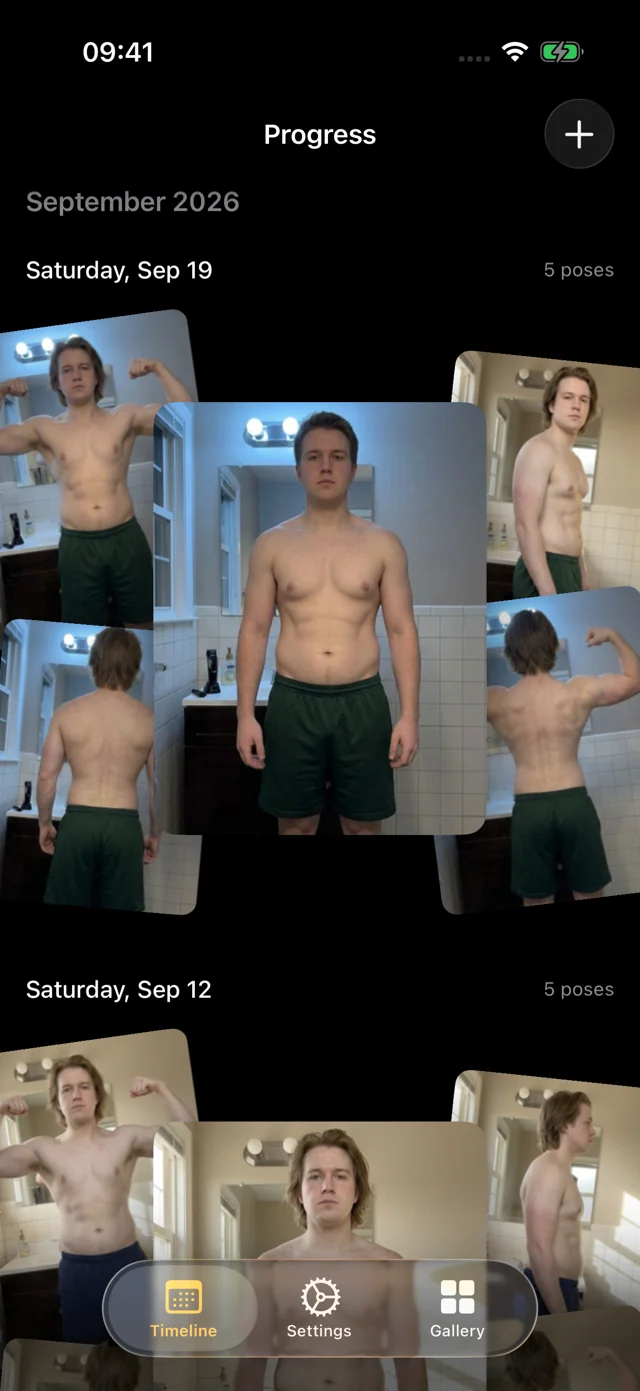
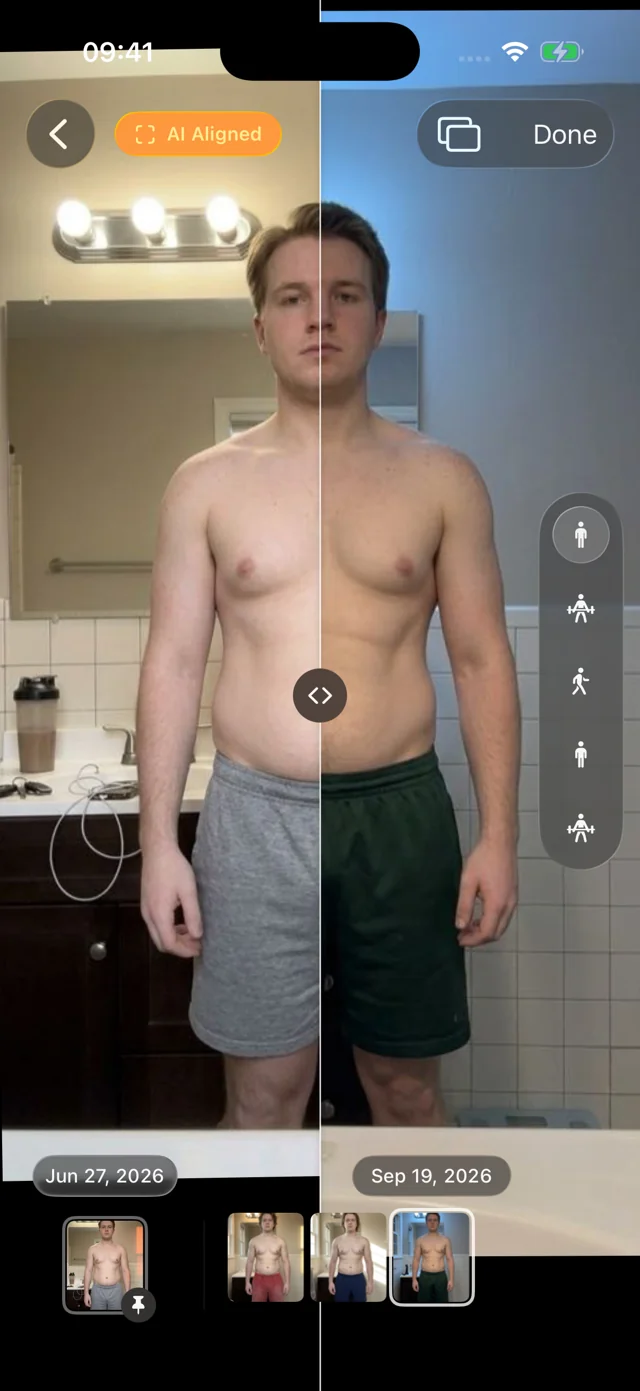
If you'd rather not place points at all, that's what Progress is for: every photo you take is AI aligned automatically, every session, so week 1 and week 30 line up without any handles, and you can slide between any two dates.
Privacy: your photos stay on your device
When you choose a photo, your browser draws it on your own screen. Alignment, framing and the final image are all computed locally, and your browser creates the download. Your photos are never uploaded or stored. Like the rest of this site, the page uses anonymous analytics to see how the tool is used, but never records your photos.
You can check this yourself: load the page, turn off Wi-Fi, and make your before and after. It still works.
FAQ
How do I create a before and after picture?
Take two photos the same way (same spot, camera height, lens, light and pose), add them to the before and after photo maker above, mark the same two points on each, then choose a size and export. The tool lines up the after photo by scale, rotation and position so the comparison is fair.
How can I create a before and after photo slider?
Use the Slider preview above to compare the photos with a draggable divider. Most social networks don't support interactive sliders, so for sharing, export the side-by-side image. To compare with a slider over time, a progress photo app like Progress lets you slide between any two dates.
How do I put two pictures side by side on iPhone?
Open this page in Safari, tap each box and choose photos from your library, then export. Choose 9:16 for a story or 4:5 for a feed post. On iPhone, Share sends the image straight to Photos, Messages or Instagram.
How can I create a then and now photo?
The same way: add the older photo as "before", the newer one as "after", and label them with years or dates. For old photos you can't retake, choose two points that are clearly visible in both, such as the eyes and chin for a portrait, so the faces line up at the same size.
Is this before and after photo editor really free?
Yes. There's no account, no watermark and no limit on exports. It works in any modern browser on phone or desktop.