Progress
Free Timelapse Maker: Turn Progress Photos Into a Video
Make a timelapse from photos in your browser. Order them by date, line them up so the video doesn't jitter, add dates, and export MP4, WebM or GIF. Free.
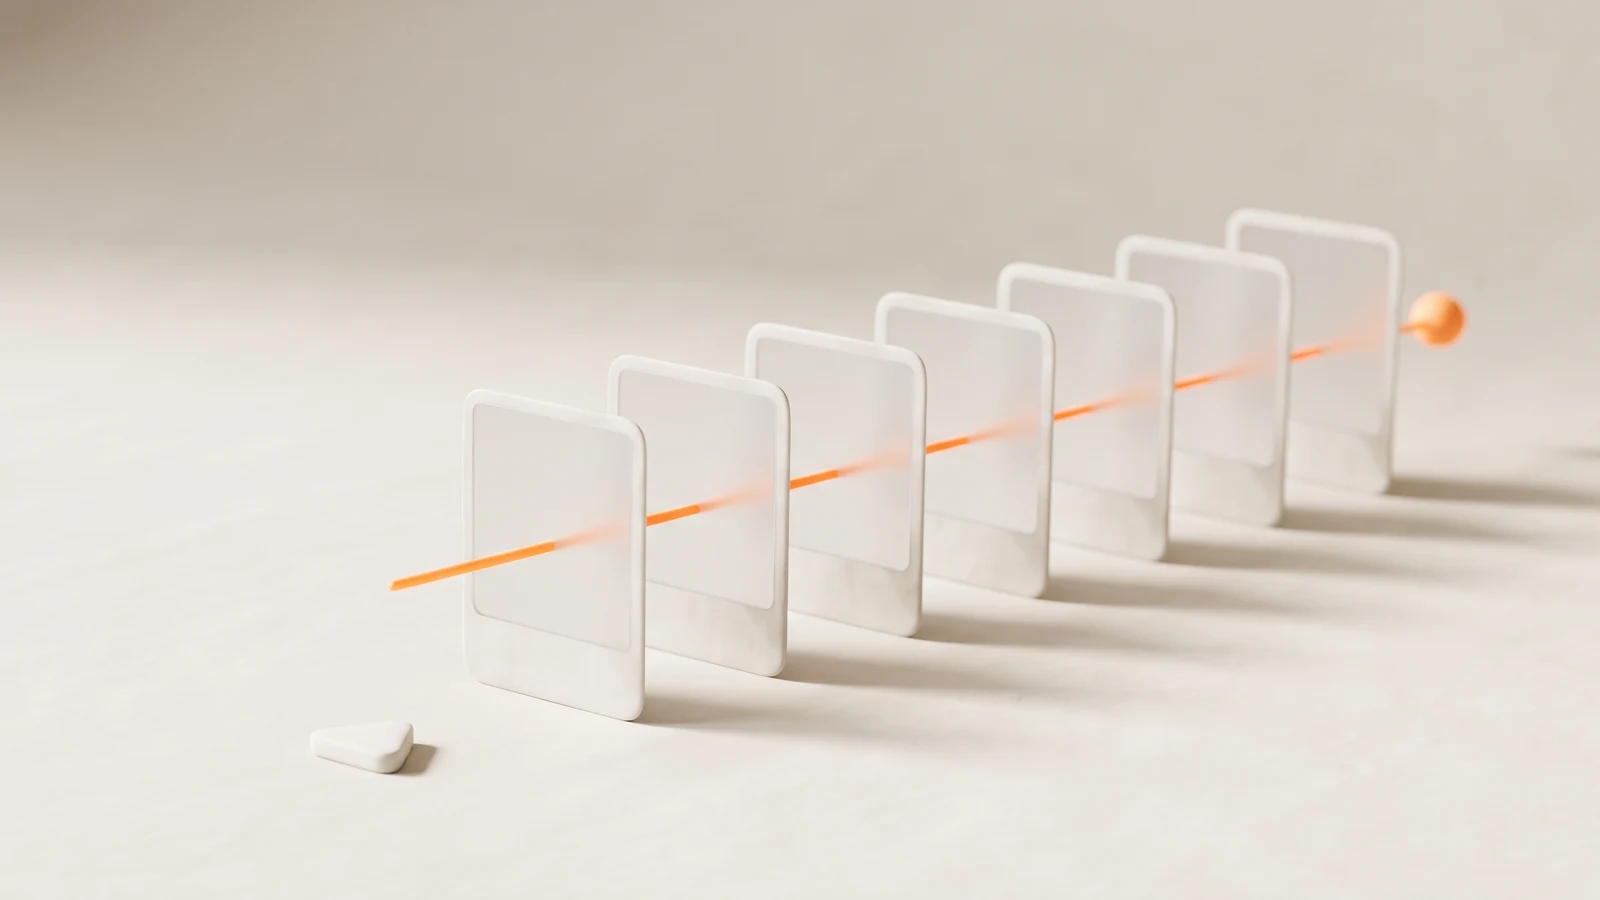
This free timelapse maker turns a set of progress photos into a short video: add your photos, line them up so your body stays still from frame to frame, choose the speed, and export an MP4, WebM or GIF. It runs in your browser, with no account and no watermark.
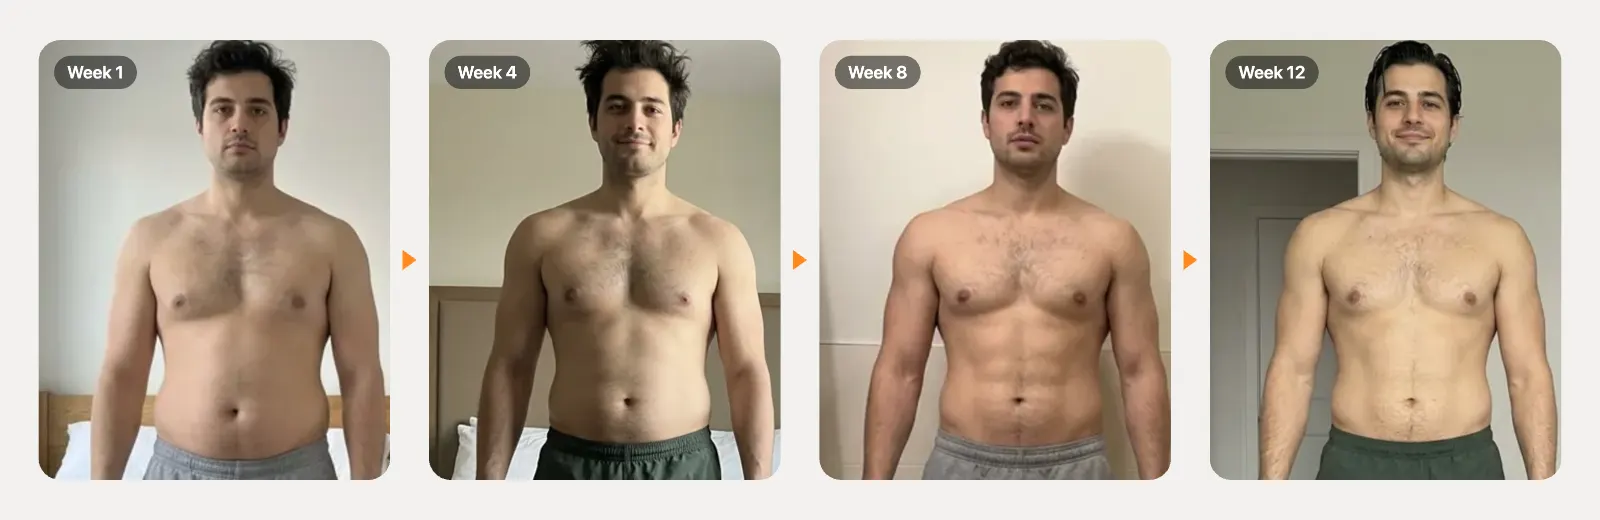
The interactive maker needs JavaScript. To make a timelapse by hand: put your photos in date order, crop them all to the same size with your body in the same place, then import them into any video editor and set each photo to show for about 0.3 to 0.5 seconds.
Key takeaways
- Most progress timelapses jitter because each photo was taken from a slightly different distance, height or angle, not because the body jumps around.
- Lining up two matching points on every photo (collarbone notch and belly button) removes most of that jitter.
- 0.3 to 0.5 seconds per photo suits most weekly progress sets; very long sets look better faster.
- Consistent photos beat any editing: same spot, same camera height, same light, same pose.
How to make a timelapse from photos
- Add your photos. Choose or drop them all at once. The maker reads the date each photo was taken from the file and puts them in order, or sorts by file name if there's no date. Drag a thumbnail to move it, or select it and use the arrow buttons. Want to see it first? Use Try with sample photos.
- Line them up (optional, recommended). Turn on Align photos, place points 1 and 2 on photo 1, then press Next photo and move the points onto the same spots. Each new photo starts with the previous photo's points, and a faint ghost of photo 1 shows when you've got it right.
- Set the look. Pick a size (1:1, 4:5 for a feed post, 9:16 for Stories, Reels and TikTok), the seconds per photo, crossfades, a held final frame, and labels with the photo date or a number like "Week 3". Drag the preview to reframe it.
- Export. Choose Video or GIF and press Create. Video records in real time, so a 10-second timelapse takes about 10 seconds. Then download or share it.
Your photos never leave your device: your browser draws each frame and encodes the file. On iPhone, open this page in Safari and pick photos straight from your library.
Why progress timelapses jitter, and how lining up fixes it
Play a folder of progress photos as a video and it rarely looks like a smooth transformation. The body jumps left and right, shrinks and grows, tilts. That's the camera, not you: a phone propped a few inches closer makes you look bigger, a slightly different shelf shifts you in the frame, and a tilted phone tilts everything. In a still photo you barely notice. At three frames a second it's all you see.
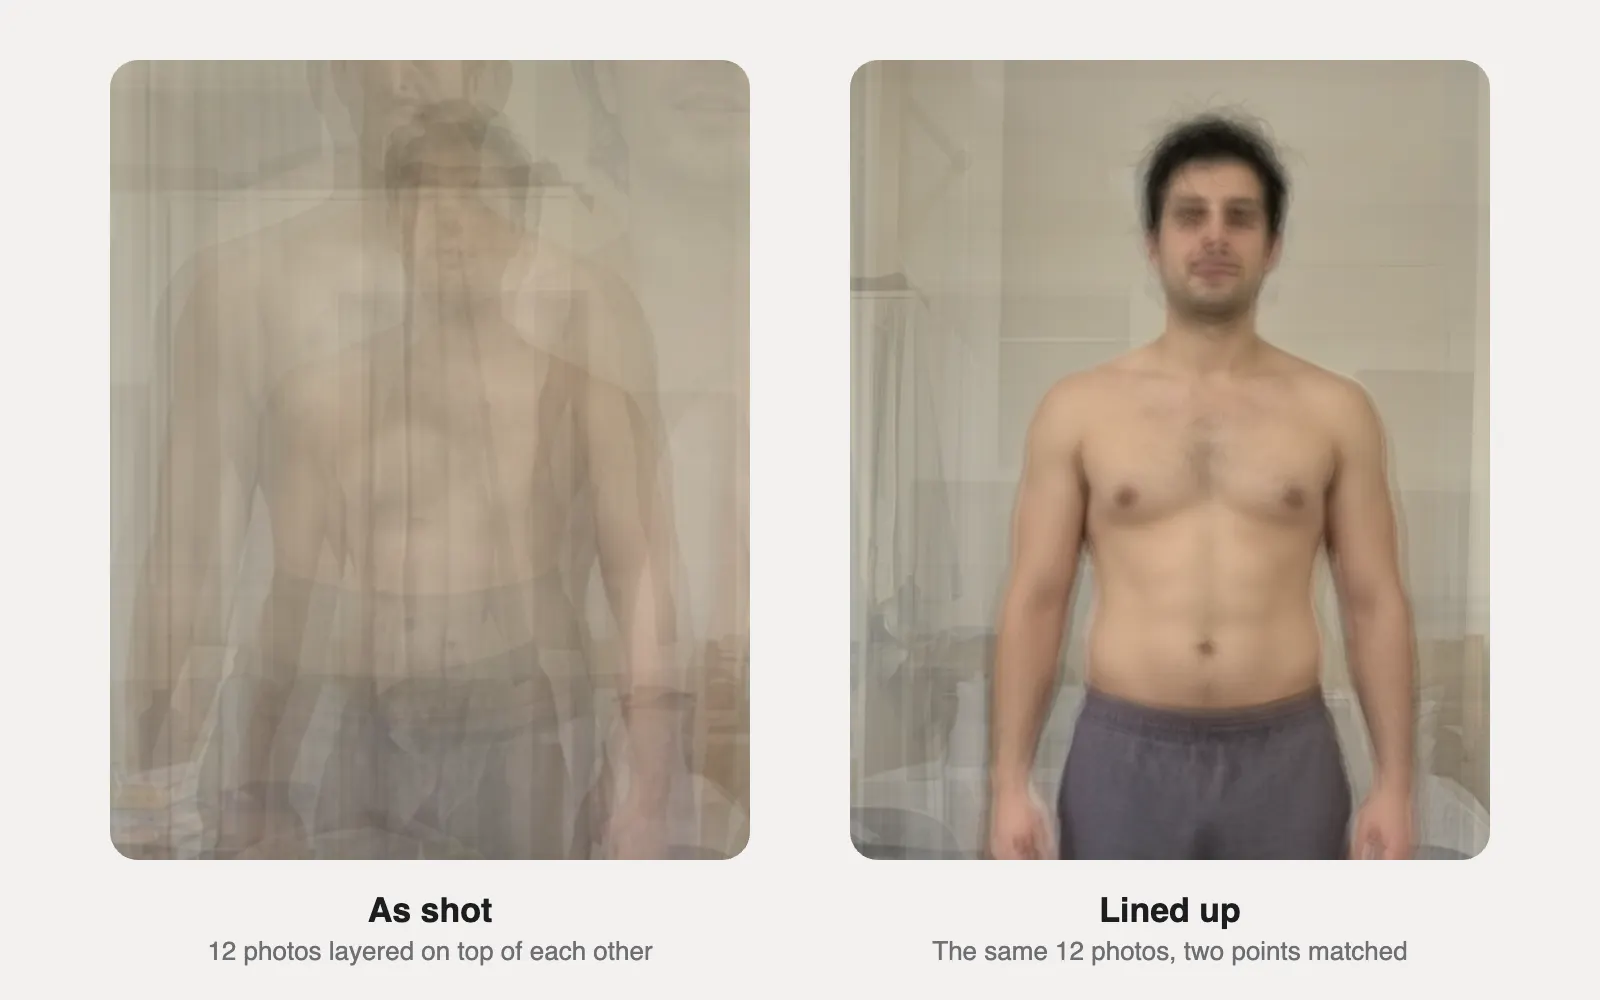
The maker fixes this with a similarity transform, the standard way to overlay two pictures of the same thing taken from different distances. For each photo it finds the one combination of scale, rotation and shift that moves that photo's two points exactly onto photo 1's two points. With photo 1's points at a₁ and a₂ and another photo's at b₁ and b₂:
- Scale = |a₂ − a₁| ÷ |b₂ − b₁|, the ratio of the distances between the points.
- Rotation = the angle of a₂ − a₁ minus the angle of b₂ − b₁.
- Shift = whatever then puts b₁ on top of a₁.
It never stretches a photo more in one direction than the other, so it can't make anyone look thinner or broader. In the sample set, the line between the points is about 1.8 times longer in the closest photo than in the farthest one, so that photo is scaled to roughly 55% to match.
Choosing the two points. Pick spots on your skeleton that are easy to find in every photo and far apart: the notch between your collarbones and your belly button for front photos, the bony tip of the shoulder and the front of the hip for side photos, the base of the neck and the center of the waistband for back photos. For a beard growth timelapse, use the centers of your two pupils: they keep your face the same size and level while the beard fills in.
Two points can't fix everything. If the camera height changed a lot, or you turned your body, a photo will still look different. That's what consistent capture is for.
How to take photos that make a smooth timelapse
The best timelapses are made before you open any editor. Each photo should differ from the last only in your body.
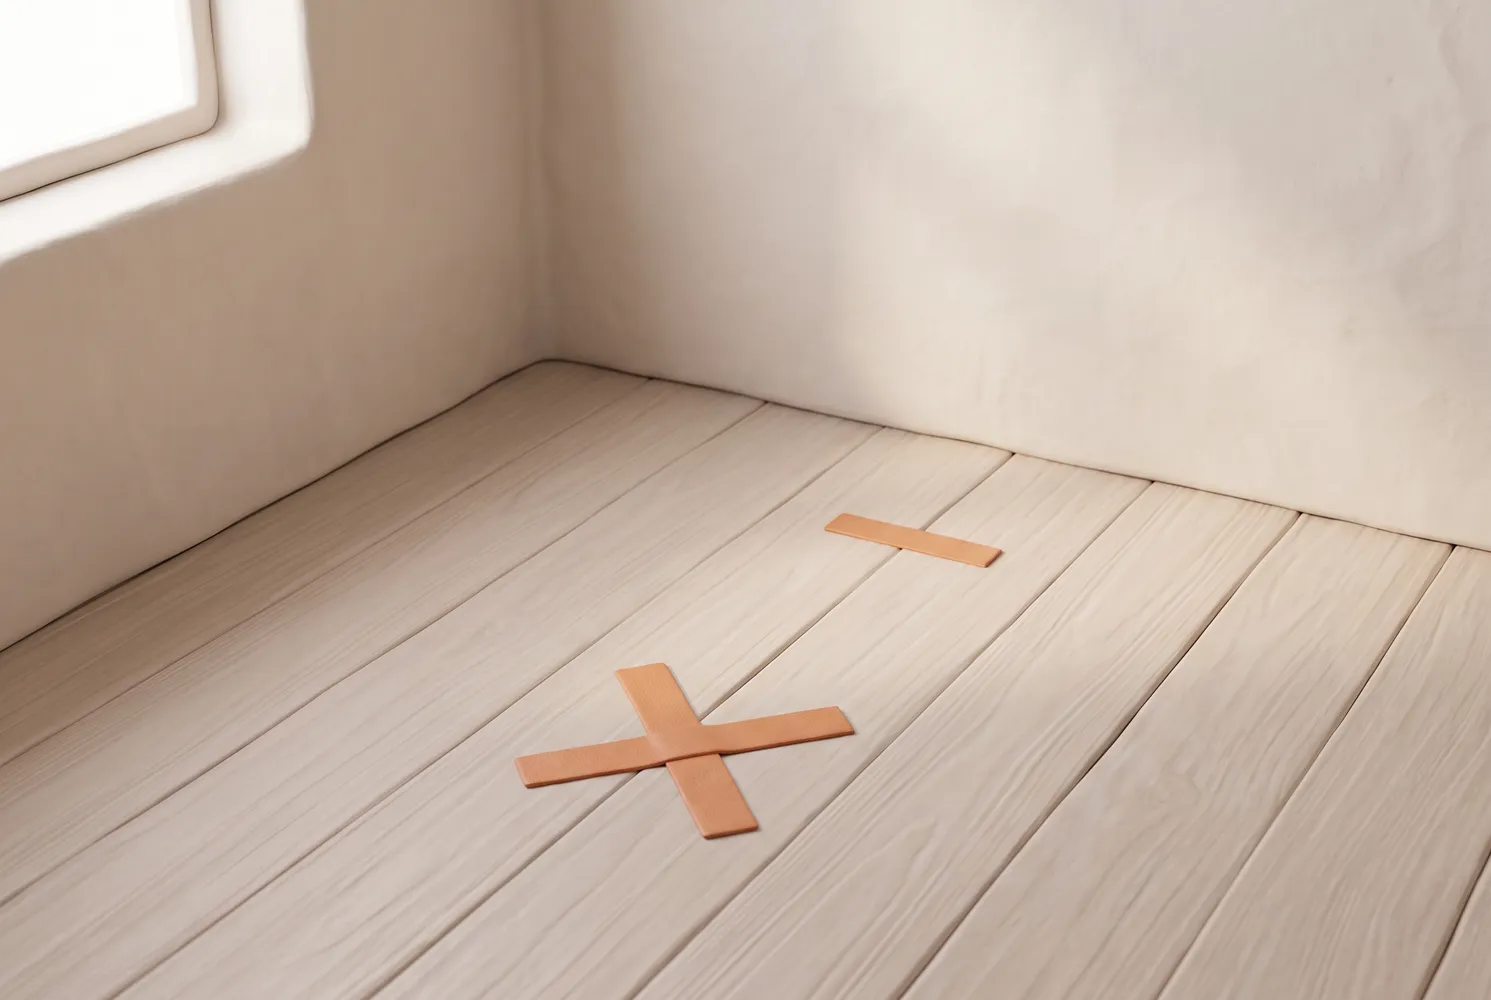
- Same spot: tape a mark for your feet and another for the tripod or shelf.
- Same camera height: chest to navel height, phone level, rear camera at 1x.
- Same light: the same lamp or window at the same time of day. Overhead light carves shadows that come and go between frames.
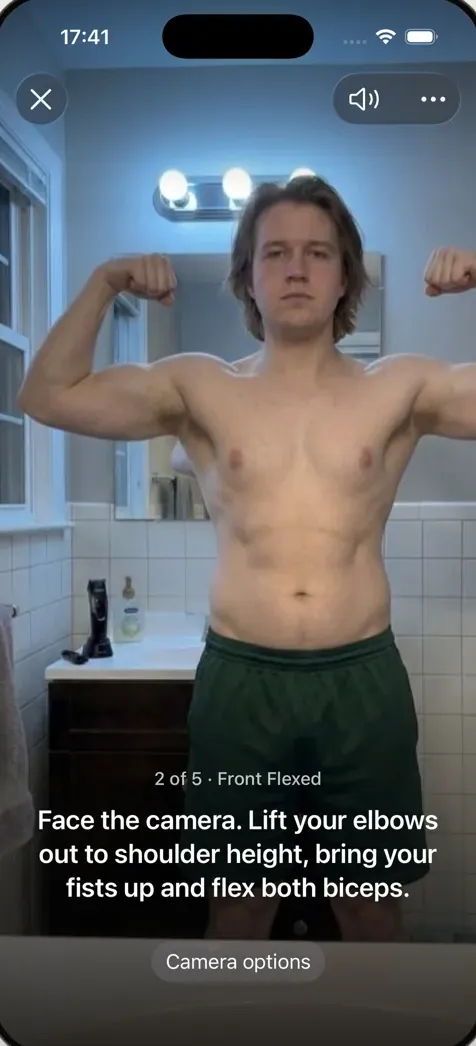
- Same pose and clothes: relaxed means relaxed every time. A fixed set of progress photo poses makes this automatic.
- Same conditions: morning, before eating or training, so water and a workout pump don't flicker through the video.
- Same rhythm: one photo per day or per week, without big gaps. A timelapse with a two-month hole jumps.
Our full guide to taking progress photos that actually show change covers the setup in detail, and it pays off twice: the same photos make fair before and after comparisons too.
Choosing speed, crossfade and length
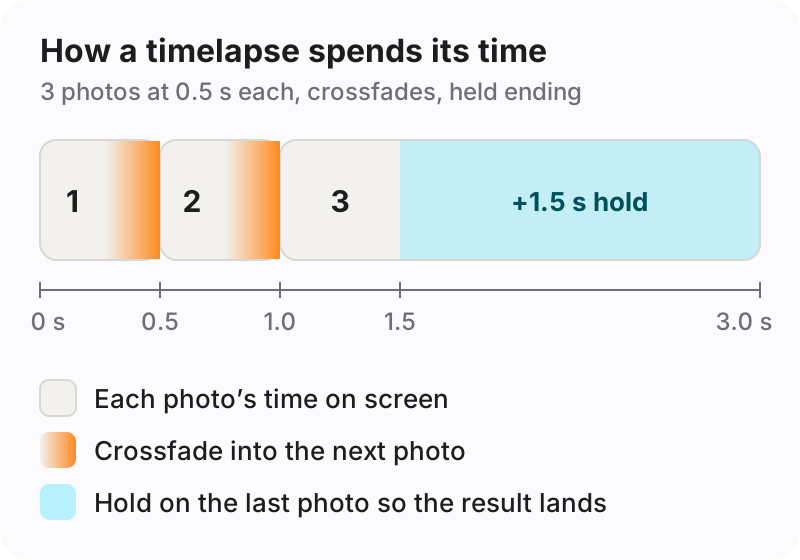
A timelapse is mostly arithmetic: length = number of photos × seconds per photo, plus any hold on the final frame. Twelve weekly photos at 0.4 seconds each run 4.8 seconds; 365 daily photos at 0.1 seconds run 36.5 seconds.
| Photos | Good speed | Why |
|---|---|---|
| 8–20 (weekly or monthly) | 0.4–0.8 s each, crossfade on | Few frames, so give each one time and soften the jumps |
| 20–100 | 0.15–0.4 s each | Change reads as motion; crossfade optional |
| 100+ (daily) | 0.08–0.15 s each, crossfade off | Fast cuts look like smooth motion at this density |
The crossfade blends the end of each photo into the next. It hides small differences in light and leftover misalignment, which is why it helps most with few photos. Keep Hold last photo on: without it, a short timelapse loops back to the start before anyone sees where you ended up.
Weight loss and weight gain timelapses
For a weight loss timelapse or a weight gain timelapse, change is slow and lighting differences look like change, so consistency matters most. Weekly photos at 0.5 seconds with crossfades make a calm 10–30 second video. Date labels help viewers read the pace; a number such as "Week 12" works when your files don't carry a date. Expect the scale and the photos to disagree sometimes: weight moves day to day mostly through water. For pacing over months, see our body transformation timeline.
Video or GIF?
Video is the better file almost every time: sharper, smaller and accepted by every social app. The maker records the preview from a canvas with the browser's built-in MediaRecorder at 1080 × 1080, 1080 × 1350 or 1080 × 1920. Safari and recent Chrome and Edge save MP4, which plays everywhere, including iPhone Photos. Firefox saves WebM, which plays in browsers and most apps; the line above the Create button tells you which you'll get.
GIF plays anywhere an image does, including email and chat apps that don't autoplay video, but the format allows at most 256 colors per image, so skin tones band slightly, and files run several megabytes even at 400 pixels wide. The maker picks the 256 colors from your own photos to keep them natural, and crossfades add extra frames, so turn crossfade off for a smaller GIF.
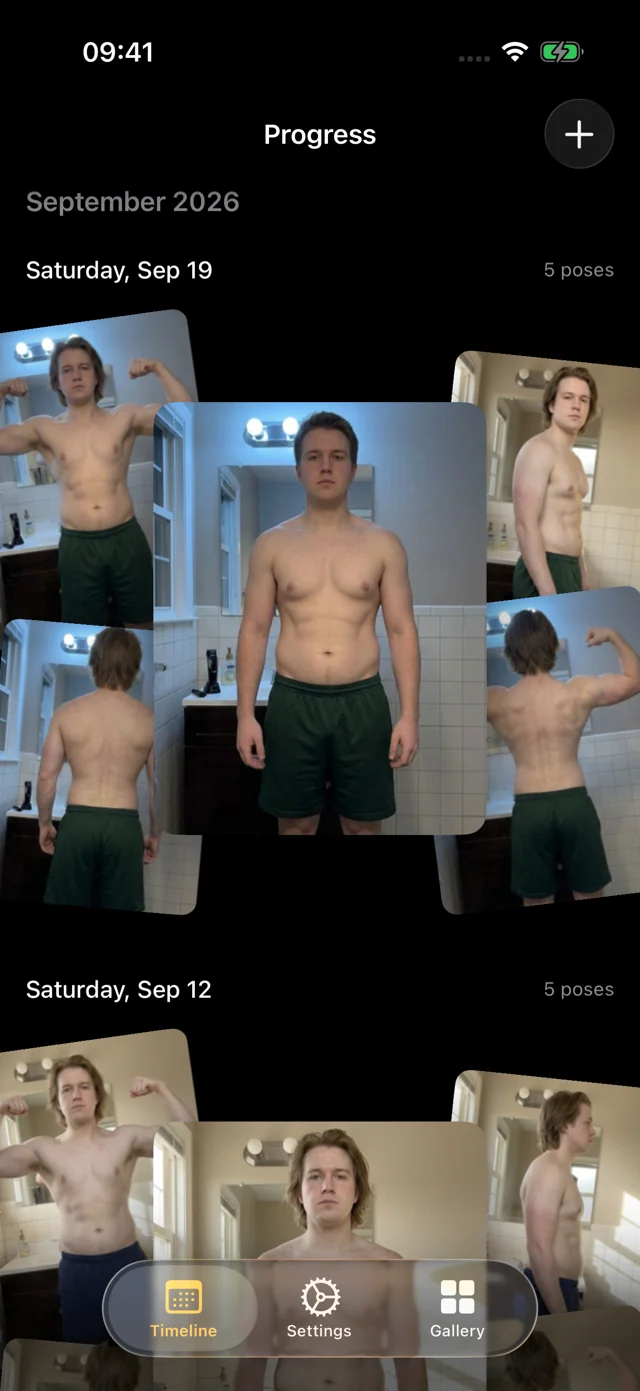
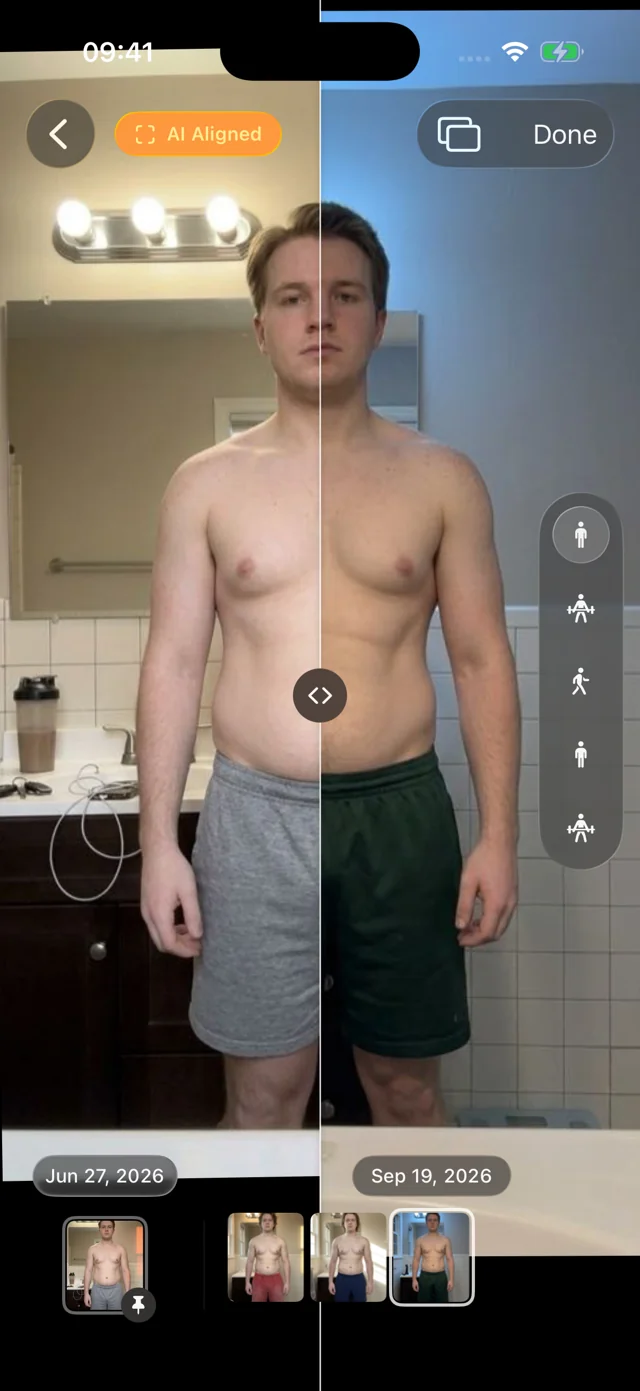
If you'd rather not place points at all, Progress already AI aligns every photo you take, so every session lines up on its own and you can slide between any two dates. An automatic, AI-aligned timelapse is coming soon to the app. Until then, this maker turns the same photos into a video in a few minutes.
FAQ
How can I turn photos into a timelapse video?
Add the photos to the timelapse maker above, check the order, optionally line them up with two points, choose the seconds per photo, and press Create video. It exports an MP4 (or WebM in Firefox) without installing anything.
How do I turn photos into a timelapse on iPhone?
Open this page in Safari, tap Add photos and select them from your library, then export. Safari records MP4, and Share sends the video straight to Photos, Messages or Instagram. Choose 9:16 for Stories and Reels.
How many photos do you need for a timelapse?
Eight or more makes a meaningful progress timelapse; twelve weekly photos run about 5 seconds at 0.4 seconds each. Smooth, motion-like timelapses need many more: 100 or more daily photos at about a tenth of a second each.
How do I turn multiple photos into one video?
Any timelapse maker or video editor can do it: set each photo to a short, equal duration and export. For progress photos, line the photos up first, or the body will jump around between frames.
Is this timelapse maker free?
Yes. There's no account, no watermark and no limit on exports. It works in current versions of Safari, Chrome, Edge and Firefox on phone or desktop, and holds up to 300 photos at a time.