Progress
Ozempic Before and After: Document Your GLP-1 Journey
Take your own honest Ozempic, Zepbound or Wegovy before and after photos: a baseline set, a monthly rhythm, waist and weight alongside, and kept private.
On this page 10 sections
- What Ozempic before and after photos can and can't tell you
- Before you start: take a baseline you'll be glad you have
- How often to take GLP-1 progress photos
- Track measurements alongside your photos
- Why the scale alone misses things
- About "Ozempic face"
- Line your photos up so the comparison is honest
- Keep a medical journey private
- Bring your record to your clinician
- FAQ
Most people searching "Ozempic before and after" want to see what change looks like. Celebrity photos and social posts can't show you that, because they're someone else's body under someone else's lighting. The before and after that matters is your own. It's easy to make if you start early.
Take a baseline set of photos before your first dose, then repeat them on a fixed rhythm (every four weeks works well) in the same spot, light and clothes. Log your waist measurement and weight alongside each set. That record works the same way for Ozempic, Wegovy, Zepbound, Mounjaro or any other GLP-1 medication. It shows changes the scale misses, keeps you honest on slow weeks and gives you something concrete to bring to your prescriber.
Key takeaways
- Take a full baseline set before your first dose, or today if you've already started.
- Repeat it every four weeks: same spot, light, clothes, time of day and poses.
- Log waist and weight with each session; photos show shape, numbers show trend.
- Compare months, not days, and the same pose across dates.
- Keep the record private, and bring a tidy summary to your clinician.
What Ozempic before and after photos can and can't tell you
A pair of photos is evidence of change in one body over one stretch of time. It isn't a forecast for yours. People respond to GLP-1 medications very differently, and photos online are curated: the best angle, the best day, sometimes years apart, sometimes with surgery or editing in between.
For what's typical, look to clinical trials, not social media, and read them as group averages, not promises:
- In the STEP 1 trial of semaglutide (the ingredient in Ozempic and Wegovy) for weight management, adults without diabetes lost an average of 14.9% of body weight over 68 weeks, compared with 2.4% on placebo, alongside a lifestyle program (Wilding et al., NEJM, 2021).
- In SURMOUNT-1, average weight change with tirzepatide (the ingredient in Zepbound and Mounjaro) ranged from 15.0% to 20.9% across the doses studied over 72 weeks, versus 3.1% on placebo (Jastreboff et al., NEJM, 2022).
Averages hide a wide range in both directions, and trial participants had structured support you may or may not have. Your own photos tell your story.
Before you start: take a baseline you'll be glad you have
The single most common regret is not having a real "before." People realize three months in that the only reference they have is a cropped vacation photo. A baseline taken on purpose, under the same conditions you'll repeat, is worth more than anything you can reconstruct later.
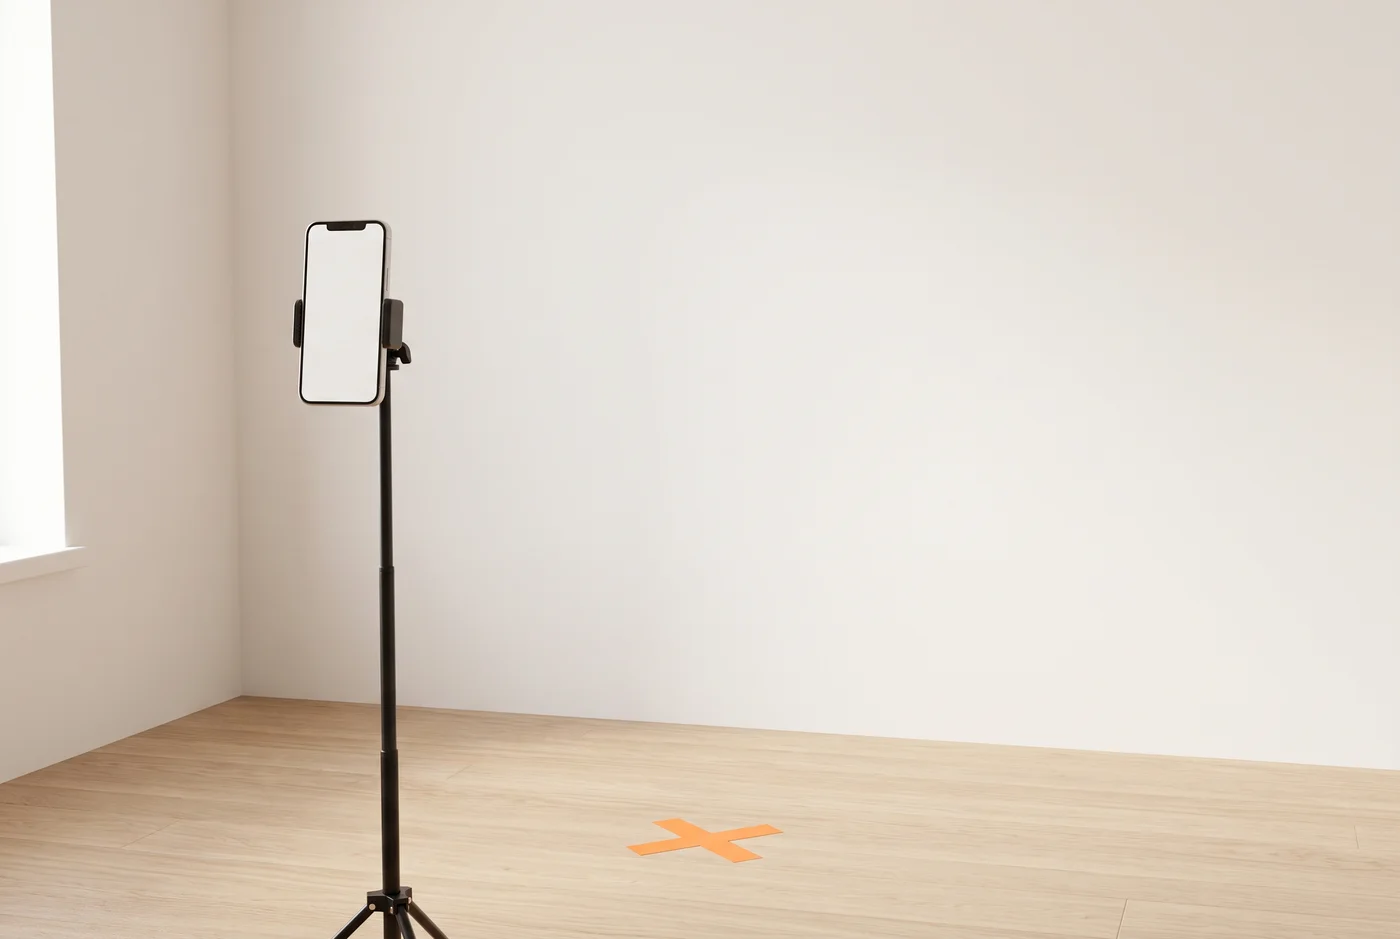
Set it up once and write it down:
- One spot. A plain wall with nothing behind you, where you can stand the same distance from the camera every time. Mark the floor with tape.
- One light. Daylight facing you from a window, or the same lamps at the same time of day. Avoid light from directly above or behind; it sculpts or hides shape and changes between sessions.
- One camera position. Phone on a tripod or shelf at roughly chest height, in portrait, about 2 to 3 meters away, using the timer. Not a mirror selfie: the phone in your hand moves your arm, shoulder and posture differently every time.
- One outfit. Fitted clothes you'll keep, such as a sports bra or bare chest with fitted shorts. Baggy clothing hides the changes you're trying to record, and a new outfit makes every comparison harder.
- One time of day. Morning, after the bathroom and before eating, is the easiest to repeat.
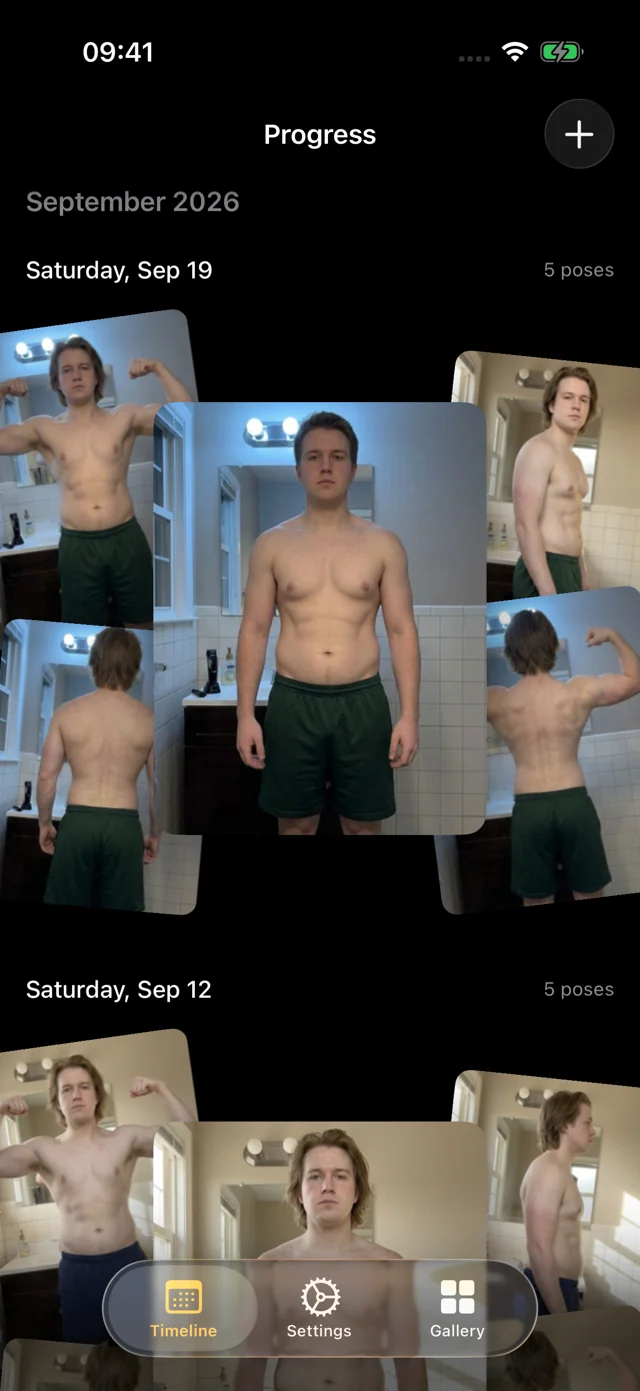
Then take the full set. The standard five are front relaxed, front flexed, right side, back relaxed and back flexed. If flexing feels silly, take the relaxed front, side and back at minimum. Side views matter more than people expect: they show changes in posture and the profile of your midsection that a front photo flattens. Our progress photo poses guide walks through each one, and the complete guide to taking progress photos covers setup in more depth.
- Plain wall chosen, tape mark on the floor
- Phone on a tripod or shelf at chest height, 2–3 m away, in portrait
- Same light you can repeat (window in front, or the same lamps)
- Fitted outfit you'll wear for every session
- Morning, after the bathroom, before eating
- Five poses: front relaxed, front flexed, right side, back relaxed, back flexed
- Waist measured twice at the same landmark, average written down
- Weight logged on the same scale
- A short note: date, how you feel, how clothes fit
How often to take GLP-1 progress photos
Every four weeks is a good default. It's frequent enough to catch a trend and spaced far enough that each session shows something. Weekly photos tend to feel discouraging, because day-to-day water and digestion swings are bigger than a week of real change.
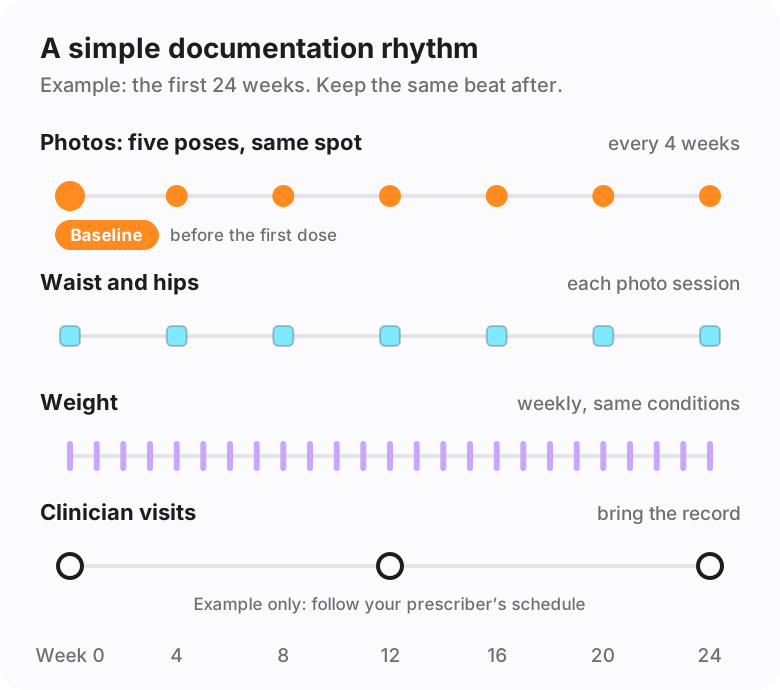
Tie sessions to something that already repeats, like the first Saturday of each month or a regular appointment. Whatever you pick, keep it fixed. A consistent rhythm makes your photos comparable; an inconsistent one makes them noise. Step through an example rhythm below.
Baseline, before the first dose
The full five-pose set, waist measured twice, weight, and a short note. This is the one session you can't recreate later, so take it even if you don't feel like looking at it yet. If you've already started, today is your baseline.
Weight, once a week
Same scale, same day, same conditions. Look at the trend across weeks rather than any single number. No photos needed between check-ins.
Monthly check-in
Repeat the baseline exactly: same spot, light, outfit, time of day and poses, plus waist and a note. It takes a few minutes. Don't judge it against last month; month-to-month differences are often subtle even when the trend is real.
Look back to baseline
Every second or third check-in, compare today with your baseline in the same pose, and glance at the whole series. This is where change usually becomes visible, and where a stall in one number can be read against the others.
Bring the record
Your visit schedule comes first; the photos just fit around it. Bring the trend in weight and waist since baseline, one comparison, and your notes. There's more on what to bring below.
Track measurements alongside your photos
Photos show shape. Numbers show trend. Together they're much more convincing than either alone, especially in months where one of them stalls.
Waist (and hips)
Waist circumference is one of the most useful numbers you can take at home. The NIH's National Heart, Lung, and Blood Institute notes that carrying fat around the waist rather than the hips is linked to higher risk of heart disease and type 2 diabetes, and recommends measuring by placing a tape around your middle just above the hipbones, right after you breathe out (NHLBI).
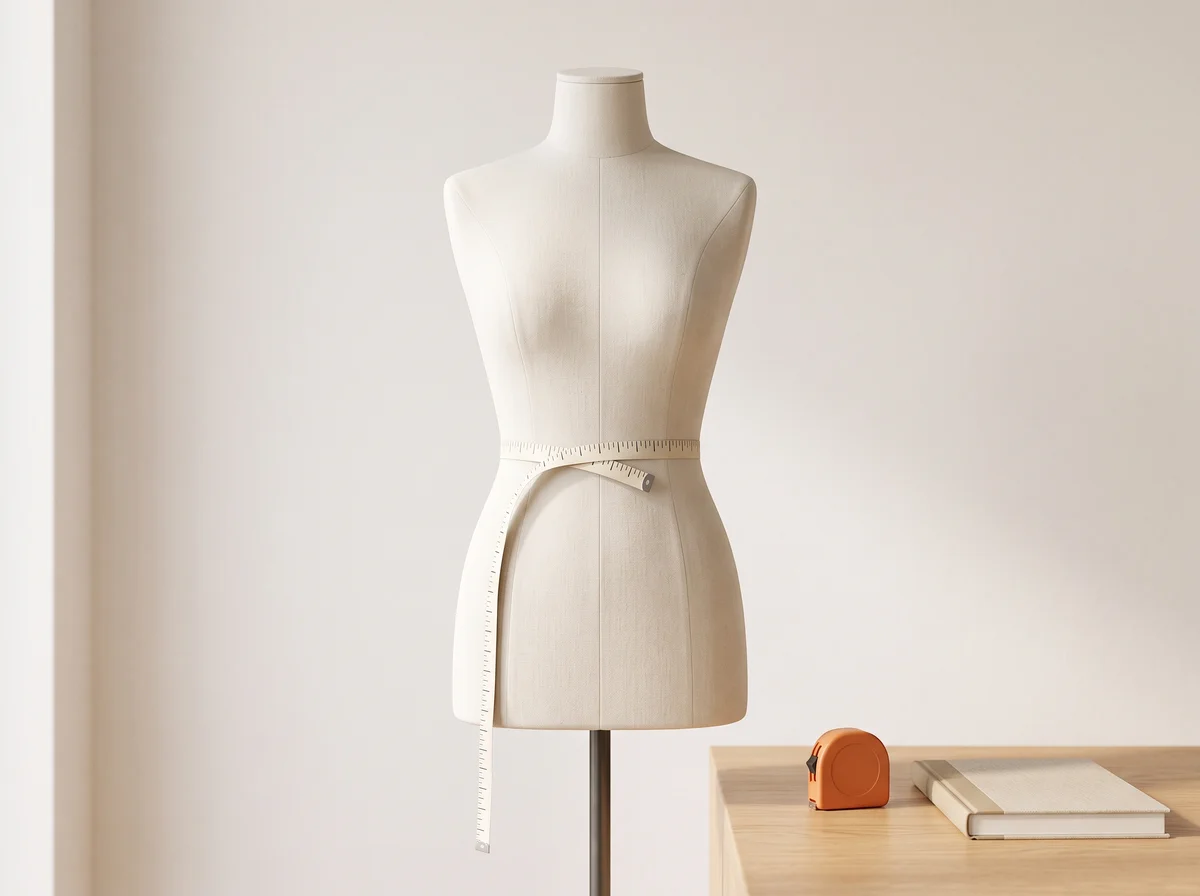
For repeatable numbers:
- Measure at the same landmark every time, standing relaxed, tape level all the way around and snug but not compressing skin.
- Take it twice and write down the average.
- Measure at the same time as your photos, so each session is a complete snapshot.
- Hips, thigh and upper arm are optional extras if you'd like them.
Weight
Weekly is plenty for most people: same scale, same day, same conditions (morning, before eating). Daily weighing is fine if it doesn't bother you, but look at the weekly average rather than reacting to single days. If your prescriber asks you to track weight a particular way, do that instead.
Notes
A line or two per session adds context you'll forget otherwise: how clothes are fitting, energy, a hard week, a schedule change, a new activity. These are the details that make a photo meaningful six months later, and they're useful at appointments.
Why the scale alone misses things
The scale measures everything at once: fat, muscle, water, food, and whatever you drank last night. It can't tell those apart, and short-term swings in water and digestion can easily mask or exaggerate a week of real change. The chart below uses made-up numbers, not a medication outcome, to show the effect: daily weigh-ins bounce around a slow trend.
Illustrative data, not a medication outcome: eight weeks of daily weigh-ins swing up and down by two to three pounds from one morning to the next, while the 7-day average drifts down slowly and steadily. Single days say little; the trend says more.
That's why people often see their clothes fit differently or their waist measurement drop while the scale barely moves, or the opposite. Photos and a tape measure fill the gap. If you hit a stretch where the number stalls, your photos and waist trend are often the clearest way to tell whether things have actually stopped or are just moving slower. Our guide to weight loss plateaus and non-scale victories goes deeper on reading those stretches.
Raise body composition with your clinician too. Any significant weight loss includes some lean mass as well as fat, so ask about strength training and protein. Photos won't measure that for you, but a front-flexed and back-flexed set gives you a visual record of how your shape is changing, not just how much less of it there is.
About "Ozempic face"
"Ozempic face" is a social-media phrase, not a medical diagnosis. Cleveland Clinic describes it as the facial changes that can come with rapid weight loss, such as hollowing, sunken cheeks and looser skin, and notes that it isn't specific to the medication: similar changes happen after bariatric surgery or other very rapid weight loss (Cleveland Clinic).
If facial changes concern you, talk to your clinician rather than relying on before-and-after clinic galleries. A simple front-facing head-and-shoulders photo, taken in the same light as your other sessions, will give you a calmer, more accurate record than comparing yourself to whatever is trending.
Line your photos up so the comparison is honest
Even with tape on the floor, every session drifts a little: half a step closer, a slightly different angle, the phone a few inches lower. Small framing differences can make a real change look bigger or hide it entirely. For a fair before-and-after:
- Compare the same pose across dates, never front against side.
- Match the framing: your body at the same size and height in both images.
- Compare across months, not days.
- Look at the full series, not just two photos. A sequence shows the trend; a single pair can be a fluke of lighting.
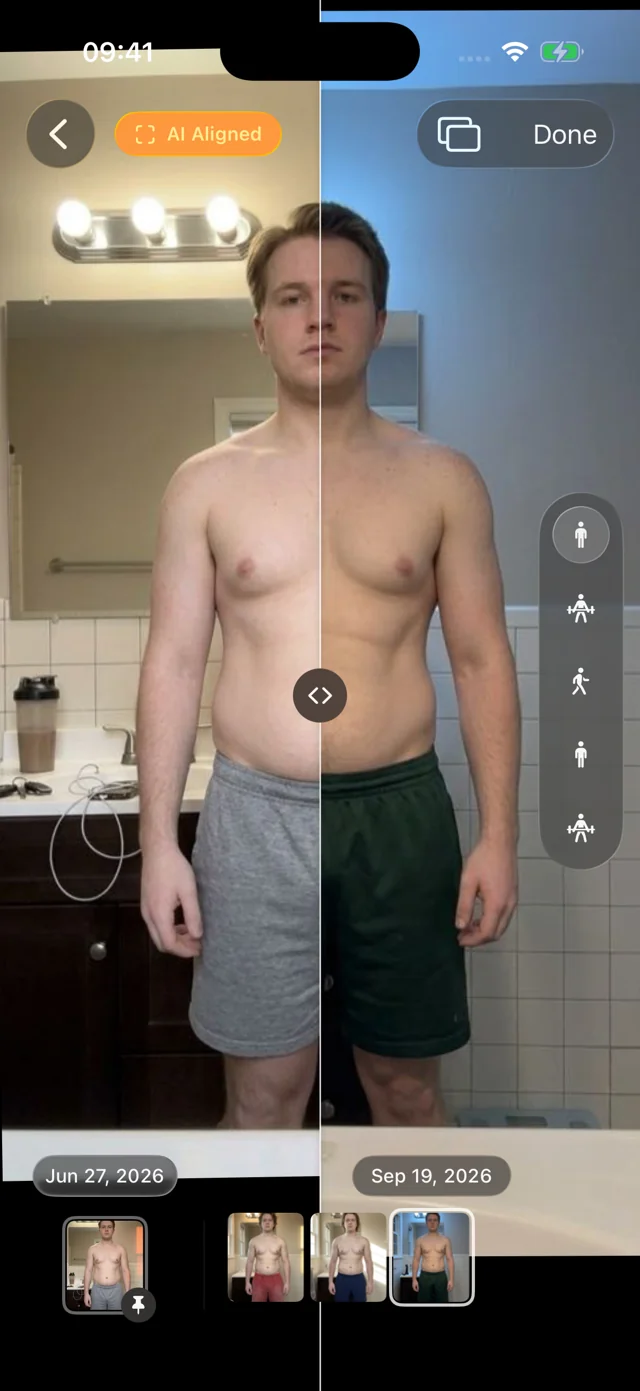
You can do this by hand with careful cropping, which our before and after photos guide explains. Or let software do it. Progress is a private progress photo app for iPhone and iPad: every photo is AI aligned on your device, so sessions line up without touching your originals. You can slide a divider between your baseline and today, pin your baseline as a reference date and scrub through every session since, and log weight alongside your photos with Apple Health. Hands-free capture waits until you're in frame and calls out each of the five poses, so a full session takes about a minute.
Keep a medical journey private
Photos taken during a medical treatment are among the most personal images on your phone. A few habits keep them that way:
- Keep them out of your camera roll. Shared albums, memories features and casual scrolling in front of others are how private photos get seen by accident.
- Prefer apps that don't upload your body. Ask where photos are stored and processed, and whether you need an account. Progress aligns photos on your device, needs no account, stores your library in the app rather than your camera roll, and can be locked with Face ID.
- Keep a backup you control. Make sure your record survives a lost or replaced phone. In Progress, Export Data gives you a copy of your photos, notes and measurements.
- Share deliberately. If you show your clinician, show them on your device or share only the specific comparison you choose.
Bring your record to your clinician
Your prescriber sees you for a few minutes every few weeks or months. A tidy record helps them see the bigger picture:
- Lead with the trend. Weight and waist since baseline, as a simple list or chart.
- Show one aligned comparison. Baseline vs. today, same pose. It takes seconds and says a lot.
- Bring your notes. Side effects, appetite, energy, activity and anything that changed, with dates.
- Ask your questions. For example: Is this pace what you'd expect for me? Should I be doing anything for strength or protein? What should I track before the next visit?
Documenting is about seeing your progress clearly and having better conversations, not about chasing someone else's before-and-after. For more on what different time spans tend to show, see our guide to a realistic body transformation timeline.
FAQ
How long does it take to see changes in before-and-after photos on a GLP-1?
It varies widely; ask your prescriber what to expect. For documentation, take photos every four weeks and compare against your baseline every two or three months; month-to-month differences are often subtle even when the trend is real.
How much weight do people lose on Ozempic, Wegovy or Zepbound?
In clinical trials, average weight loss was 14.9% over 68 weeks with semaglutide (STEP 1) and 15.0% to 20.9% over 72 weeks across tirzepatide doses (SURMOUNT-1). Those are trial averages, not a prediction for you.
Can you keep the weight off after stopping Ozempic?
In a one-year follow-up of STEP 1 participants who stopped semaglutide and the trial's lifestyle program, people regained about two-thirds of the weight they had lost, on average (Wilding et al., Diabetes, Obesity and Metabolism, 2022). Plans for stopping or continuing treatment are a conversation for your prescriber. If you do stop, keep taking photos on the same rhythm so you both have an accurate picture.
Should I take photos if I'm only on a low dose or just starting?
Yes. The baseline is the most valuable photo set you'll take, and it's only possible at the start. If you've already started, take a set today and treat it as your baseline; you can also import older photos as rough reference points.