Progress
How to Take Progress Photos by Yourself, Hands-Free
Take progress photos by yourself without a timer: set your iPhone down and Progress waits until you're in frame, counts you in and calls all five poses.
The hard part of taking progress photos by yourself isn't the pose; it's the phone. Set a 10-second timer, jog back, miss the frame, walk back, repeat five times. Hands-free capture in Progress replaces the timer: set your iPhone down, step back, and it waits until you're fully in frame and holding still, counts you in, and a recorded voice calls each of the five poses. The whole set takes about a minute, and you never walk back to the phone.
Key takeaways
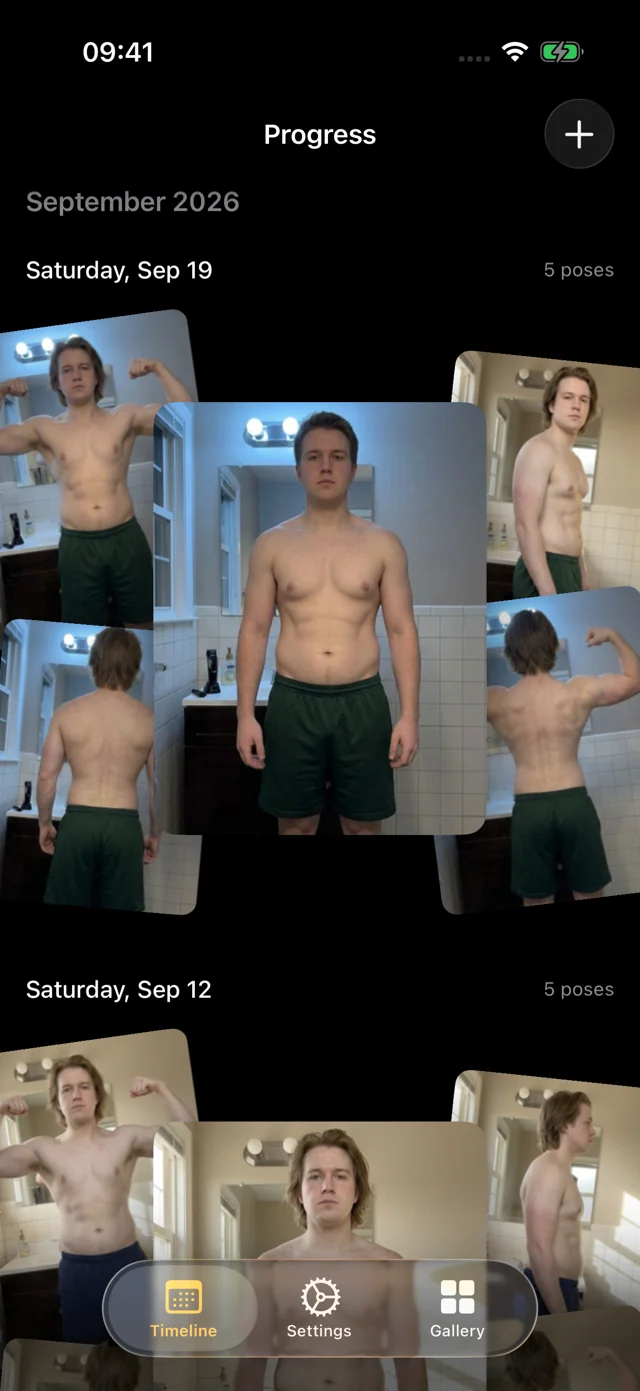
- No timer and no remote: live pose detection on your iPhone waits until you're in frame and still.
- A recorded voice calls all five poses, so you never look at the screen.
- About a minute for front relaxed, front flexed, right side, back relaxed and back flexed.
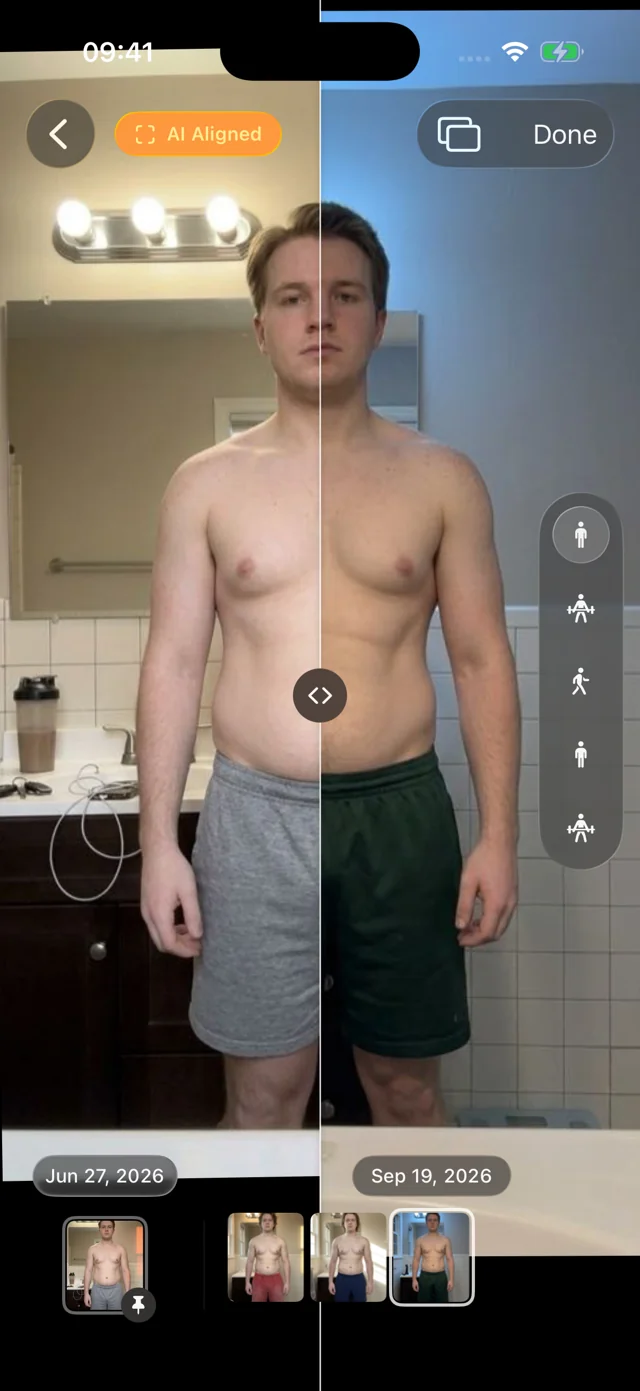
- Every photo is AI aligned afterwards, so small differences in where the phone stood don't ruin the comparison.
Why a self-timer makes progress photos harder
The iPhone camera timer fights you on every pose. Each shot starts at the phone, so you rush back and land in a slightly different spot. You can't see the screen, so you find out your arm was cut off afterwards. Five poses means five round trips, and the side and back photos, often the first to show change, are the first to go.
Hands-free capture removes the trips. You start the session once, walk to your mark, and stay there. The app watches the live camera on your device, waits until your whole body is in frame and still, counts you in and takes the photo. Then it calls the next pose.
Set the phone once, then stay on your mark
The phone needs to see all of you, from a height that doesn't distort your proportions. Drag the phone or use the sliders to see what the camera sees.
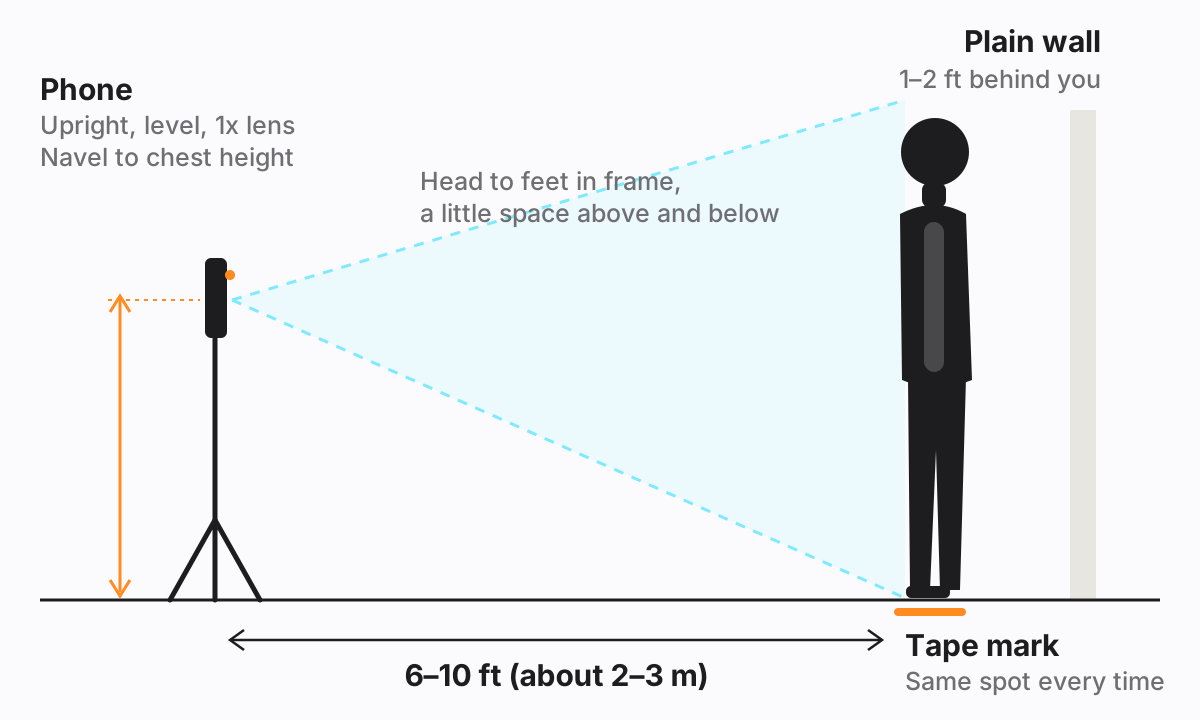
You don't need a tripod. A dresser, a shelf, a box or a stack of books works, as long as you can rebuild it the same way next time. A strip of tape where your feet go and another where the phone sits does more for consistency than any gear. Our guide to taking progress photos that show change covers light, clothing and timing.
Five poses, called out loud
Progress uses the same five poses every session, each with its own recorded call, so you know what's next even facing away from the phone. Switch poses to see each one and hear the words.
“Face the camera and stand tall. Let your arms rest by your sides.” Shows overall shape and your waist.
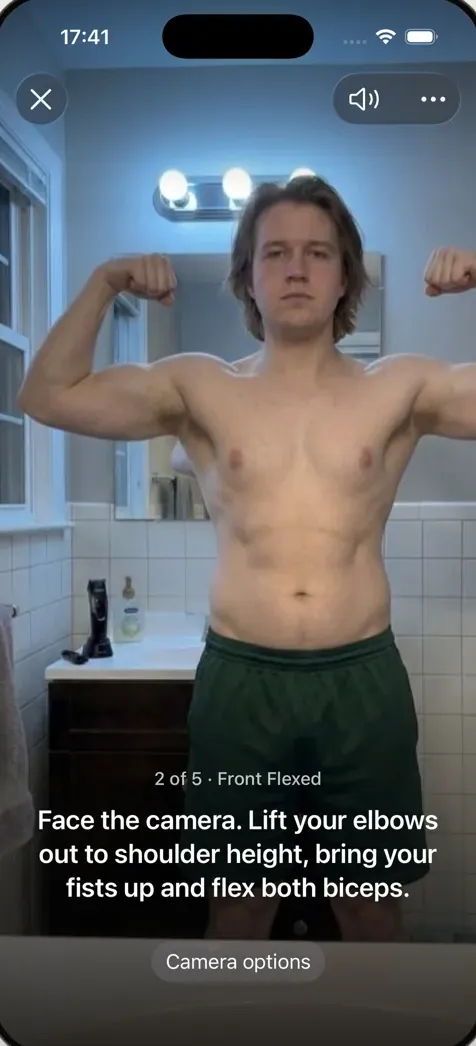
“Face the camera. Lift your elbows to shoulder height, bring your fists up, and flex.” Shows arms, chest and shoulders.
“Turn to your left until your right side faces the camera. Look straight ahead. Let your arms rest by your sides.” Shows stomach, posture and glutes.
“Turn to your left until your back faces the camera. Stand tall, with your arms by your sides.” Shows back width and the shape of your hips.
“With your back to the camera, lift your elbows to shoulder height, bring your fists up, and flex.” Shows lats, upper back and rear shoulders.
Each call turns you a quarter to the left, so all five photos are taken from the same spot. For holding each pose the same way every time, see the progress photo poses guide.
Alone at home, before the day starts
A bedroom or hallway, first thing in the morning, nobody else awake. Lean the phone on the dresser, start a session, and stand on your tape mark. The voice carries the session, so your eyes stay forward and your posture stays natural. It's quick enough to do before coffee, which is what makes it a habit.
Sharing a home? Photos go into Progress's own library, not your camera roll, so they won't turn up when you show someone your vacation pictures. More on that in private by design.
A quiet corner of the gym
Training days are a natural checkpoint, and gym lighting is usually consistent. Find a corner with a plain wall, set the phone on a plyo box or bench, and run the set before or after your session. A minute won't hold up anyone waiting for the space.
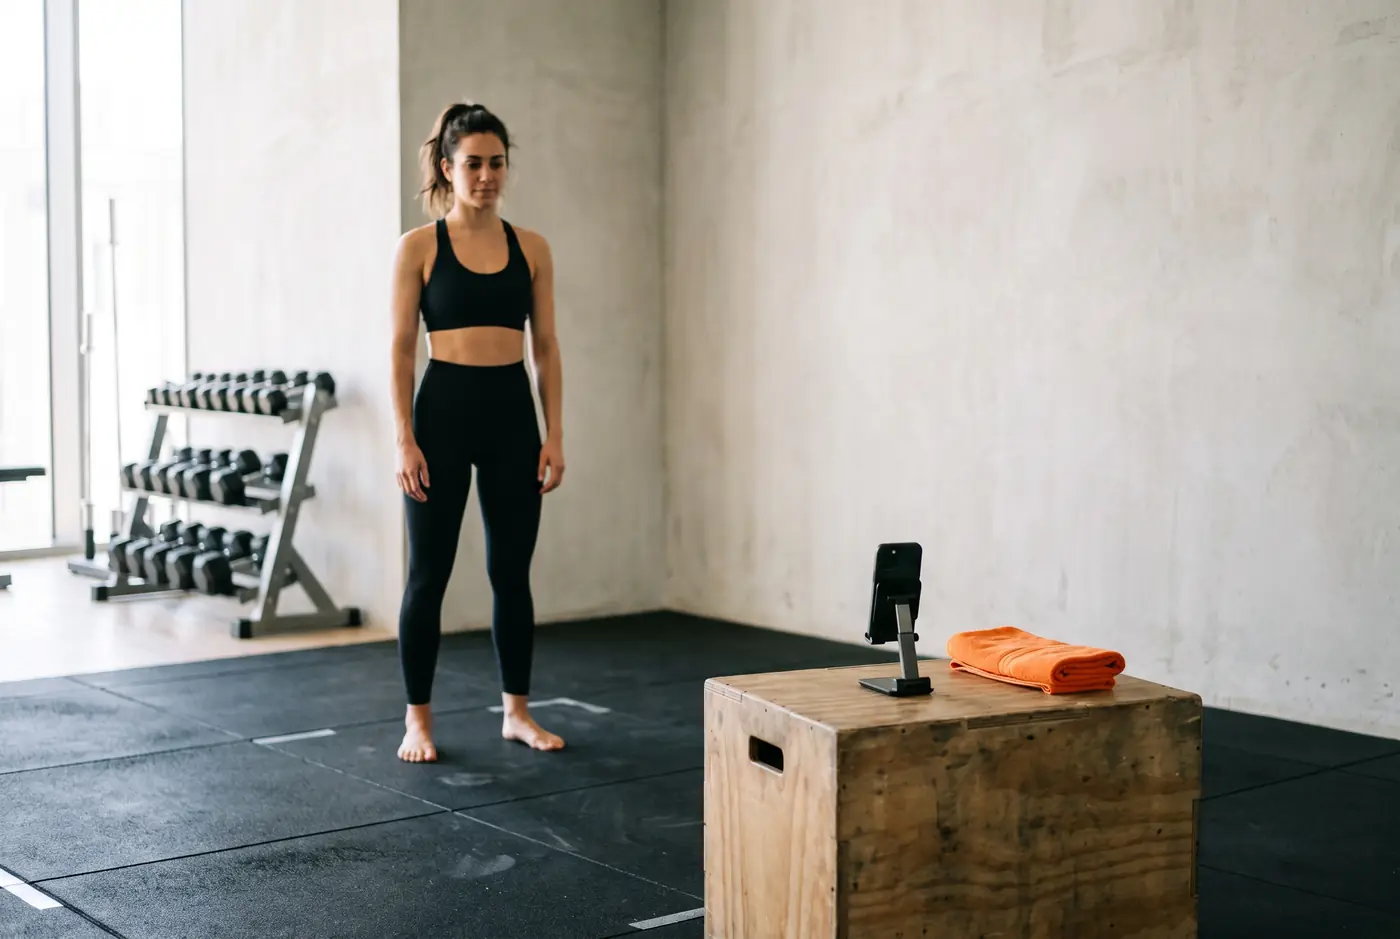
Pick one place and stick with it. If you switch between home and gym, compare home photos with home photos.
Small differences, lined up afterwards
Even with tape marks, the phone sits a little higher or closer some days, and you land a few inches off your mark. Progress lines up every photo with on-device AI, so your sessions compare you, not the camera. Your originals stay as shot. See how it works in AI-aligned comparison.
How it works
- Join the beta. Install Apple's TestFlight app, then join the free Progress beta on an iPhone or iPad with iOS or iPadOS 26 or later.
- Set the phone down. Portrait, level, around chest height, with room to stand about 2–3 m away.
- Start a session and step back. Progress waits until you're fully in frame and still, then counts you in.
- Follow the voice. Hold each pose as it's called. After the fifth, the set is done, and every photo is AI aligned on your device.
FAQ
How do you take progress pictures by yourself?
Put your phone on a stable surface at about chest height, 2–3 meters away, and stand on the same mark every time. With a regular camera, use the 10-second timer or a Bluetooth remote for each pose. With Progress, start one session and it captures all five poses hands-free while a voice tells you what to do.
Do I need a tripod?
No. Any surface that holds the phone upright and level works: a dresser, a shelf, a box. What matters is setting it up the same way next time.
Should progress pictures be flexed or unflexed?
Both. Relaxed photos show your shape and waist; flexed photos show muscle you've built. The five-pose set includes two flexed poses, called in the same order every time.
Can I take progress photos at the gym?
Yes. Pick a quiet corner with a plain wall, set the phone on a box or bench, and run the set in about a minute. Use the same corner each time; different light makes photos harder to compare.